|
|
|
|
| HOME SEW CRAFTS DECOR SHOP |
Free Sewing BookSewing Lessons For BeginnersChapter Seven: Pockets |

|
|
|

-> table of contents
|
Articles, images and patterns © Christina Sherrod of CraftAndFabricLinks.com unless otherwise noted. Updated OCT 2022. Learn How To Sew Pockets
Basically, a pocket must have a front and a back (inside). If a pocket is sewn directly onto a shirt front, the shirt front is the inside (or back) of the pocket. If the pocket is sewn into the side seam of a skirt or pair of pants, the front of the garment serves as the front of the pocket, and a back is created by sewing in a pocket back. EASY SIDE SEAM POCKET: I use this method for knit skirts. I also used this method when I changed a tee shirt pattern into a robe pattern. |
 There are several different methods for adding pockets to a garment or other item. This chapter will cover side seam pockets (pocket sewn into the side seam of a skirt or dress) and front pockets (such as on a shirt, or front of tote bag).
Cutting Tools
|
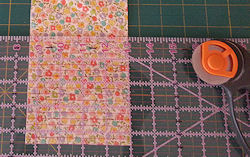 I recommend using a Rotary Cutter, Cutting Mat and Sewing Ruler. I use these tools for most projects. They allow for easy, precise measuring and cutting. Visit my Amazon store page to purchase these tools, fusible fleece, insul-bright, heat resistant cloth, quilting pins, and other items I use in my projects.
|
|
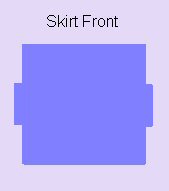 1. Add Extensions
|
|
 2. Draw Pockets
|
|
 3. Reinforce and clip facings
|
|
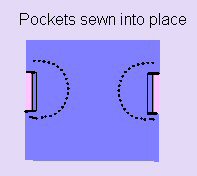 4. Stitch pocket to skirt front
|
|
 5. Stitch Skirt front to Skirt back
|
|
 6. Press
|
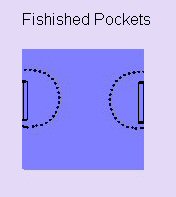
EASY SHIRT POCKET
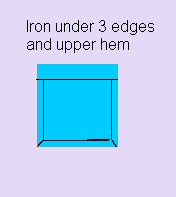
2. Press edges under
|
 1. Cut your pocket piece
|
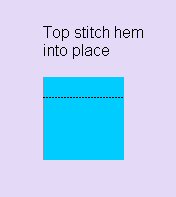
Turn pocket to right side. Topstitch (see Chapter Six on Topstitching) upper hem into place. |
 3. Topstitch upper hem
|
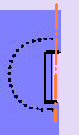
Place your pocket on the shirt front (pocket is right side up) and stitch onto shirt around the lower three sides. Leave pocket top open. Reinforce the corners of the shirt pocket as shown on the right. Reinforcement stitching has been enhanced in the photo on the right. |
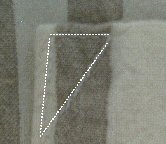 4. Sew pocket to shirt
Quick Reference |
Learn To Paint!free video tutorialsVisit my youtube channel. Free videos with step by step instructions. Paint beautiful paintings for your home. |

Please ShareI rely on advertising to keep my site free. Please share with friends. |
Privacy Policy & Terms Of UseBy using our website, you expressly consent to our Privacy Policy and Terms & Conditions. All Patterns, images and instructions are copyright protected. |