|
|
|
|
| HOME SEW CRAFTS SHOP |
|
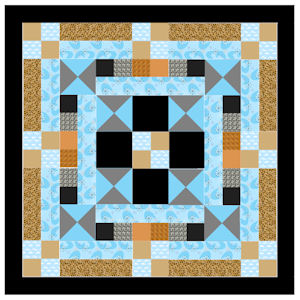
GEOMETRIC BLOCKS QUILT
|
| lessons holiday patterns sewing patterns |

|
|
Page 1: Lay-out and begin |
Squares & Triangles
There is so much you can do to create different looks and emotions for your quilt. Use variations of one or two colors, blend textures, use bold contrast colors or milder, more neutral color combinations. I suggest that you start with a layout area. Cut small pieces of fabric and lay them out and mix them up to ensure they go together and create the feeling or impression you desire. Print the following files. NOTE: dimensions on the file sheets are stated in the size the piece will be when all pieces are stitched together - for example if it says 4" x 2", cut the original piece 4.5" x 2.5" to allow for 1/4" seam allowances. If a finished square is listed as 4" square, it will measure 4.5" square before being stitched to other pieces. In other words, seam allowances are not noted on the lay-out and pieces sheets. |
 Designer: Aleah Sherrod
Quilt SizeThe overall size of the finished quilt is 32.5" x 32.5". It was designed using a 2" grid. |
Colorful IllustrationsNOTE: The illustrations that teach technique show different fabrics. Those illustrations are for teaching purposes only. |
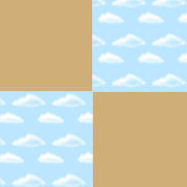
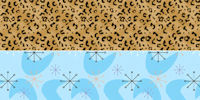
Directions1. Create Nine 4-Square Blocks
|
|
TECHNIQUE
For more information on creating checkerboard patterns from strips of fabric, go to: Speed Pieced Crib Quilt. |
 There are nine 4-square blocks (blue and gold above). Each finished block measures 4.5" x 4.5".
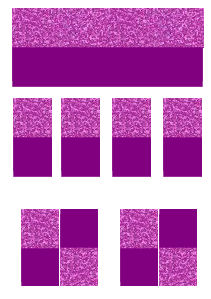
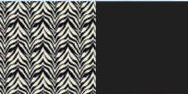
2. Create Eight 2-Square Blocks
|
|
TECHNIQUE
|
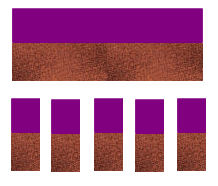 There are eight 2-square blocks that I show in black/white. The finished block measures 2.5" x 4.5".
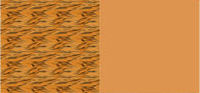
3. Create Four 2-Square Blocks
|
|
TECHNIQUE There are four 2-square blocks that I show in gold and gold blend. The finished block measures 2.5" x 4.5".
|
4. Create Eight 2-Piece Strips
|
|
TECHNIQUE There are eight 2-piece strip blocks that I show in gold and blue. The finished block measures 4.5" x 8.5".
|
Continue to page 2 |
Quick Reference |
Visit our store!
|
Free Videos
|


Please ShareI rely on advertising to keep my site free. Please share with friends. |
Privacy Policy & Terms Of UseBy using our website, you expressly consent to our Privacy Policy and Terms & Conditions. All Patterns, images and instructions are copyright protected. |