|
|
|
|
| HOME SEW CRAFTS DECOR SHOP |
|
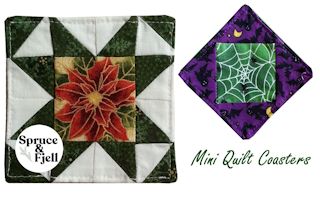
Mini Quilts pg 1
|
| lessons holiday patterns sewing patterns |
-> sewing lessons -> quilt lessons
|
This project has movedPlease visit our new site: SpruceAndFjell.com for free sewing patterns, remodel projects, and decor projects. Same owners - sleek new design. Go to SpruceAndFjell for: |
Quick Reference |
Learn To Paint!free video tutorialsVisit my youtube channel. Free videos with step by step instructions. Paint beautiful paintings for your home. |

Please ShareI rely on advertising to keep my site free. Please share with friends. |
Privacy Policy & Terms Of UseBy using our website, you expressly consent to our Privacy Policy and Terms & Conditions. All Patterns, images and instructions are copyright protected. |