|
|
|
|
| HOME SEW CRAFTS DECOR SHOP |
|
CURTAIN HANGING KNOBS
|
| lessons holiday patterns craft patterns |

|
-> sewing patterns -> home decor
|
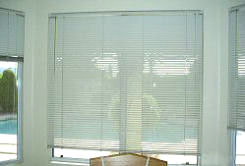
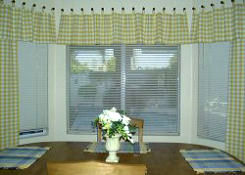
Quick & Easy - knobs & hanging loops!Make your own hangers and knobs for curtains or drapery
Also see: home improvement |
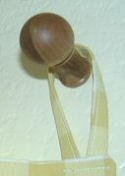
 For the hangers, cut fabric 1.5" x 7.5". Iron under the two long sides 1/4". Fold the stip in half lengthwise and stitch close to the edge. Serge across both ends (or otherwise finish them so they won't fray). Pin one end about 1/2" away from the edge, on the wrong side of the valance. Fold the strip's loose end back toward the valance and pin it next to the first end. Stitch in place. Pin all strips this way, at a distance of 7.5" from one another. Pin them all into place before stitching to be sure they are placed correctly before stitching. Refer to the photograph at the top of the page.
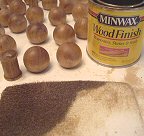
Make and install the knobsPut down newspaper or butcher paper to protect your table or work space. Be sure to have adequate ventilation, and follow the directions of the stain manufacturer. Use gloves and protect your clothes.
|
 The balls MUST have a flat base, so they will fit onto the ends of the spools.
|
|
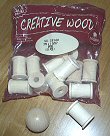 The wood spools and balls come in bags of 12-15. Staining can be done before or after the hole is routed out at the end of the spool.
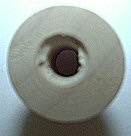
Prepare screws for installation screwsOne end of each spool must be routed out so that when a screw is installed through the spool, the head of the screw with sit flush with the end of the spool.
|
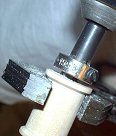
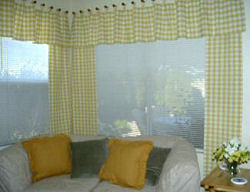
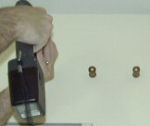
Install stained spools onto wallCarefully measure and mark for each spool (see window measuring directions above). Install an anchor into the wallboard for each screw (photograph on left below). Use a screw to install each spool onto the wall (right below). I placed my spools 6" above the window and 5" apart. Be sure that they are an even distance from the ends of the window.
|
|
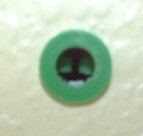
Glue the stained knobs onto the ends of the spools. Allow to dry. Hang curtain valance and side panels. Refer to the photograph at the top of the page to see a finished knob.
|
Quick Reference |
Learn To Paint!free video tutorialsVisit my youtube channel. Free videos with step by step instructions. Paint beautiful paintings for your home. |

Please ShareI rely on advertising to keep my site free. Please share with friends. |
Privacy Policy & Terms Of UseBy using our website, you expressly consent to our Privacy Policy and Terms & Conditions. All Patterns, images and instructions are copyright protected. |