Jumper Cable Bag
Zipper Top - Mitered Corners
This pattern comes from our former site, CraftAndFabricLinks. Same owners - new site.
Keep your trunk tidy! Great “beginner” sewing project.
Also see:
Articles & Tips
Easy Sewing Patterns
Makeovers For Organizing
Accessory Patterns
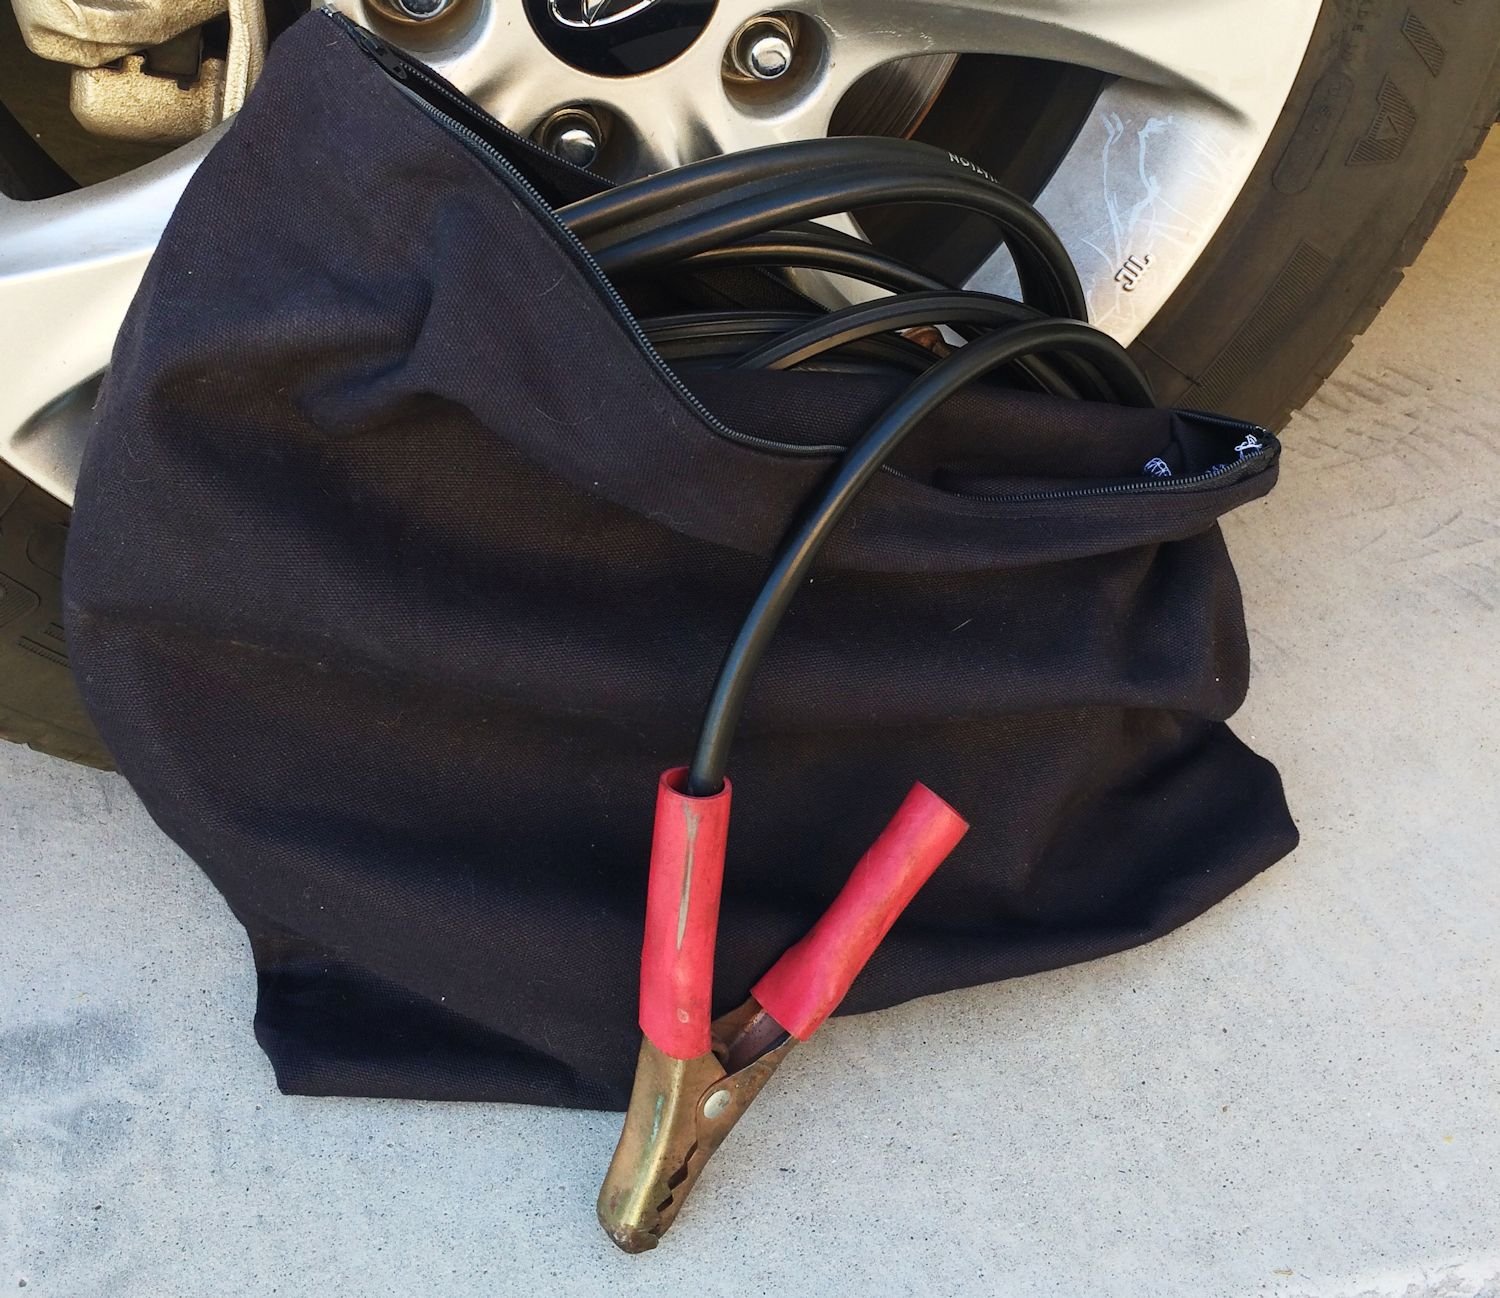
Canvas Jumper Cable Storage Bag
1/2 yard sturdy canvas and 16 inch zipper is all it takes to make a jumper cable storage bag. Jumper cables are dirty, messy and noisy when sliding around in the trunk. This easy-to-make bag is the answer!
My husband likes a tidy trunk. Jumper cables can be coiled, but they uncoil and are soon sliding around again. He was always moving them out of the way. He asked me to make a bag for him to contain the jumper cables. What a great idea!
Alter the size as needed for storage of other items you keep in the trunk. I think I could use several of these bags!
This is a quick and easy pattern. Learn zipper installation and mitered corners.
Jumper Cable Bag Size
17.5" x 17.5". Easily adjust to fit your needs.
Supplies
Fabric
1/2 yard of canvas (or two pieces, each measuring 17" wide x 18.25" high)
2 pieces of fabric (match zipper color), each 1.25" x 1" (lighter weight cotton - not canvas)
Other
16" zipper (see TIP below)
thread to match background of fabric
fabric marker
large sewing ruler
scissors or rotary cutter / cutting mat
pins
seam ripper (optional but nice to have if you need to remove stitches)
TIP: I buy my zipper on a roll and cut to the length I need for my project.
PRE-WASH, DRY, & PRESS ALL FABRIC BEFORE USING
DIRECTIONS
NOTE: All seams 1/4"
Cut / Prepare Fabric Pieces
Cut two pieces of bag fabric (canvas), each measuring 17" wide x 18.25" high
Cut two pieces of fabric, each measuring 1.25" high x 1" wide (see above Supplies)
Press under the top edge of each bag piece 1/4"
Press under the top edge of each small piece 1/4" to create a 1" square
Prepare Zipper
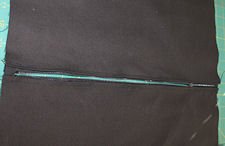
1. Secure Zipper Tails

Stitch across the zipper on each end, just beyond the metal area. This will hold the "tails" together (enhanced in white in the following photo). Stitch back and forth a couple of times for added security.
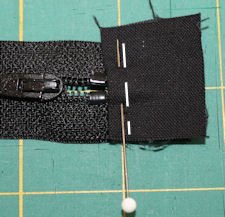
2. Prepare Zipper Ends
Place zipper face up on working surface. Place the small fabric piece wrong side down on the end of the zipper, with the folded edge toward the metal stop onthe zipper. Pin into place. Stitch across the end, close to the metal stop. Repeat on the pull end of the zipper.
NOTE: you will need a zipper foot.
Zipper Foot
The zipper foot allows the needle to get much closer to the zipper teeth than a regular foot would because it has an open area toward the zipper. Refer to your machine's manual for directions on using your zipper foot.
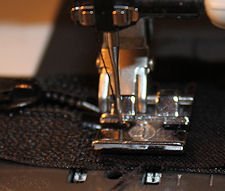
Zipper Foot
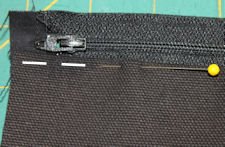
3. Trim Zipper Piece

Your zipper now has an extension on each end. Trim the overall zipper (with extensions) to 17" long. If you need to trim, cut evenly off each end (in other words, if you need to remove 1/2", cut 1/4" off each end. The photo on the right shows a trimmed end. The zipper itself (including coil and metal ends) is 16" and I have 1/2" extension on each end, creating a piece that is 17" in length.
Attach Zipper To Bag Sides
4. Stitch Bag Sides To Zipper
Press under the top of each bag piece 1/4" if you have not already done so. Place the zipper piece right side up on your working surface and close the zipper. Pin one bag piece to the zipper so that the folded edge is next to the coil and is right side up. Stitch close to the fold. Repeat on the other side.
Stitched Zipper & Sides
The bag is now made of three parts - the two side pieces and the zipper down the center.
The following photo shows a partially open zipper.
Bottom & Side Seams
Open the zipper. Fold the bag right sides together (fold at zipper). Pin sides and bottom. Stitch down both sides and across the bottom. I used my regular machine to stitch the seams, then went over them with my serger because canvas tends to ravel.
Create Mitered Corners
6. Cut Lines For Mitered Corners
Draw a 1" box in each bottom corner. Measure between seams. Draw another square 1/4" inside the first square. Cut out the inside square. The outer square's lines will become your stitch line.
7. Stitch Miter Seams
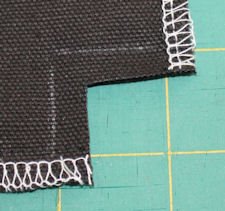
Mitered Corner Cut
Pull apart the layers and line up the seams so one is on top of the other. Line up the top cut edges. Pin layers together. Stitch layers. The stitch line is enhanced in red in the image below. This creates the mitered corner. Repeat on both corners. Turn your bag right side out through the open zipper area.
NOTE: the photos below are from our wheelchair cushion cover pattern. The fabric is different; the method is the same.


8. Turn Bag Right Side Out
You are now finished! Enjoy!
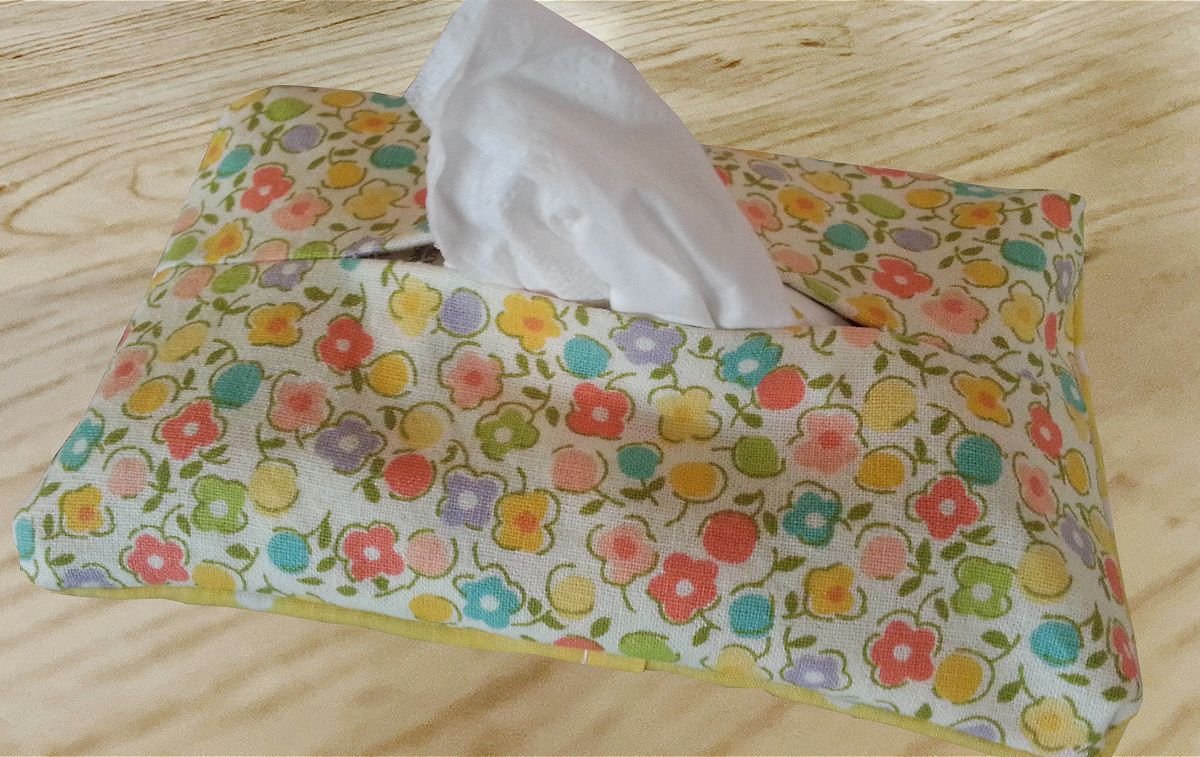
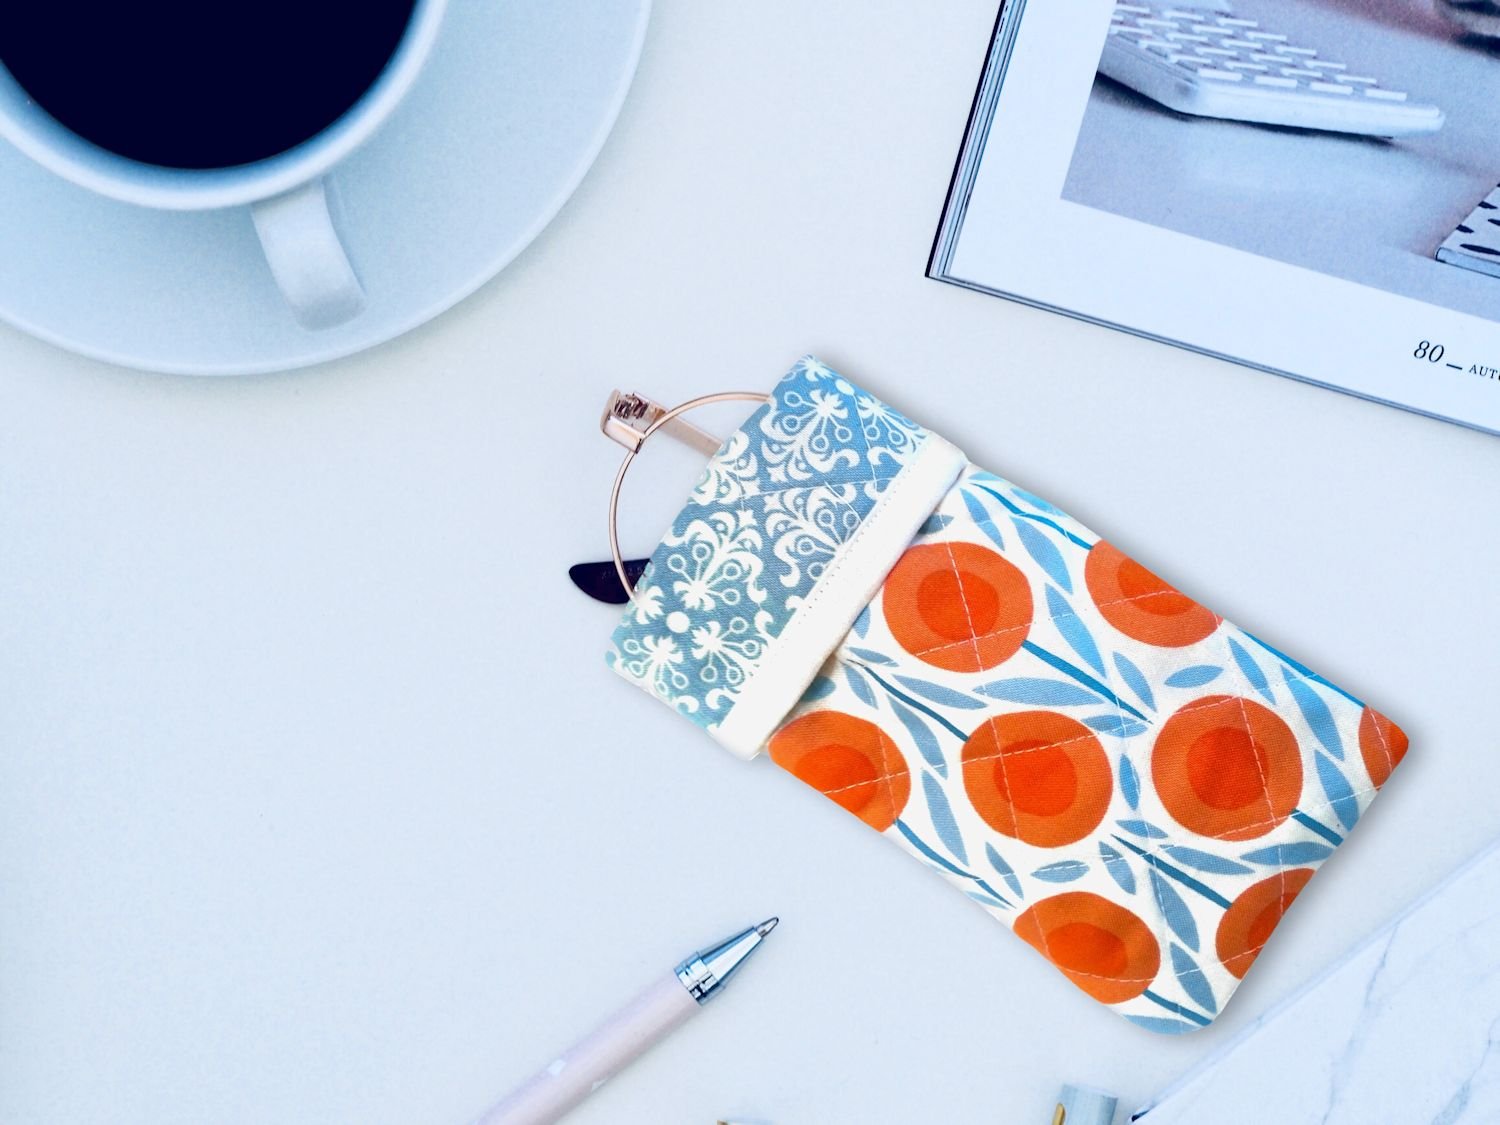
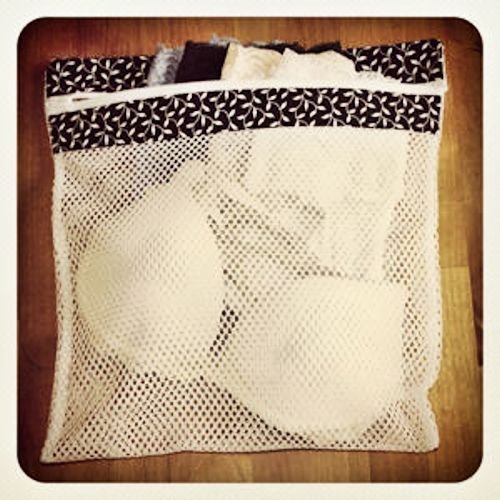
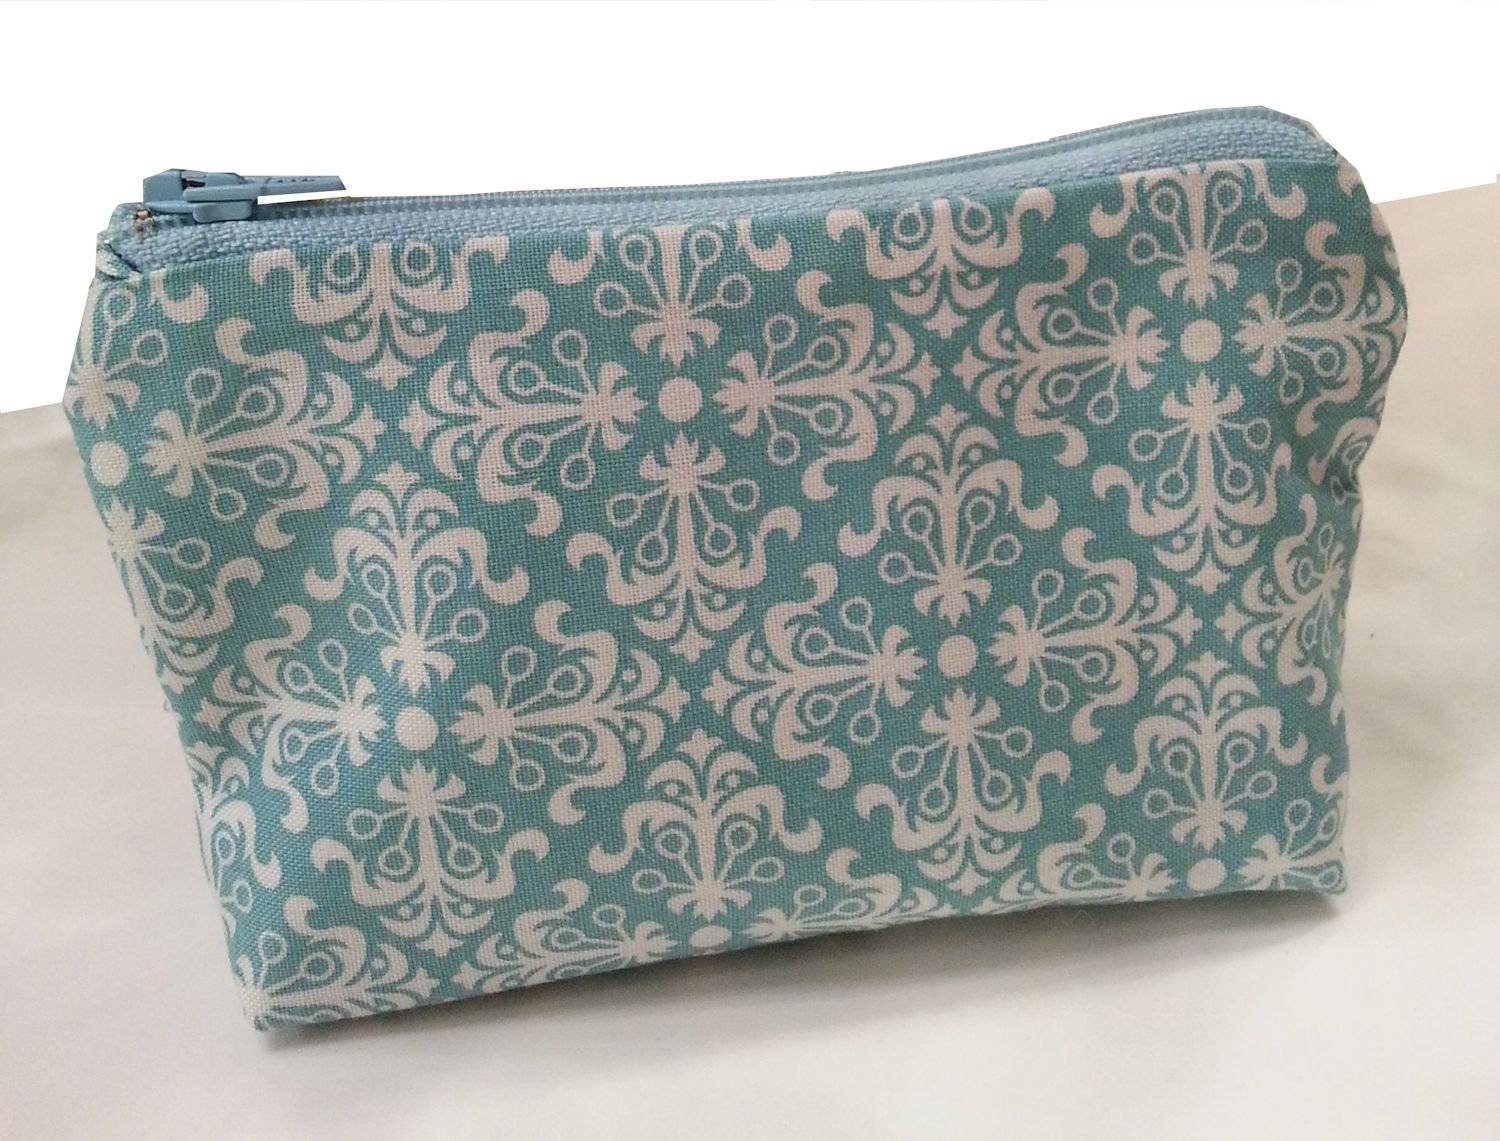
Now that you have mastered a bag with zipper and corners, I recommend that you try our coin purse pattern, and lingerie bag pattern.
More Accessory Patterns


Follow Our Adventures!


Use double sided pre-quilted fabric to create this roomy tote with pockets. Multi-use bag.