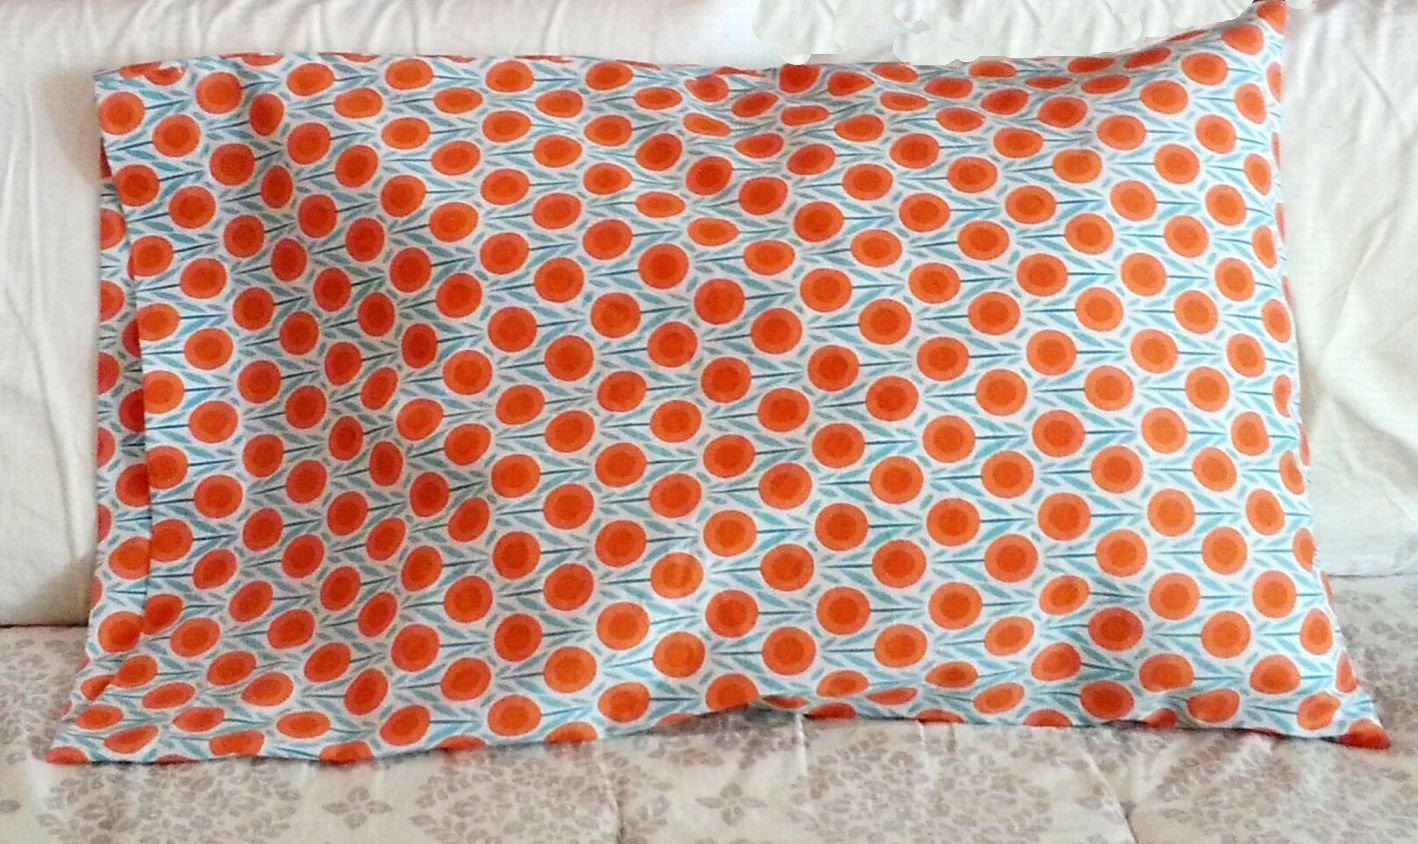
Pillowcase Sewing Pattern
This pattern comes from our former site, CraftAndFabricLinks. Same owners - new site.
Disclosure: This site contains affiliate links. As an Amazon Associate, I earn from qualifying purchases. Clicking on links, and purchasing products, may result in the seller paying us compensation - at no extra cost to you. Affiliate links are in green.
Also see:
Articles and Tips
10 Easy Sewing Patterns
Organizing Tips & Projects
Quilt Lessons
Finished Pillowcase Sizes
Standard Case: 21" x 32"
Queen case: 21" x 36"
King Case: 21" x 42"
These will cover pillows nicely, with plenty of room. We are assuming the following pillow measurements:
Standard: 20" x 26"; Queen: 20" x 30"; King: 20" x 36"
Pillowcase Size vs Pillow Size
The finished pillowcase is 1" wider than the pillow. This gives a bit of room around the pillow, allowing for easier insertion of the pillow into the pillowcase.
For the length of the pillowcase, I add 10" to the length of the pillow. This allows for a nice, 3.5" hem.
If your pillows are not the size of those we listed above, simply do the following to create your pattern:
Width: measure the width of the pillow multiply by 2, then add 2.5"
Length: measure the length of the pillow and add 10"
Example: for a pillow that measures a bit wider, at 21" x 30", cut the pattern piece to be 44.5" x 40"
If you prefer a pattern piece that will be placed on the fold of the fabric, cut the pattern half as wide (22.25" x 40" for this example).
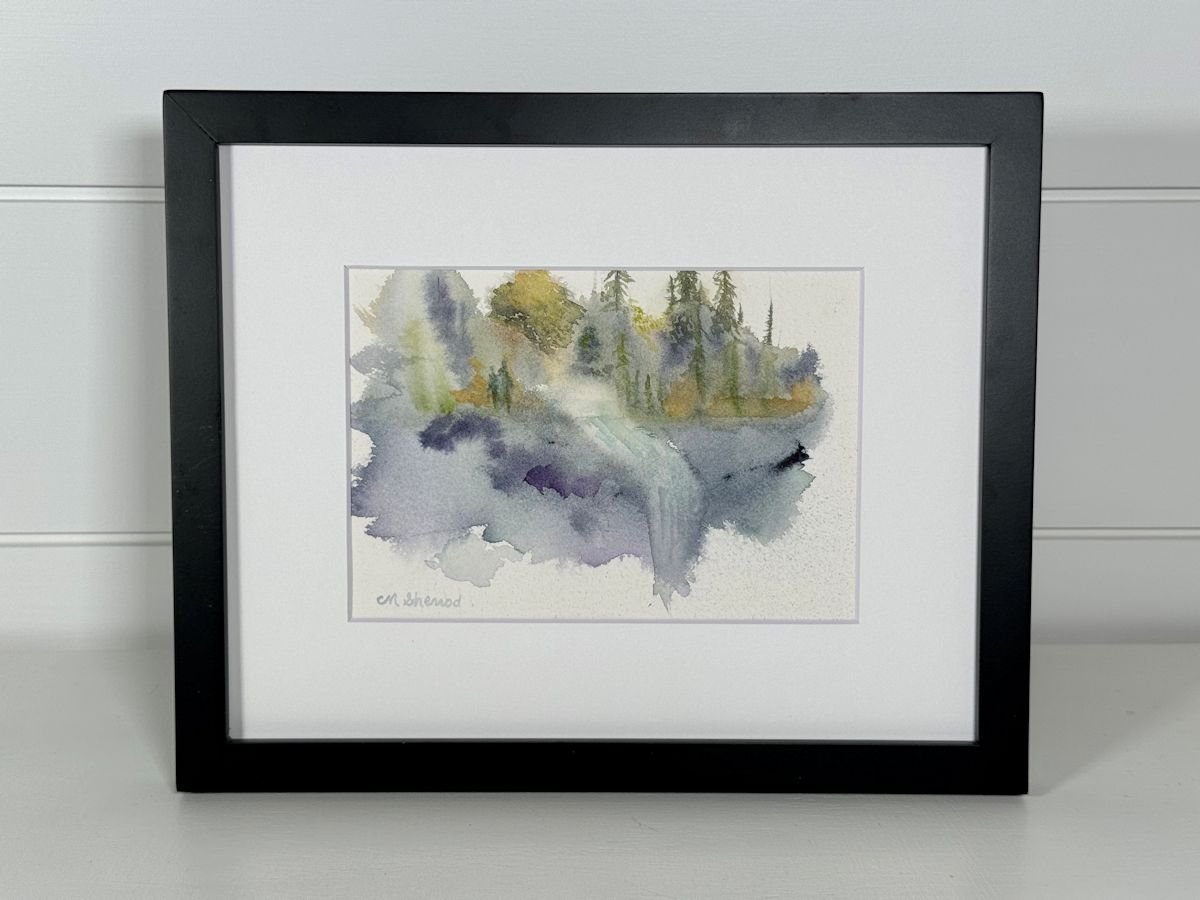
Our Etsy shop helps support this site, allowing us to continue to provide free content. Northwest and Scandinavian inspired original watercolor paintings. Tabletop and wall size - perfect for smaller spaces.
SUPPLIES REQUIRED
CUTTING TOOLS
I recommend using a Rotary Cutter, Cutting Mat and Sewing Ruler. I use these tools for most projects. They allow for easy, precise cutting.
2 yards of 42.5" fabric (for 1 pair of Standard Cases)
2.25 yards of 42.5" fabric (for one pair of Queen Cases)
2.5 yards of 42.5" fabric (for 1 pair of King Cases)
BUY EXTRA & PREWASH FABRIC: You will need the full amounts, so buy a bit extra fabric. Wash and dry the fabric before use.
Thread (to match background)
Ribbon or lace, etc. for trim
Sewing Supplies: scissors, quilting pins, large sewing ruler, fabric marking pencils, seam ripper
hint: quilting pins are easier to use than regular pins; a tupperware box works well as a supply box.
Note: all seams are 1/4 inch. Always iron between steps.
Safety Reminders For Little Helpers
A. Always have an adult do all the ironing!
B. Never run with scissors. Carry them pointed end down.
C. Never use a sewing machine without adult supervision.
D. Always let an adult use the seam ripper for you.
Now you are ready to start!
Please Note: These diagrams are not exactly to scale, but pattern pieces do fit as shown.
Pattern Pieces (updated 1/4/2016: width of fabrics corrected - thank you Lynn!)
First, create the pattern pieces. Cut to the dimensions below if you want to lay the pattern onto unfolded fabric.
Standard Case: Cut 2 pieces 42.5" x 36"
Queen Case: Cut 2 pieces 42.5" x 40".
King Case: Cut 2 pieces 42.5" x 46"
Cut to the dimensions below if you want to lay the pattern onto folded fabric.
Standard Case: Cut 2 pieces 21.25" x 36"
Queen Case: Cut 2 pieces 21.25" x 40".
King Case: Cut 2 pieces 21.25" x 46"
NOTE: If you do not have wide enough fabric to fold into a pillowcase, you can use two pieces of fabric. Each piece should be 21.25" wide.
INSTRUCTIONS
Click photos for larger image.
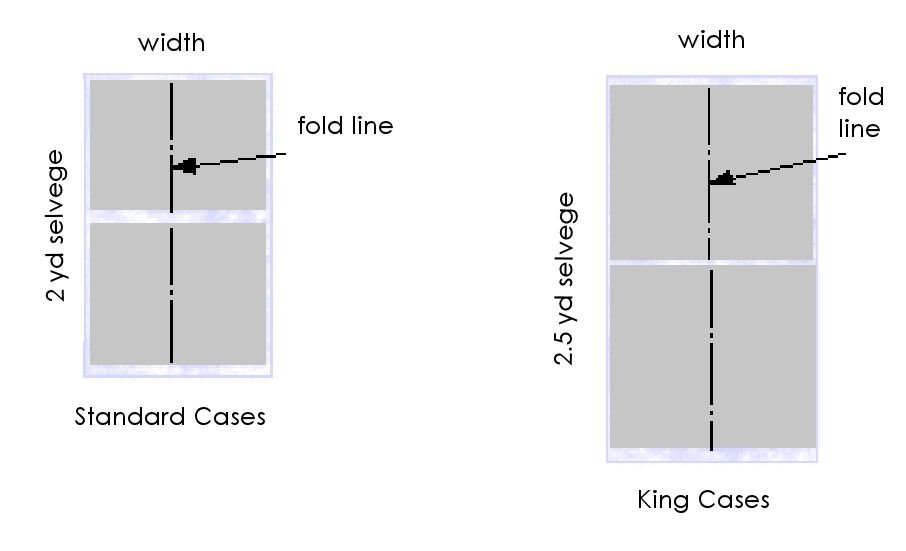
Cut Fabric
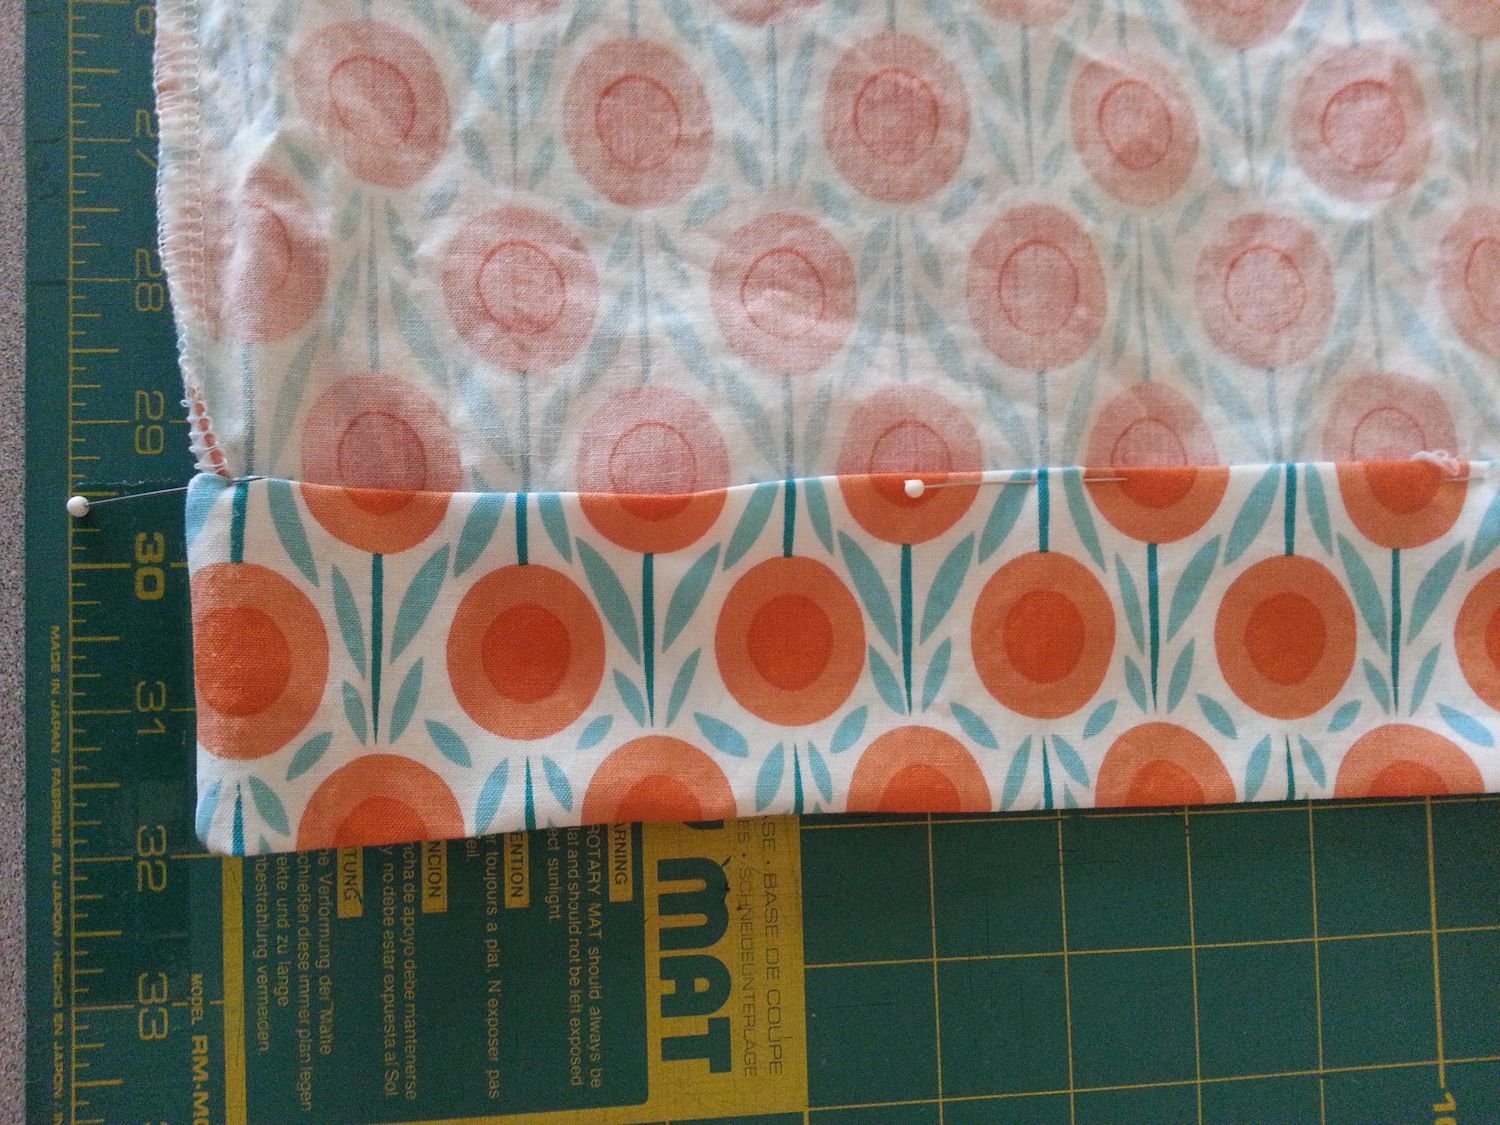
If laying pattern pieces onto flat fabric, use the layout on the left, below. "Fold Line" written on the pattern piece refers to the fold you will make when stitching the pillowcase together. If placing a pattern piece that is meant to be placed on the fold, fold your fabric lengthwise, then lay the pattern piece's long side along the fold of the fabric. I didn't use a pattern. I simply folded my fabric and measured 21.25" x 35". Note that it was not 36". I was 1" short. It was fine; it just meant that my hem would be 2.5" rather than 3.5".

Stitch Pillowcase Side & End
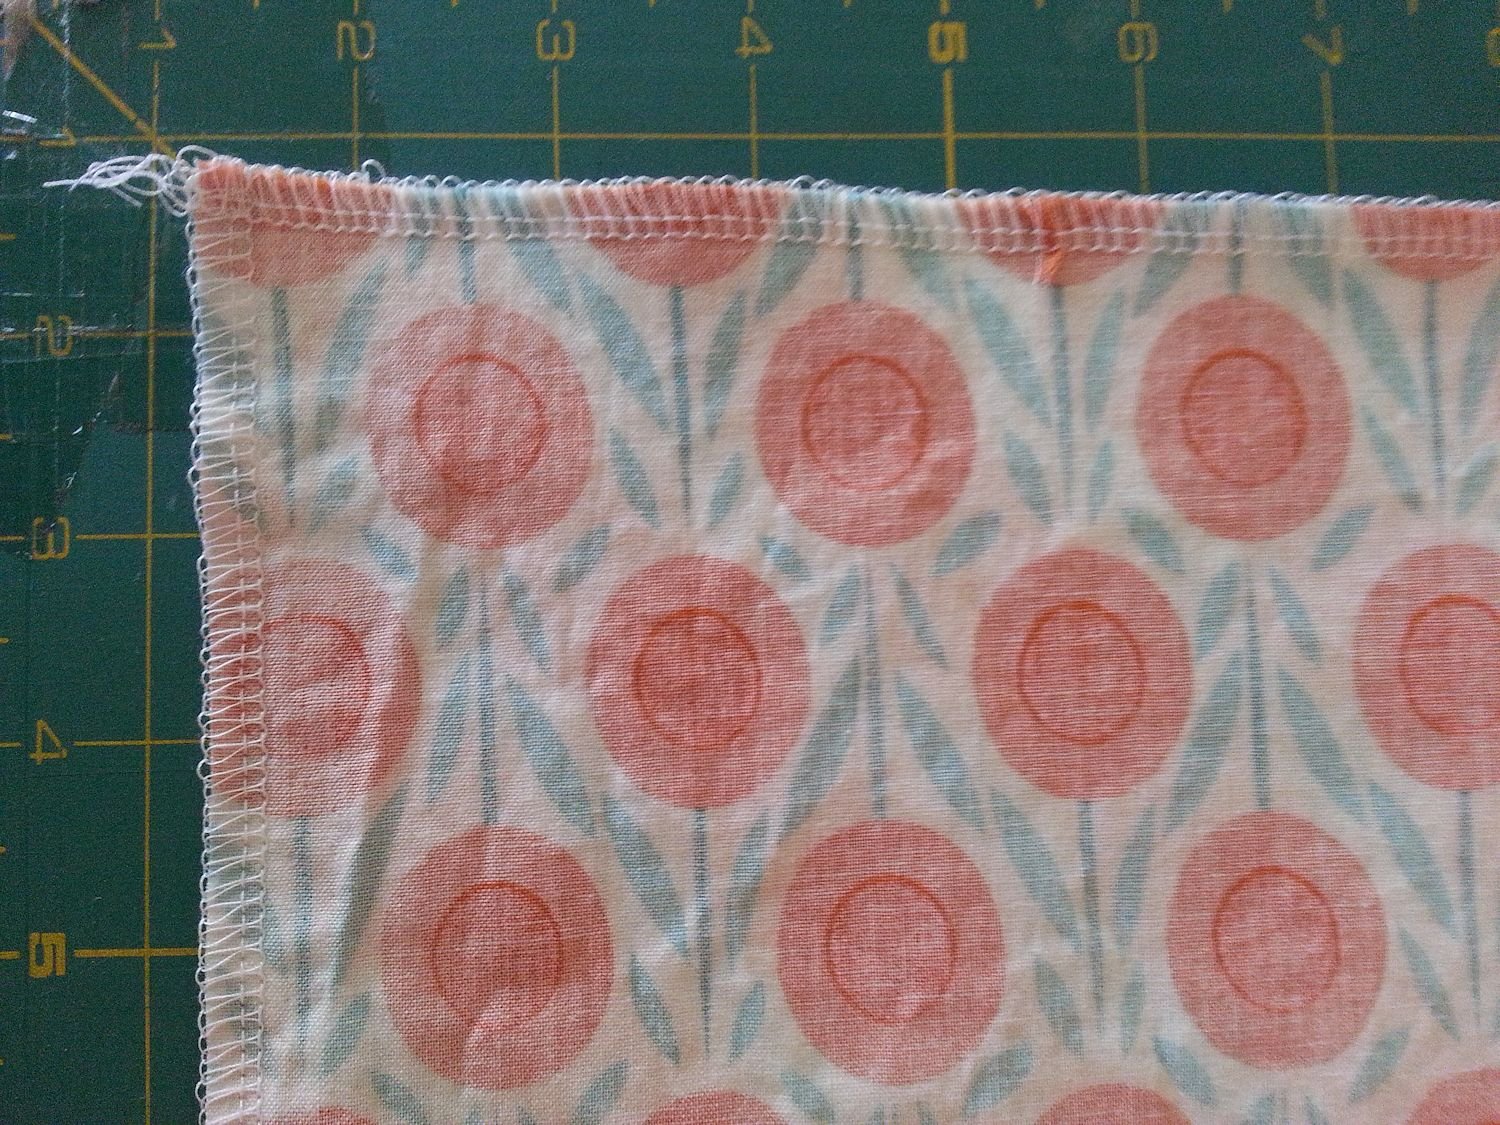
Stitch across the pinned short end and the pinned long side.
The photo on the right shows my pillowcase after stitching. I stitched across one open end, then down the long, open side.
I used my serger sewing machine.
Create Hem
With pillowcase still wrong side out, turn the hem under 1/4". Press. Turn hem under 3.5". Use a ruler to make sure the hem is an even 3.5" all the way around.
Line up the hem side seam with the side seam of the pillowcase. This ensures that the hem lines up straight. After I was sure my hem was straight, and 3.5", I pressed and pinned it into place all the way around.
Stitch Hem
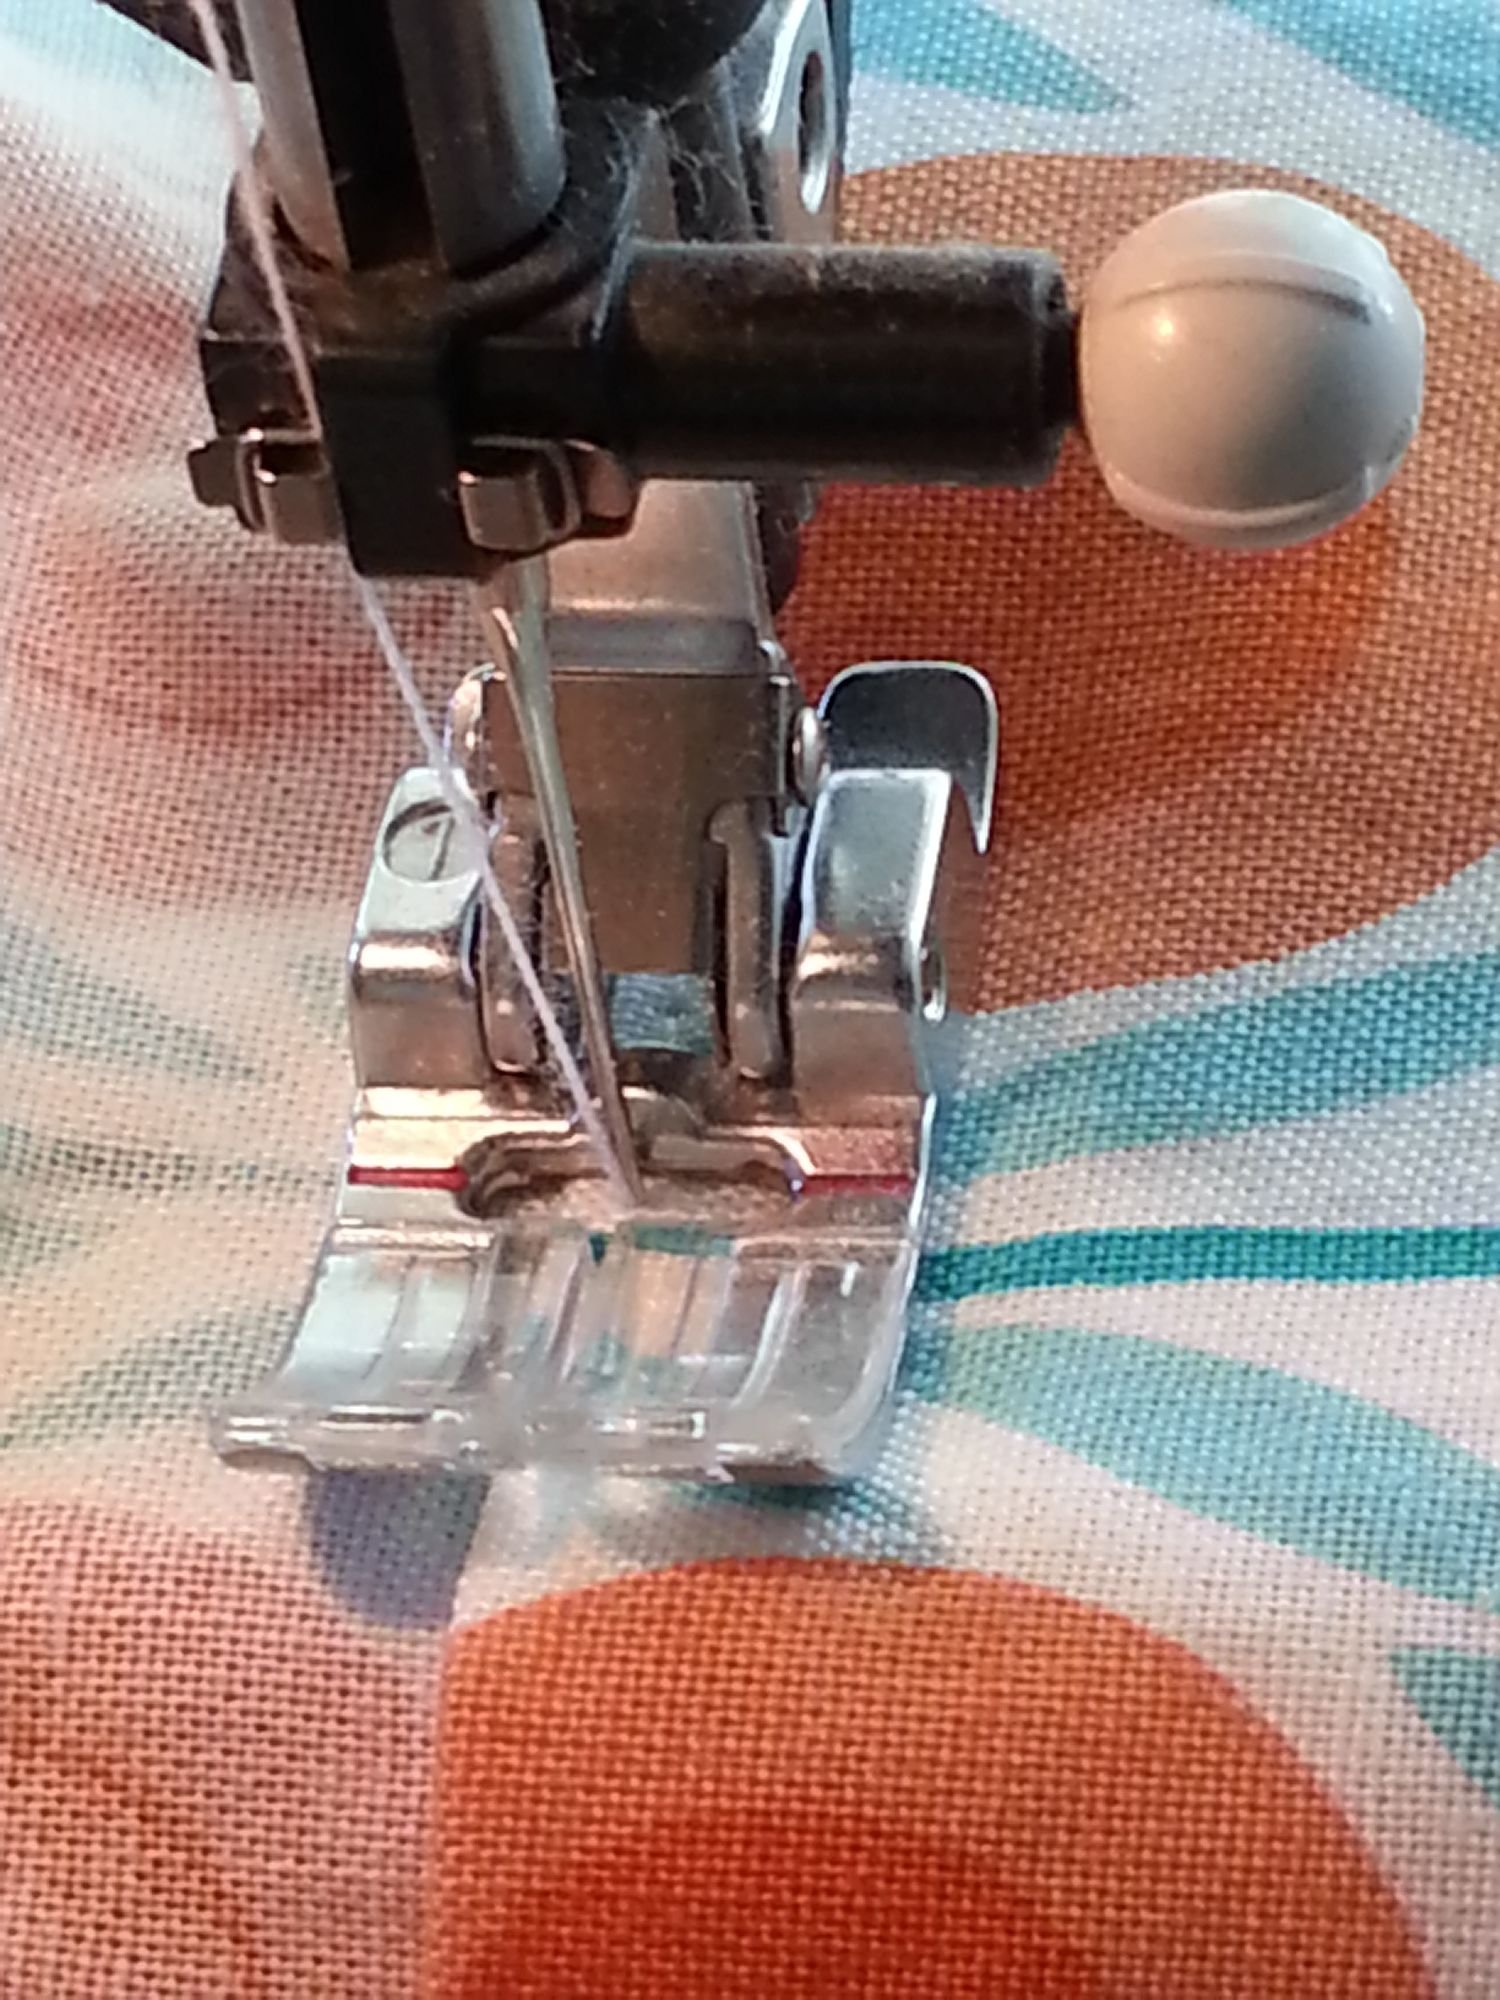
Stitch hem in place using a straight stitch (this is called top stitching). I stitch on the wrong side, close to the edge of the hem. This is best because if you stitch on the right side, you cannot see the edge of the hem. If you have a free arm machine, stitching will be easier. If you do not have a free arm, take care to not stitch through both layers of your pillowcase.
At this point, you can sew a satin ribbon or lace over the hem stitch line. Applique or embroidery adds a nice touch, as well..
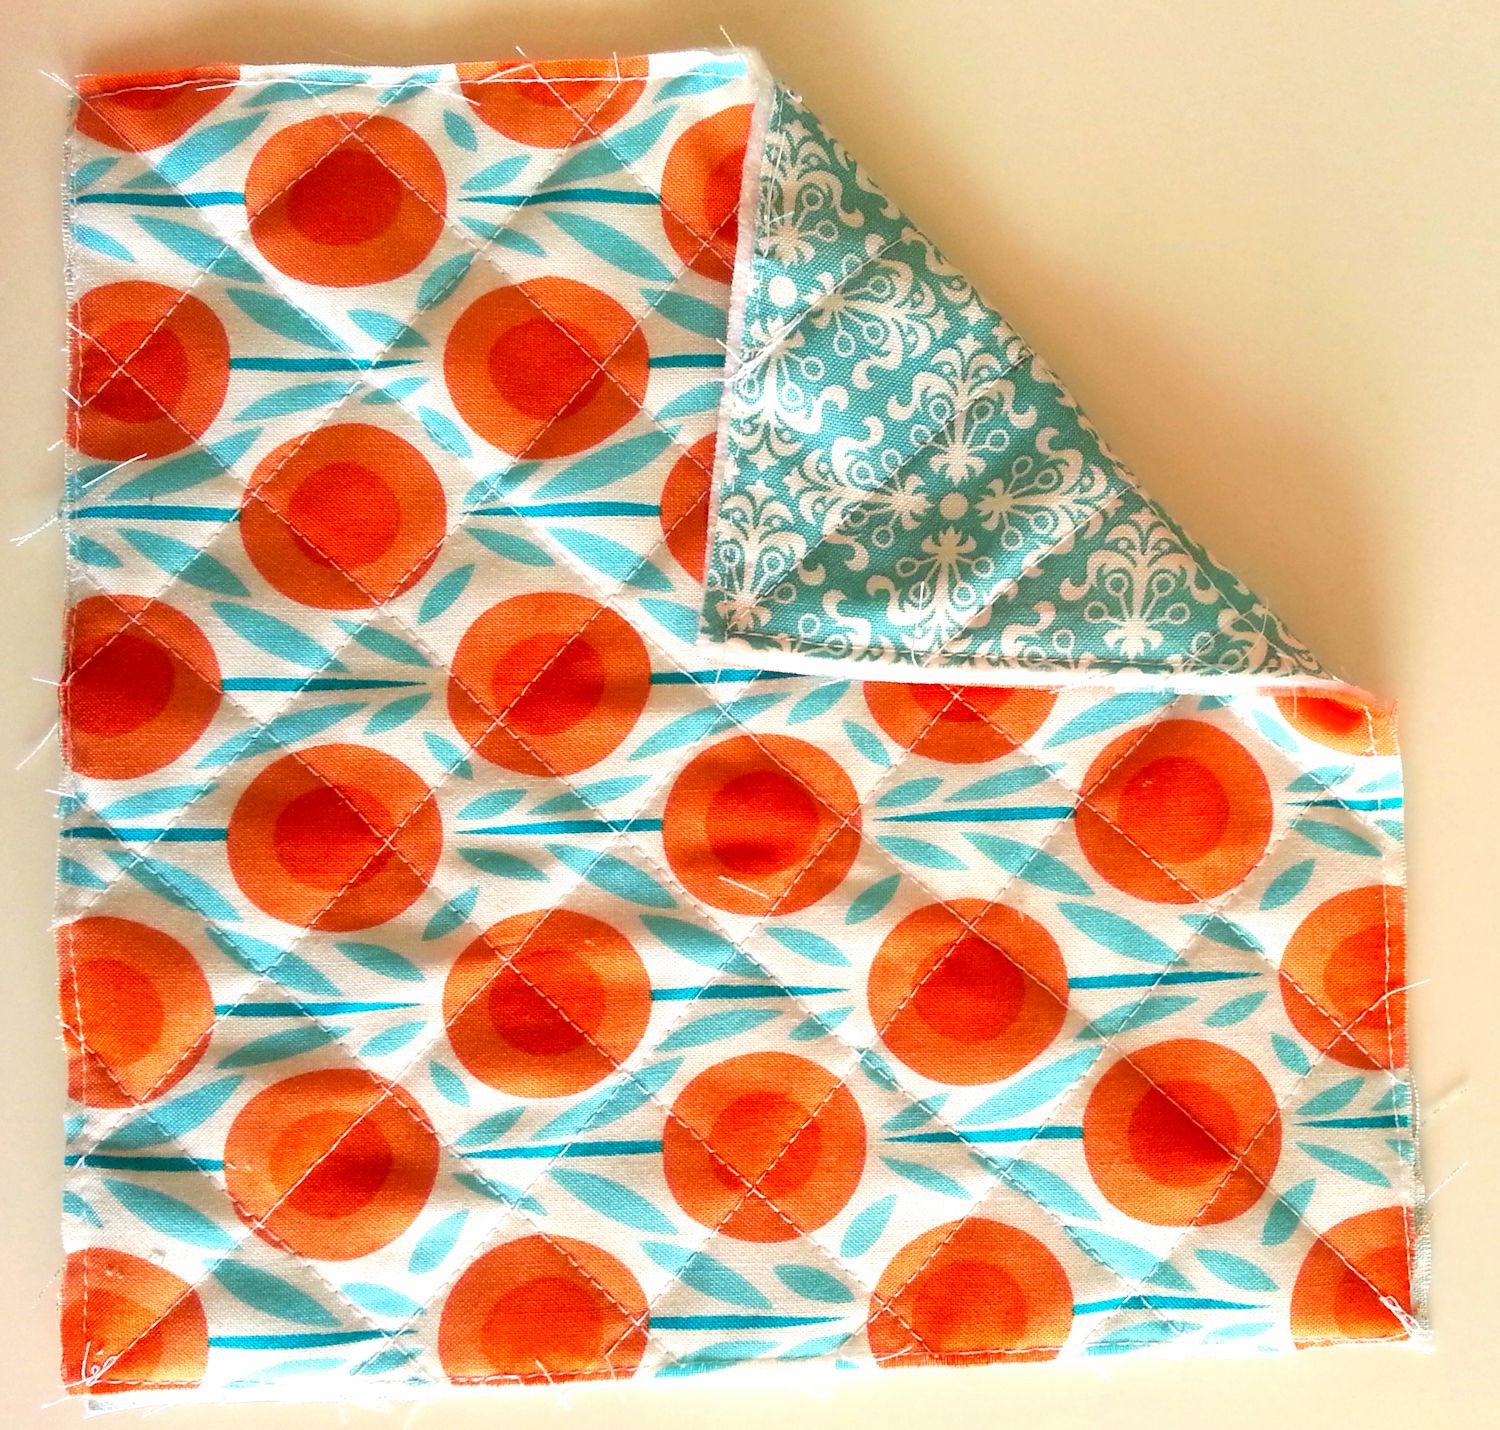
Benefit Of Sewing - Good Quality!
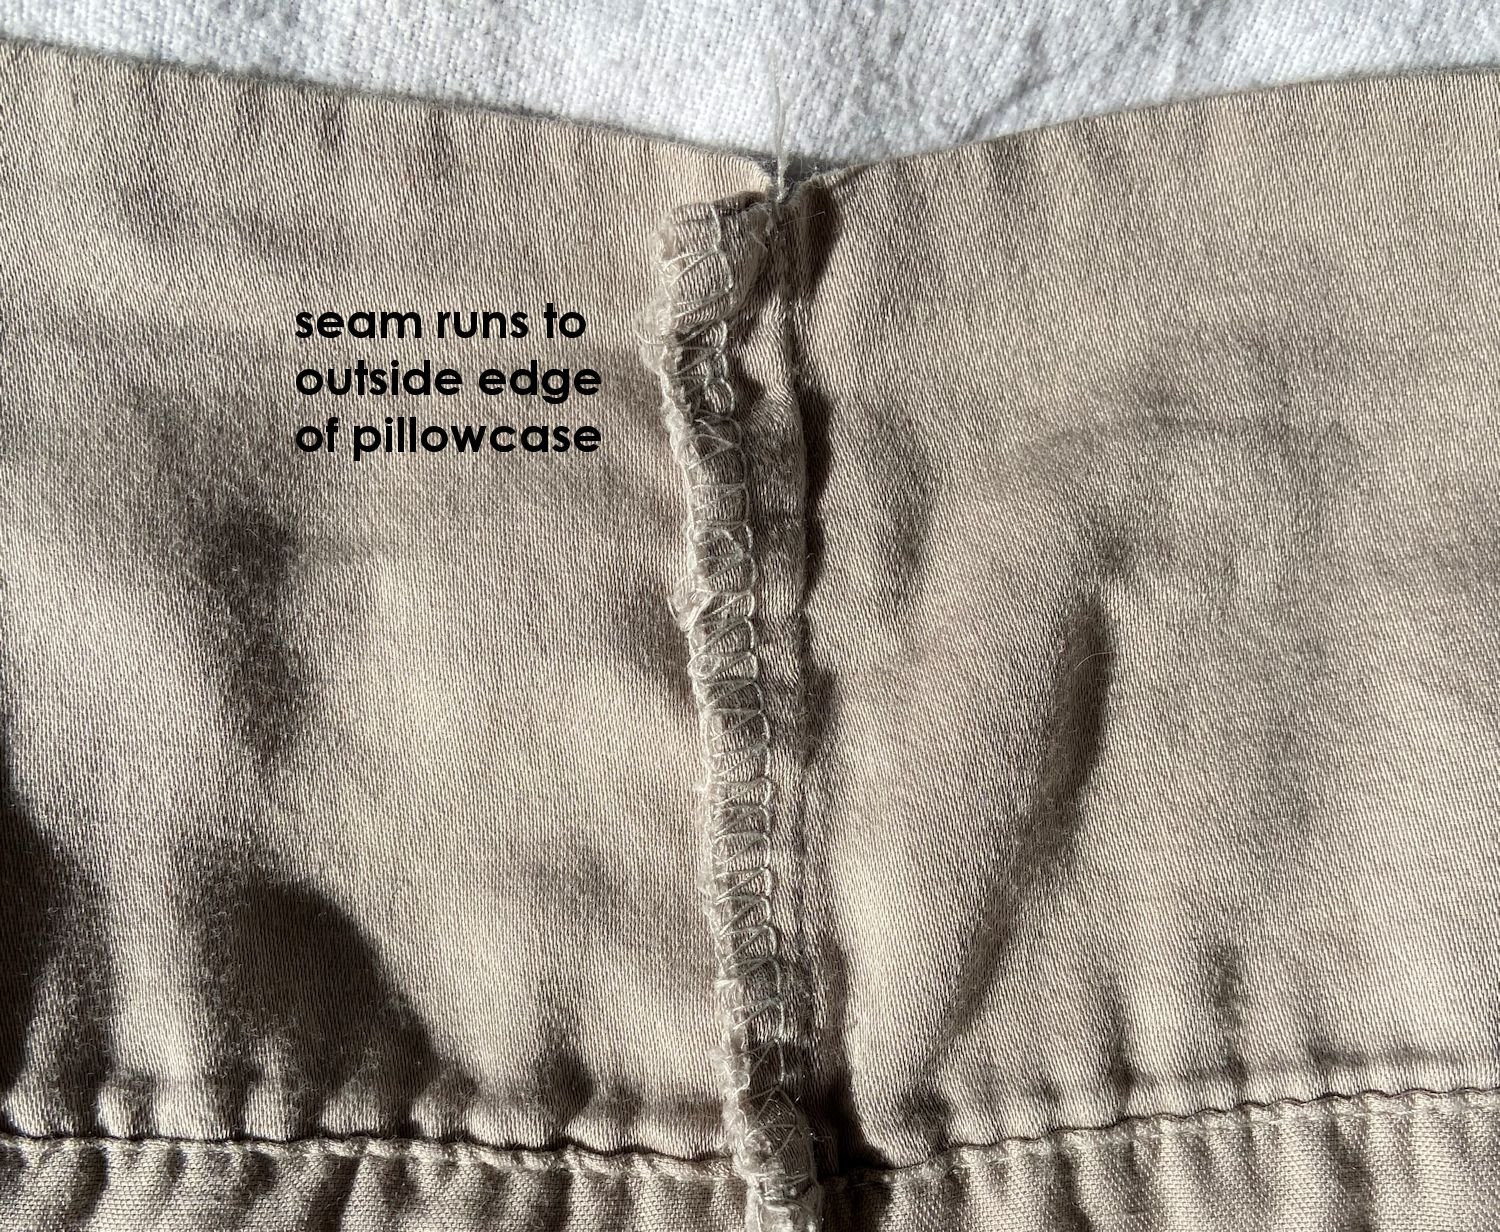
Improperly Constructed Pillowcase
If I take the time to sew, I want to end up with a product that is done correctly. A “quick and dirty” method of sewing is to lay out your pillowcase fabric piece, stitch the hem, and THEN stitch the sides. The problem with that is the side seams runs down through the hem area. The inside of the case is not finished inside the hem nicely.
I won’t say this is wrong. Companies cut corners where they can in order to keep costs down. It is very quick and easy to construct a pillowcase in such a way. I don’t like the unfinished side seam to come out to the edge of the pillowcase, however, so I take the (tiny bit of) extra time to do it “correctly.”
The case in the previous photo was NOT constructed properly. I find many improperly constructed pillowcases on the market today. They look alright at first glance, from the outside, but if you look inside the hem area you will see a seam allowance that runs all the way to the outer edge of the hem.
Good quality pillowcases are constructed properly, but they are much more expensive.
I saw some pillowcases for sale the other day, and they were $24-$35 and more PER PAIR. I could not see how they were constructed. For that price, I would expect them to be constructed properly. I decided to purchase one flat sheet as fabric, and construct my own pillowcases. I could get many more than just 2 for that money! AND they would be sewn well.
Once you know the proper method of construction, you notice pillowcases more. Check out pillowcases you have purchased. Are they constructed properly?

complete instructions plus video
make for any occasion
Pillow & Quilt Patterns For You


Home Improvement


Nicely constructed pillowcase with contrast cuff and piping trim. Cuff is nicely finished on the inside. Free sewing pattern with directions for standard, queen and king.