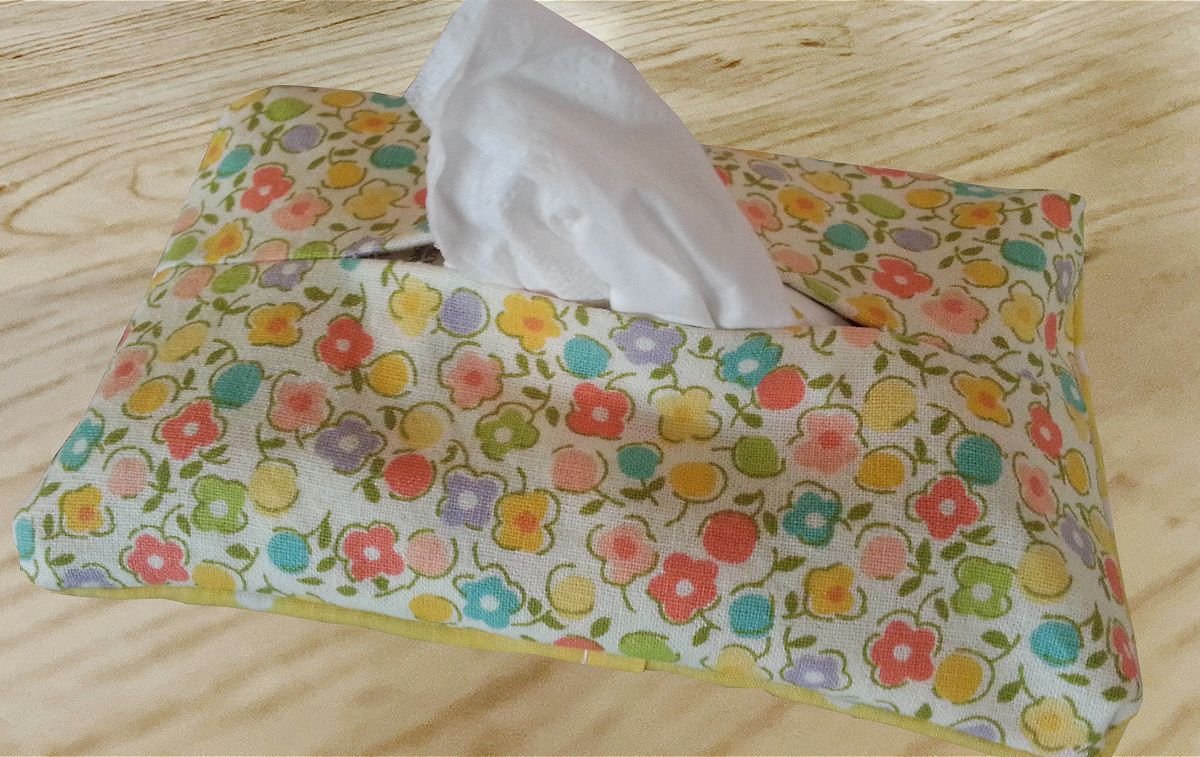
Lingerie Bag
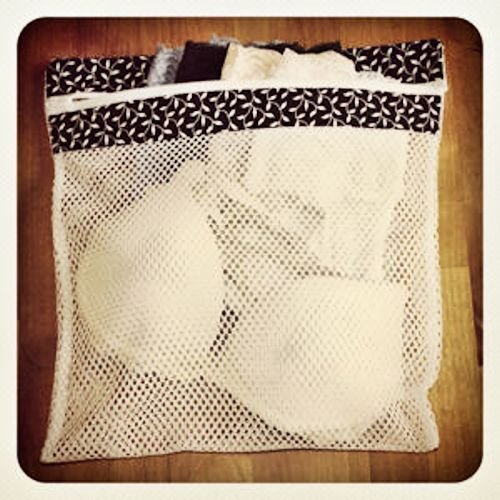
Size: approx 12.5” x 14” - customize to size you need
This pattern comes from our former site, CraftAndFabricLinks. Same owners - new site.
I love this pattern because of the fabric trim. I made several of these bags - my daughters and I could easily identify our own bags due to the trim. Customize size for your needs. Quick & easy! A great “beginner’s project.”
Disclosure: This site contains affiliate links. As an Amazon Associate, I earn from qualifying purchases. Clicking on links, and purchasing products, may result in the seller paying us compensation - at no extra cost to you. Affiliate links are in green.
Also see:
Follow Our Adventures
Easy Sewing Patterns
Accessory Patterns
Laundry Room Makeover
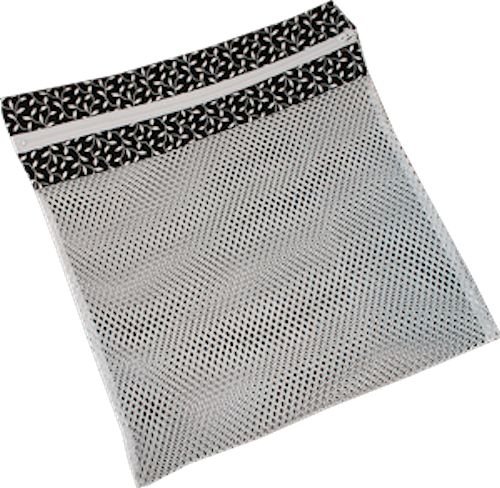
Lingerie Bag Size
Fits over a small package of tissue: 12.5" x 14"
Change the size per your own needs.
All seams are 1/4". Prewash and dry fabric before using.
Click photos for larger view.

SUPPLIES
Fabric
For each bag, you will need the following:
One 13 " x 25" piece of utility mesh fabric
Two 2" x 13" strips of fabric for trim (I like to lay out fabrics to get an idea of color choices)
Zipper
One 12" zipper (or cut needed length from a zipper roll)
Tip: I buy my zipper on a roll and cut the length I need.
All seams are 1/4".
Other
thread to match background of fabric
large sewing ruler (optional but nice to have)
scissors or rotary cutter
pins (or needle and thread for basting)
fabric marker or pencil (optional but nice to have)
PRE-WASH, DRY, & PRESS ALL FABRIC BEFORE USING
DIRECTIONS
Cut Mesh Piece
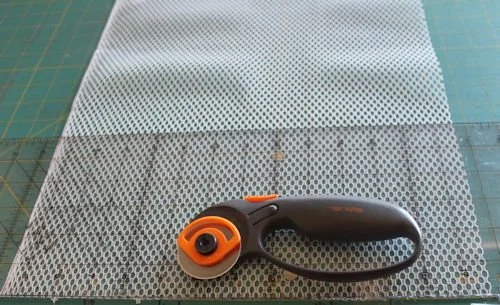
Your lingerie bag will definitely be washed, so you will need to pre-shrink the fabric before using. Cotton fabrics (such as quilt fabric) shrink; pre-wash, dry and press before using.
Create Zipper Piece
1. Gather your zipper, two pieces of fabric strips, and mesh piece. You will be working with these items for this part of the project.

2. Lay down a piece of trim, right side up. Lay the zipper over it, right side down. Pin the zipper to the fabric, aligning upper edges, making sure to leave at least ¼" over hang of fabric on metal end of the zipper.
If the zipper is longer than the fabric, or too short, that works too. You will need to add tabs at the ends of zipper. Refer to our coin purse pattern for instructions. In fact, once you master this pattern, you will want to make a coin purse :-)
The zipper unit needs to be the correct length when finished because, later, you will stitch the sides of the bag together, close to the ends of the zipper. With a zipper foot, you can get quite close to the zipper ends. The red dotted line on the right represents the stitching line you will later make. These lines should be ¼" from each end of the fabric strip, and OUTSIDE of the metal ends of the zipper.
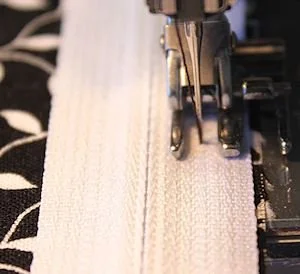
3. Use your machine's zipper foot to stitch the zipper to the fabric. My zipper foot can be adjusted to stitch to the right or left of center. I aligned the edge of my zipper foot to the edge of the zipper cloth (see photo at right). Stitch across the entire edge.
NOTE: You will need to open the zipper at times during the stitching process, because the zipper pull will be too bulky to stitch past.

4. Trim threads. Turn zipper piece right side up and press with iron.
5. Repeat with the other fabric strip on the opposide side of the zipper. Pin unstitched edge of zipper to unstitched edge of fabric, right sides together. Press with iron.


Stitch Lingerie Bag Together
6. Lay down the mesh piece.Lay the zipper piece over the mesh piece, right side down, aligning upper short end edges. Our mesh fabric doesn't have a right or wrong side, so just choose one side to be the "right side". Pin the peices right sides together along the aligned edge and stitch across the end.
7. Lay the bag piece down, right side up. Bring the unstitched mesh end up, folding bag right sides together. Align the two unstitched, short ends of the bag. Stitch across the short end.
Unzip the zipper at least part way. Stitch the two side seams. Turn bag right side out.


Don’t miss our closet laundry makeover project! Create a beautifully organized laundry area.
More Accessory Patterns


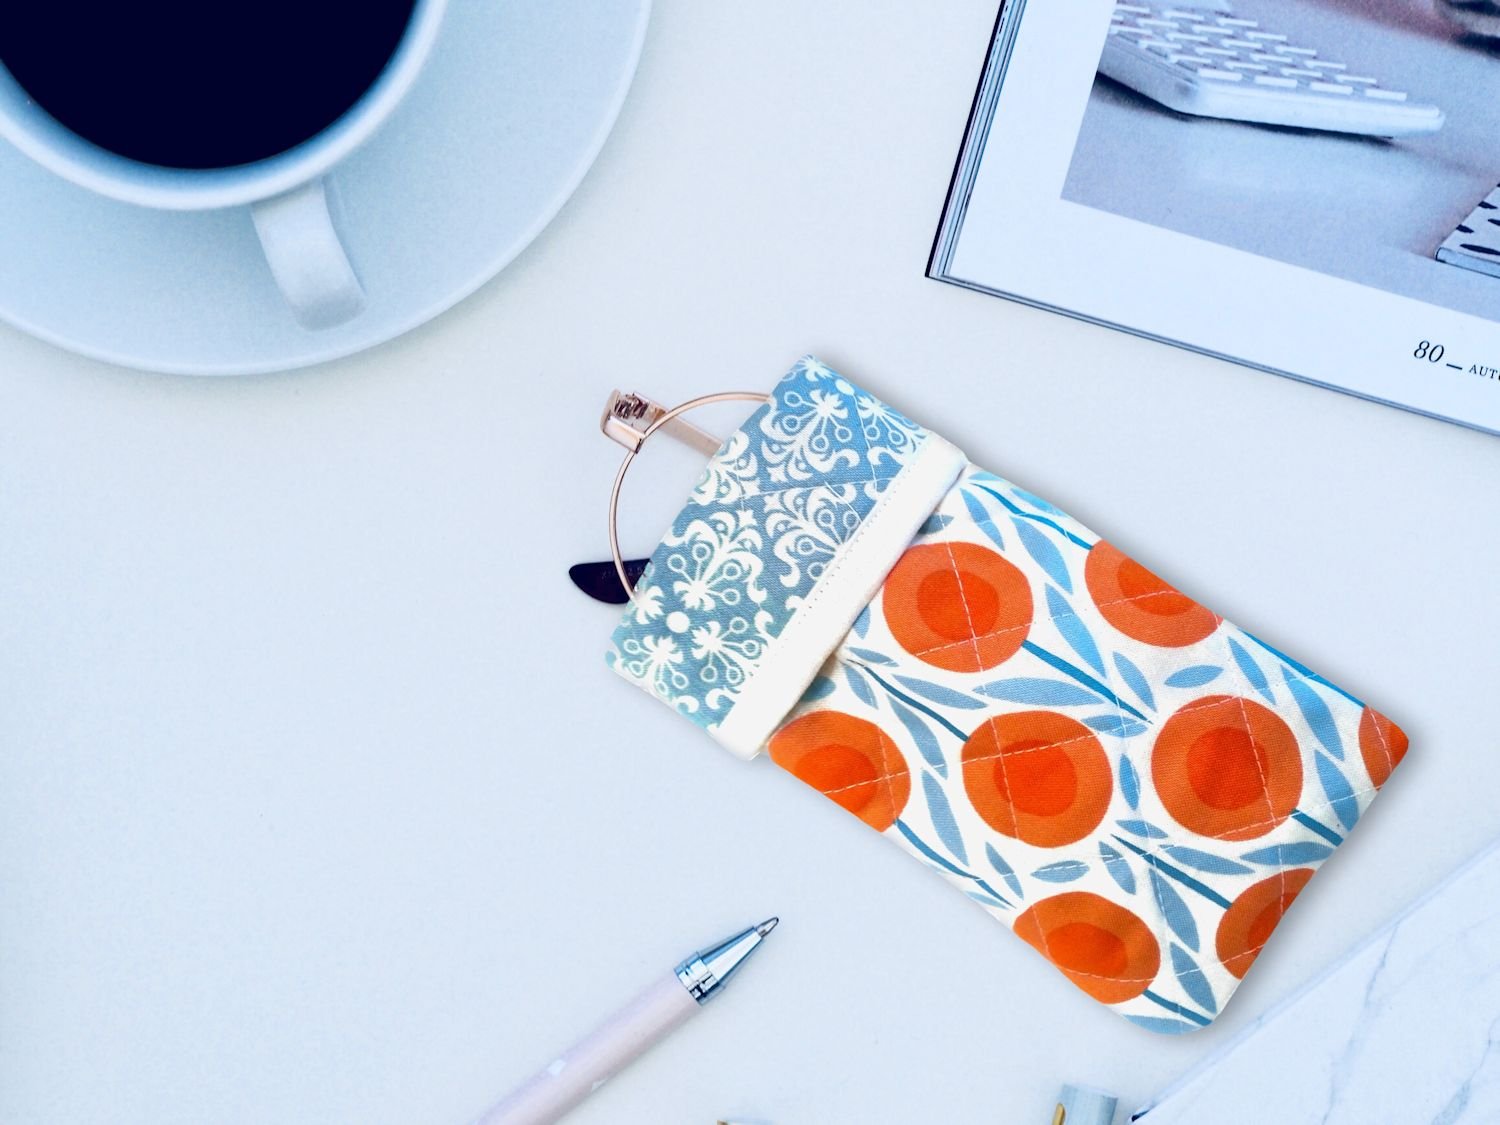


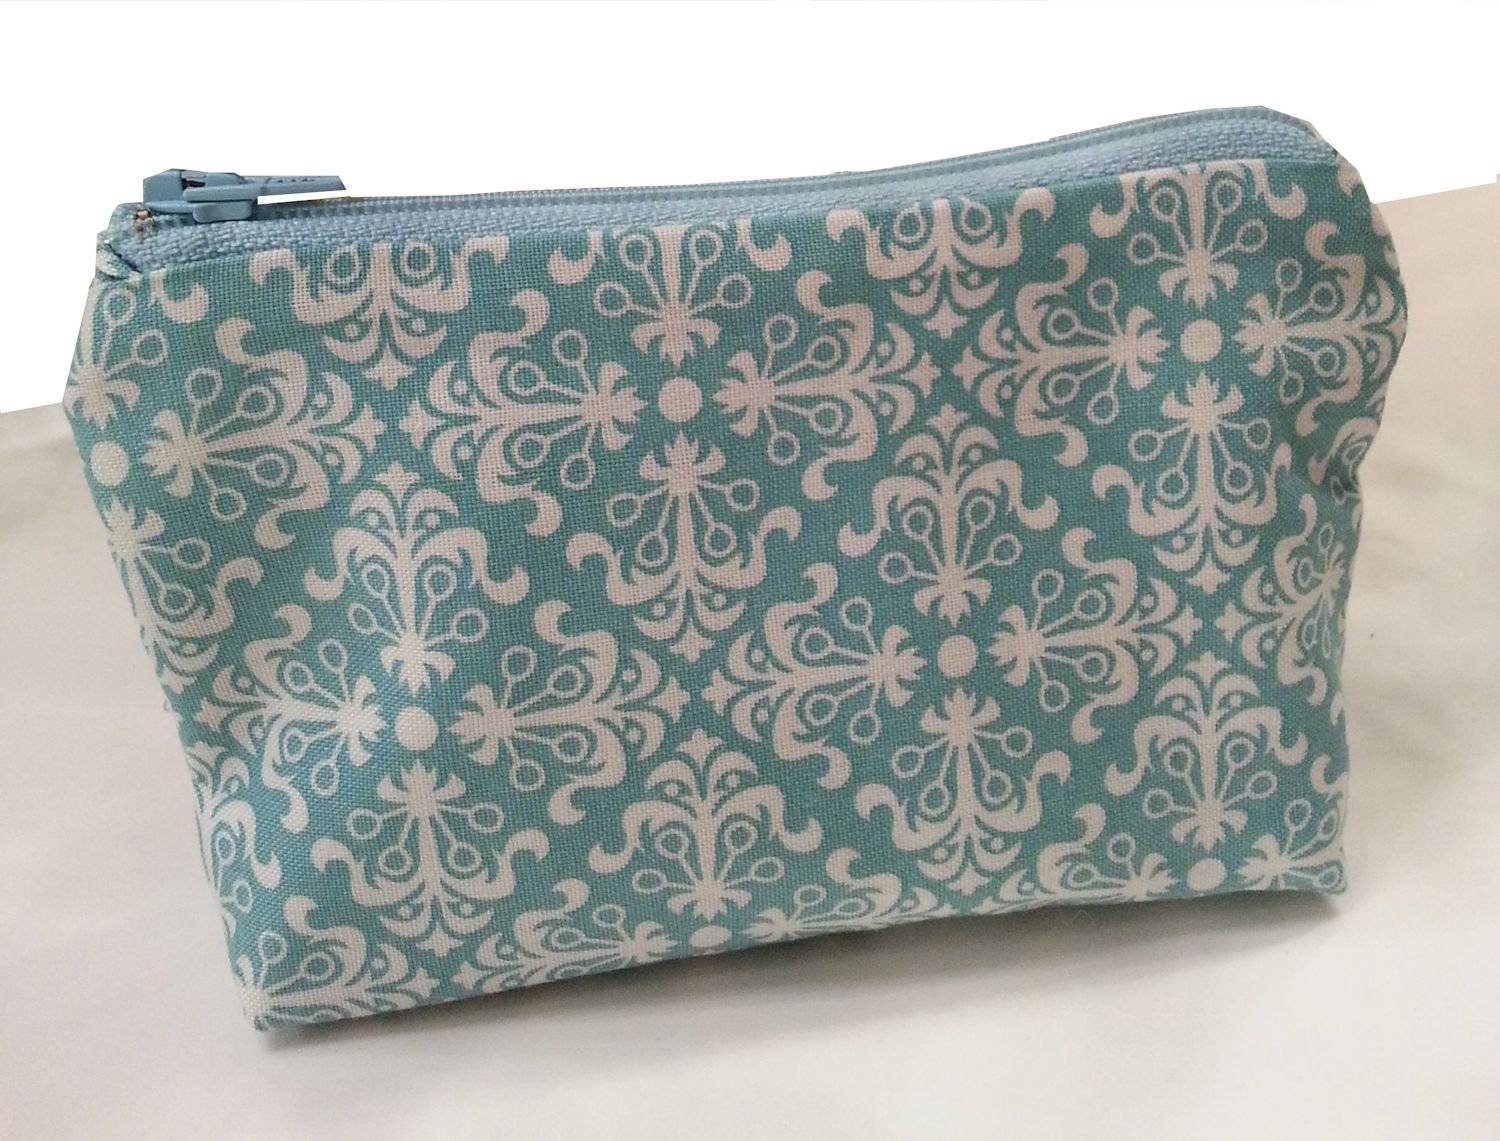


Find Inspiration!


Use double sided pre-quilted fabric to create this roomy tote with pockets. Multi-use bag.