Gift Bag - Brownie Gift Set
This pattern comes from our former site, CraftAndFabricLinks. Same owners - new site.
Disclosure: This site contains affiliate links. As an Amazon Associate, I earn from qualifying purchases. Clicking on links, and purchasing products, may result in the seller paying us compensation - at no extra cost to you. Affiliate links are in green.
Great “beginner” sewing project. Practice straight stitching and creating a casing.
Also see:
Blog: tips from the workroom & trails
Easy Sewing Patterns
Remodel Projects
Special Occasions
Best Saucepan Fudge Brownies
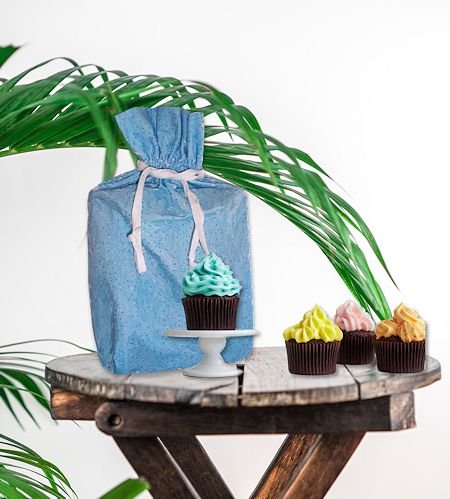
This tutorial provides a gift bag pattern, plus my recipe for my family's favorite brownies. I perfected this recipe years ago, and people love them. The best part? They can be made right in a sauce pan - no mixing bowls or special equipment needed!
Chocolate Lover’s Gift
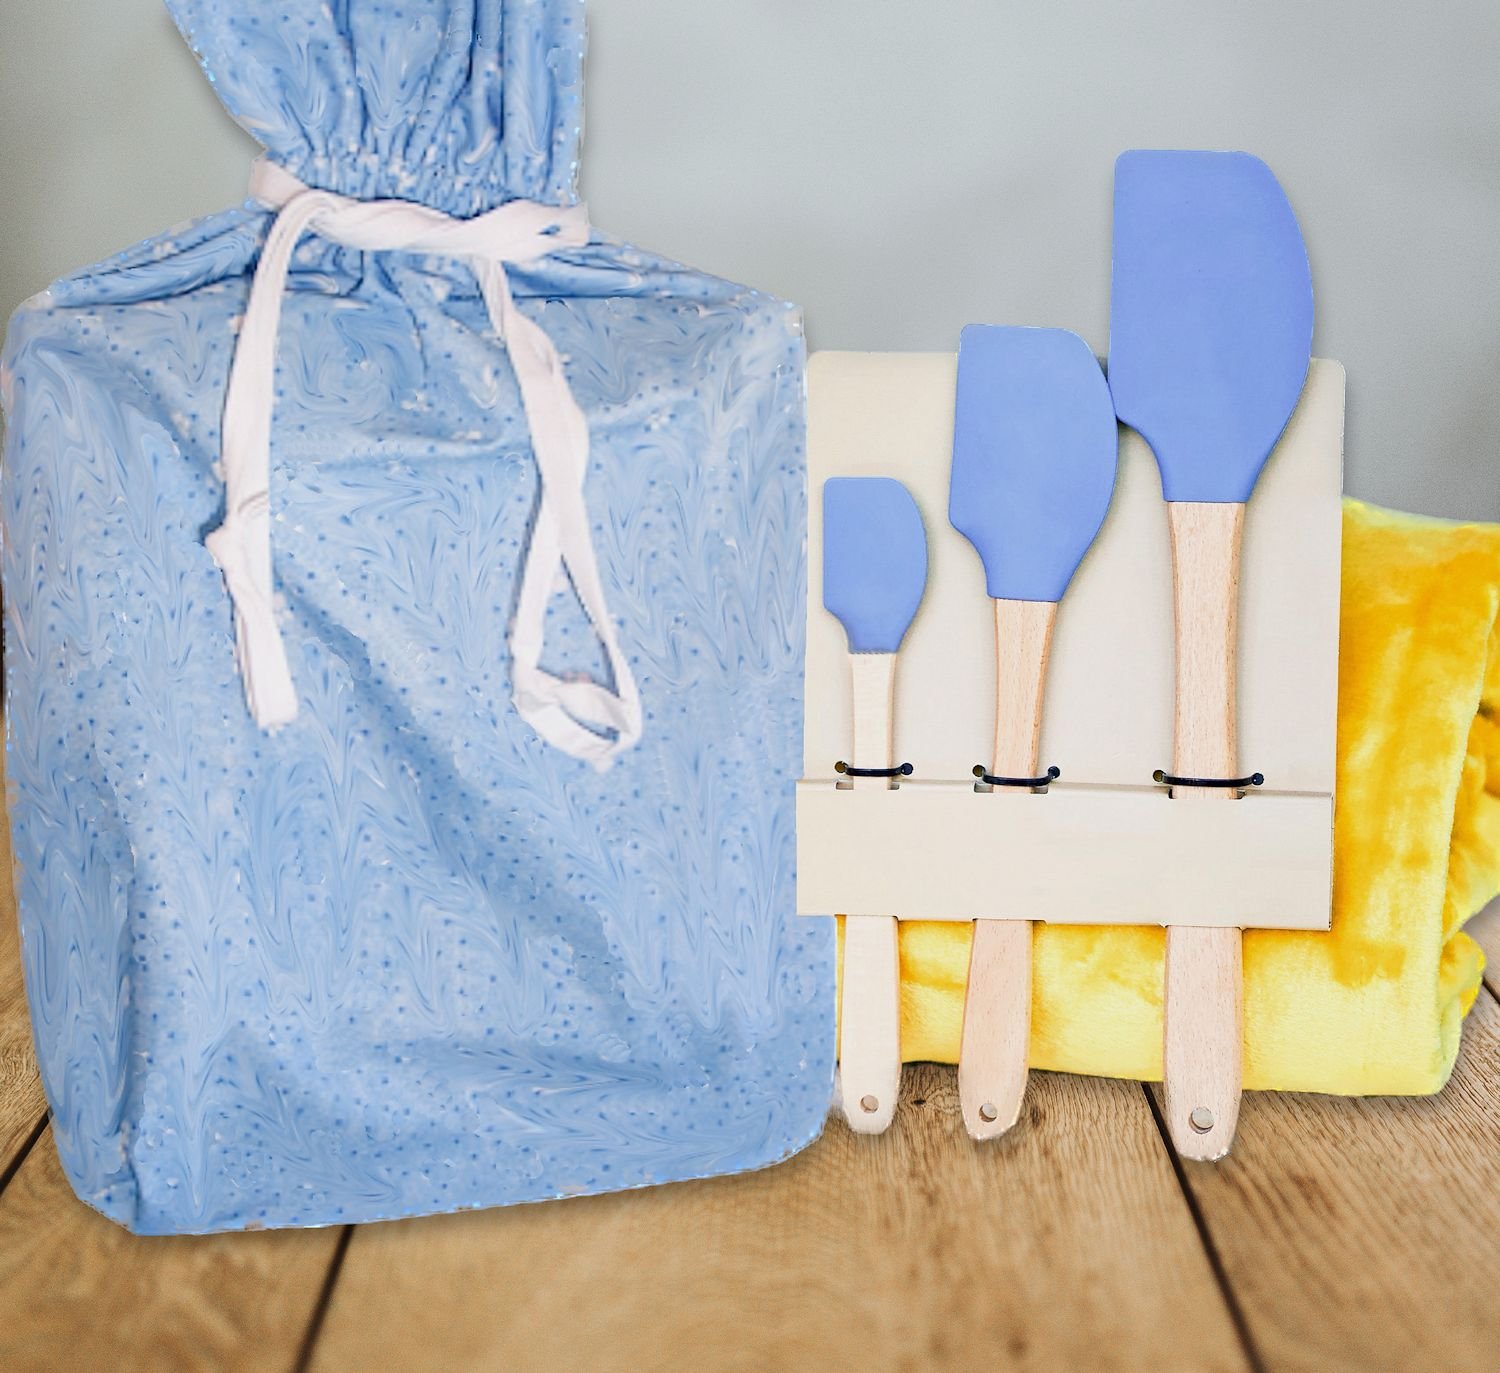
This easy-to-make drawstring bag works perfectly as a gift bag. The bag holds an 8” x 8” brownie baking pan plus my sauce pan fudge brownie mix. The perfect gift for all of your chocolate loving friends. Mix the dry ingredients into a zip lock bag, add a decorative label (we supply one for you). Place the mix, directions, and a brownie pan into the drawstring bag and present as a gift. Optional: toss in a spatula that is color coordinated with the gift bag - or matches the recipient’s decor.
The directions list the "secret ingredient" that makes perfect, moist, fudge brownies.
As an alternative, include a mix for cupcakes - with cupcake papers - in place of the brownie mix. You would need to adjust the size of the gift bag to accommodate a cupcake pan.
Gift Bag Size
Approximately 9” x 12” tall, plus the ruffle area above the casing
Cutting Tools
I recommend using a Rotary Cutter, Cutting Mat, and Sewing Ruler. I use these tools for most projects. They allow for easy, precise cutting.
Supplies - makes one bag
One piece of fabric measuring 44" x 12" *
* (1/3 yard of fabric that is at least 44" wide will make one bag, 1 full yard will make three bags)
Two strips of contrast fabric, each measuring 30" x 1.75" (or ribbon for ties)
Sewing Supplies
thread
sewing scissors
quilting pins
large sewing ruler
fabric marking pencils
seam ripper
* optional but nice: rotary cutter and mat (see above “cutting tools”)
Supplies & Directions For Brownie Mix (corrected 10/2023)
note: the gift is the dry brownie mix; the printable label lists remaining ingredients and directions
One quart size zip top freezer bag
6 Tablespoons unsweetened cocoa baking powder (I have traditionally used Hershey's, but now prefer good quality, organic cocoa baking powder)
1 cup sugar
3/4 cup flour
Directions: Mix the sugar, flour, and unsweetened cocoa powder together, and place the mix into the zip lock bag.
label (create your own label, or print our label - see below)
One 8" x 8" x 2" baking pan
Labels For Brownie Mix
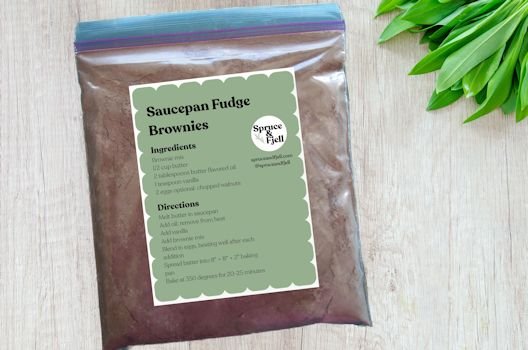
We provide a printable pdf label for you. Print to card stock, paper, or a one-sheet label. My zip-lock plastic bag was approximately 7” x 7.5”. Our label is approximately 5” x 6.5”, so fits nicely on the front of the bag. I set it to 200 dpi for a good print quality.
Download Printable Brownie Label
DIRECTIONS - gift bag
PRE-WASH, DRY, & PRESS ALL FABRIC BEFORE USING
NOTE: All seams 1/4"
1. Turn Under Ends
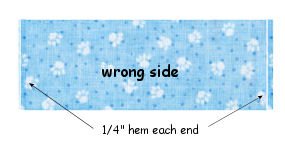
Turn under 1/4" on each end. Press. Do not stitch.
2. Stitch Side Seams
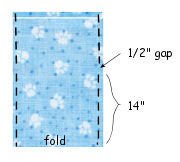
Fold fabric in half so that turned under edges are aligned on one end. Mark 14" from the fold on each side of your bag. Mark 1/2" up from the first mark. Stitch from the fold up to the first mark. Stitch from the second mark to the top of the bag. You should have a 1/2" gap in the stitching. Repeat on the opposite side of the bag. This open area will become the opening for the drawstring when the casing is finished. Press seams open.
3. Create Mitered Corners
To help your bag stand nicely, corners can be created on the bottom of the bag. I provide directions for creating mitered corners in a free tutorial. Go to: Mitered Corners Lesson
4. Create Casings
With the bag still inside out, fold the upper edge down so that the edge of your bag comes just past your side openings (the opening in the seam). In other words, the side openings are now underneath the area that is folded down. The area folded down will be the facing for the top of the bag. My folded area measured 3.5". Press along fold line. Be sure the fold line is straight and the distance from the fold to the lower edge of the facing is equal on both sides.
Stitch along the lower edge of the facing, all the way around, very close to the edge.
Turn the bag right side out. Note where the side openings are. Stitch a second line above the side openings. You should now have a stitched line on each side of the openings created for the drawstring. The two stitched lines created the casing for the drawstring.
NOTE: The diagram on the upper right shows the two stitched lines for the casing with the bag inside out.
5. Create Ties
Cut two pieces of 1/4" or 1/2" ribbon OR create ties. To create ties, cut two 30" x 1.25" strips of fabric. Iron under the two short ends of each strip, 1/4". Iron under the long sides of each strip, 1/4". Fold the strips lengthwise, wrong sides together. Press. Stitch around the three open sides of each strip.
Attach a safety pin to the end of one tie or ribbon. Thread the tie or ribbon through one opening, all the way around through the casing and out the same opening it entered. Remove the safety pin and tie the ends of ribbon or tie together to create the first drawstring.
Repeat with the other tie or ribbon, but thread it through using the opposite opening. Remove the safety pin and tie off the ends of the second tie to create the second drawstring. Pull the drawstrings to close your bag.
NOTE:The fabric I used was new and a bit stiff, so my ties didn't pull easily at first. I pulled them so the bag closed, then opened the bag, then repeated the process a few times. After a few "practice runs" my ties worked beautifully and my drawstring bag opened and closed easily.
ASSEMBLE YOUR GIFT
Place the pre-mixed brownie mix into the zip lock bag. Seal the bag.
Print the label and attach it to the front of the bag.
Place the mix in the brownie pan.
Place the items into your new gift bag. Add anything else you wish - whisk, spatulas, etc.
Totes, Bags & Purses
Saucepan fudge brownie mix gift set. Gift Bag sewing pattern, recipe, and printable label. Valentine gift - or any special day.
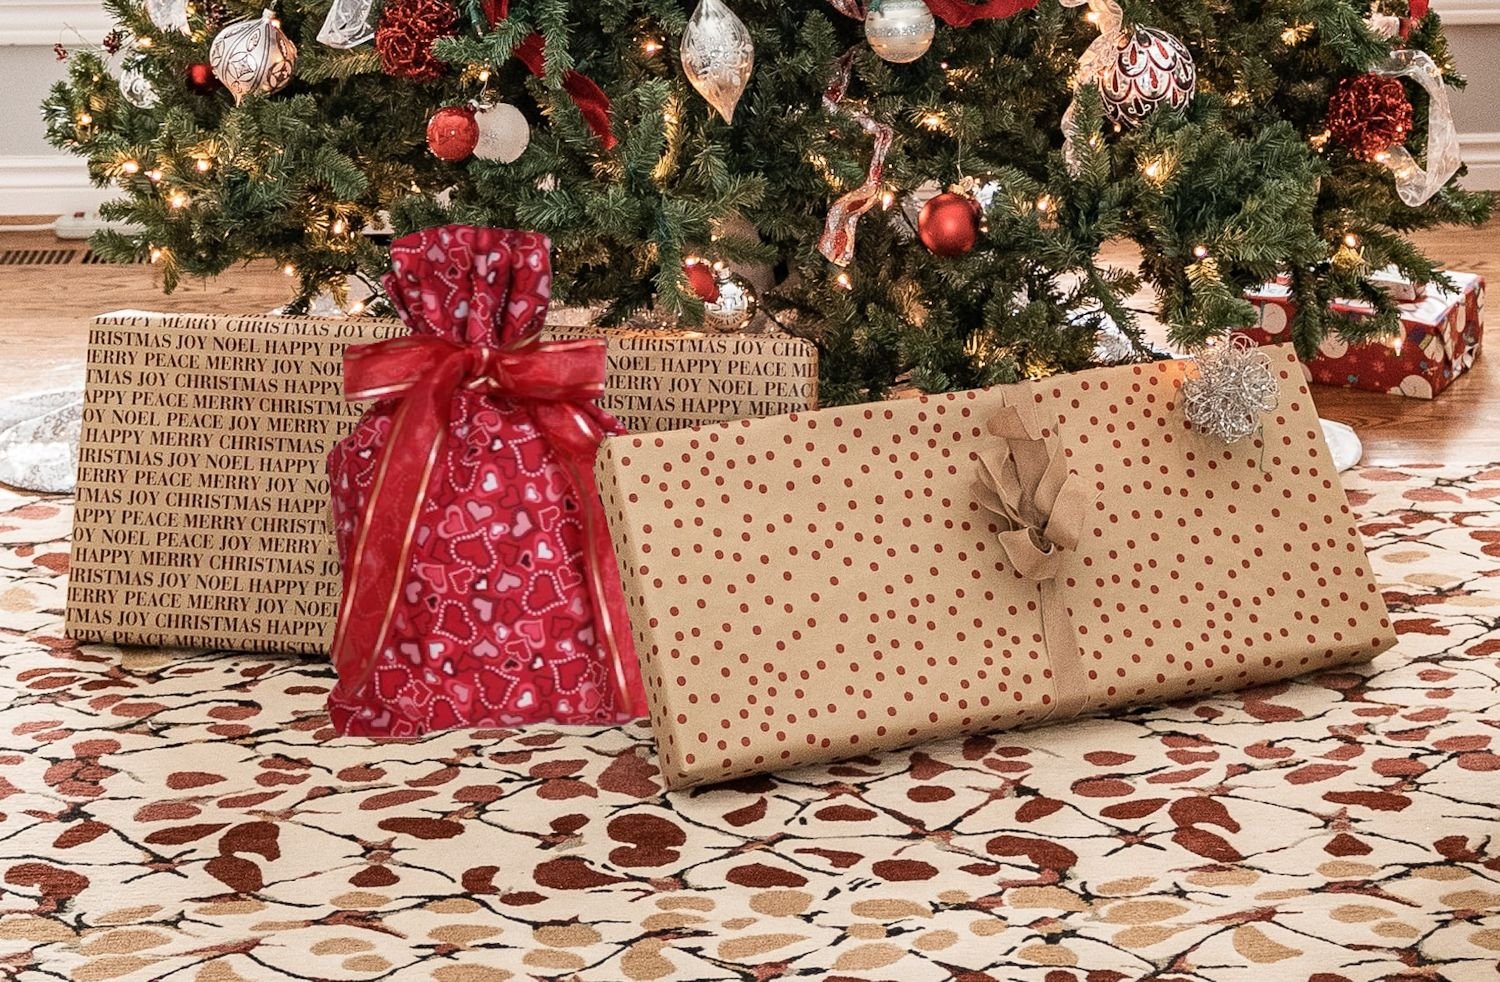
Reversible! Use contrast fabrics, or different holiday fabrics. Drawstring bag. Super cute!
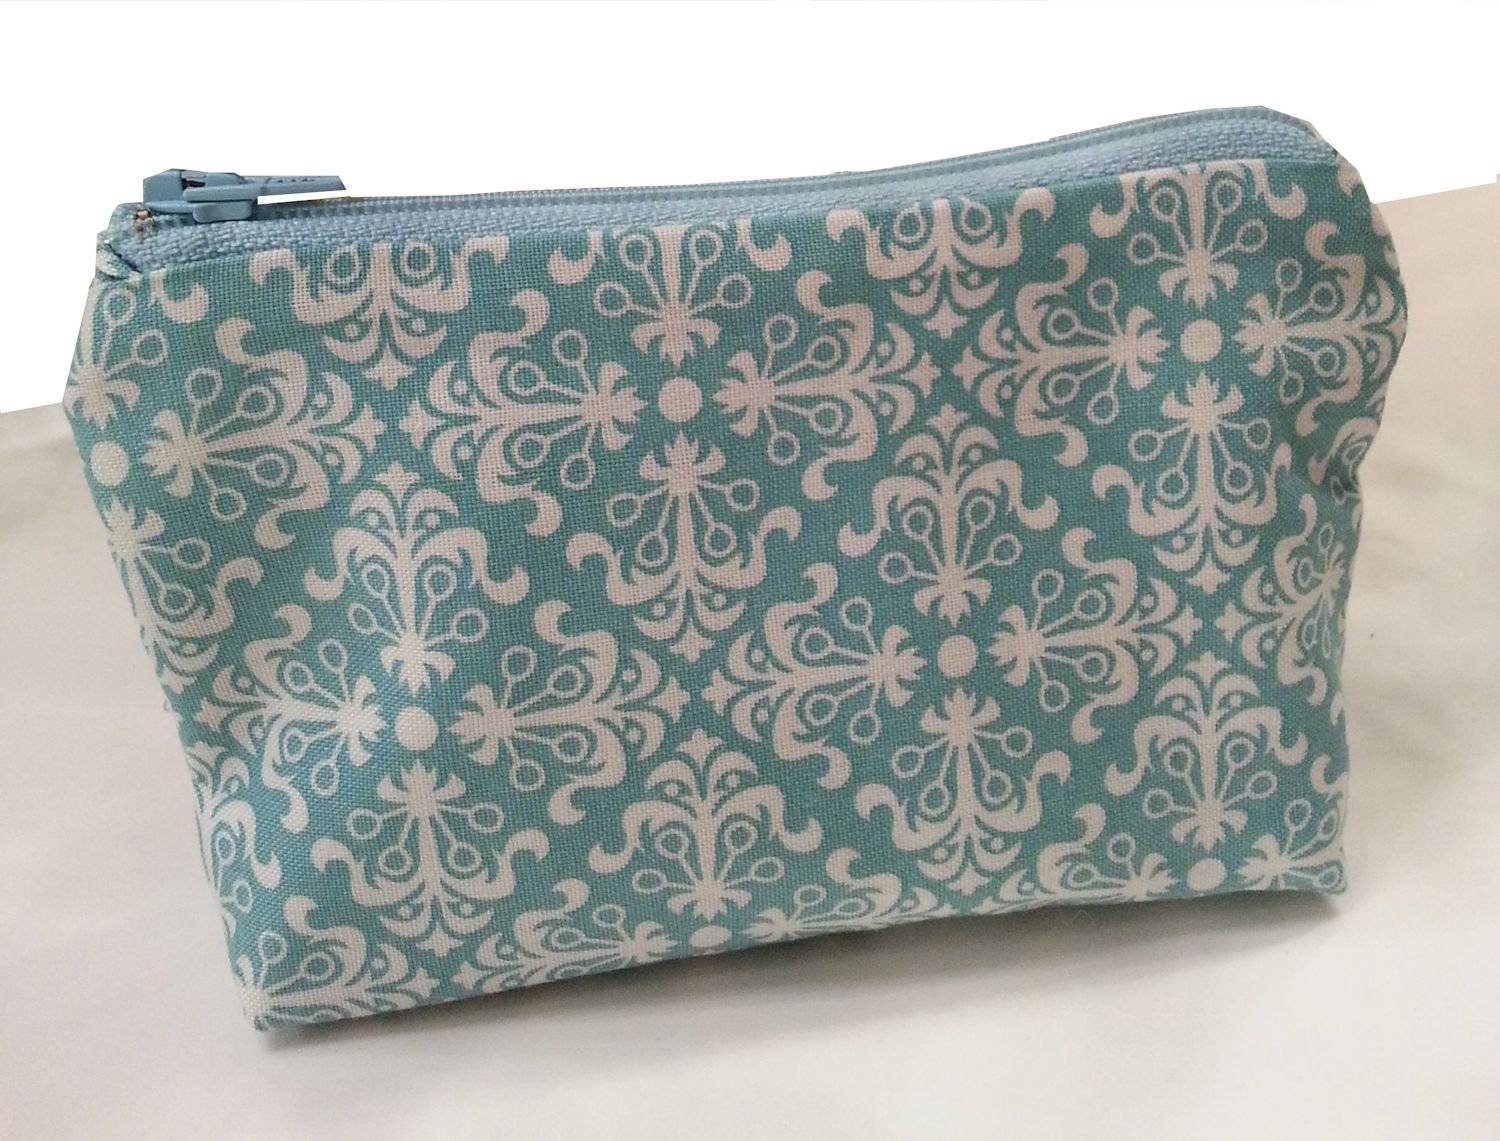
Our clever design creates a nicely padded, fully lined, zipper closure coin purse. Easy!
Sew a super easy super versatile tote. I make mine from painter’s canvas, so it’s also super inexpensive.
Home Improvement
Rejuvenate your rusty old chain link fence by adding fresh paint. Learn the tricks to creating a beautiful like-new fence.
Protect your blueberries from birds with a DIY cover. Easy to create using netting and PVC frame.
Keep garden maintenance down by using a weed barrier. Spend time up front to save time over the long run.
DIY personalized house address sign. Free mountain pattern provided. Quick and easy project to dress up your home.
Build a beautiful ramp with decking top for your garden shed. Step by step instructions.
Easy, portable DIY firepit made from reclaimed landscape bricks. Create memories with family and friends.
By choosing the right tools, you can do your own mowing and edging. Proper weight and size is the key.
Turn a boring wall into a beautiful, functional space. Calculate spacing. Wall molding, trim & coat hooks.
Spruce up your closet laundry. Paint, better lighting, and new shelves help mood and organization.
Transform an accent wall by installing shiplap. Very easy with our step-by-step directions. Part 3 of our fireplace makeover.
Refinish an out of date fireplace hearth with chalk paint. Part 4 of our fireplace makeover.
Refinish cabinets to lighten and brighten a room. Part 2 of our fireplace makeover series.
Exterior stucco fireplace makeover. Learn how to repair or replace loose tiles, fill cracks, and re-paint.
Building plans for elevated wood flower boxes. Save your back and add beauty to your yard.
Transform your fireplace by whitewashing the old brick. Easy, with beautiful results. You can do this!
Repair and paint an old shed to breathe new life into it. Quick and easy landscape upgrade.
Learn how to remove carpet, linoleum, and subfloor. Do it yourself to save money - plus it will be done to your satisfaction, and you can ensure all the mess is properly cleaned up.
Instructions and safety tips on how to remove a sparkly ceiling. With the right tools and motivation, you can do it!
Tips & Articles
Christmas eve is coming! Need some great homemade gift ideas that you can fit into your busy schedule? Look no further!
DIY Wedding. From plans to putting together your dream team to making it all come together. My full wedding guide and links to my projects.
I hiked Beacon Rock after developing plantar fasciitis - with no problems. PT and the right shoes made it happen. Tips & tricks to help you stay on the trails.
Keep a life balance of social connection even at a long distance by establishing a virtual book club. Follow our posts.
The 2023 summer hiking season is fast approaching. Time to get in shape! Tips for the trail.
Our best articles and sewing projects to inspire and assist on your journey to downsize, organize, and make the best use of your space.
Our ten most popular super simple sewing projects. Each is designed to teach a new skill.
Exchange the endless tidying up of your home for hiking, sewing, crafting - or following your own true passions.
This year, we decided to obtain a permit to get a tree from the mountains. What was to be a relaxing day in nature turned out to be quite the adventure!
The Big Dark in the Pacific Northwest is a peaceful, reflective time that runs from October through spring. Weather is mild, foggy, dark, and rainy - nourishing. We move our focus to indoor projects during this cozy time of year.
October additions to Spruce and Fjell, including a new, custom sideboard exterior table with full instructions, plus beautiful fall bouquet.
Oh fun - moving our old website (CraftAndFabricLinks) to our new site. Tons of work - but it will be worth all the effort.














Use double sided pre-quilted fabric to create this roomy tote with pockets. Multi-use bag.