Pajama Pant Sew
Pajama Pant Series
Lesson 3: Sew your new pants!
Disclosure: This site contains affiliate links. As an Amazon Associate, I earn from qualifying purchases. Clicking on links, and purchasing products, may result in the seller paying us compensation - at no extra cost to you. Affiliate links are in green.
Pajama Pant Series:
Lesson 1: Take measurements and draw a pattern based on measurements.
Lesson 2: Take an existing pair of pajama pants and turn them into a custom pattern.
Lesson 3: Sew your new pants!
Lesson 4: Add an adorable cuff to capri or full length pants.
Now that you have created your pattern (lessons 1 and 2), you can sew your custom fit pants!
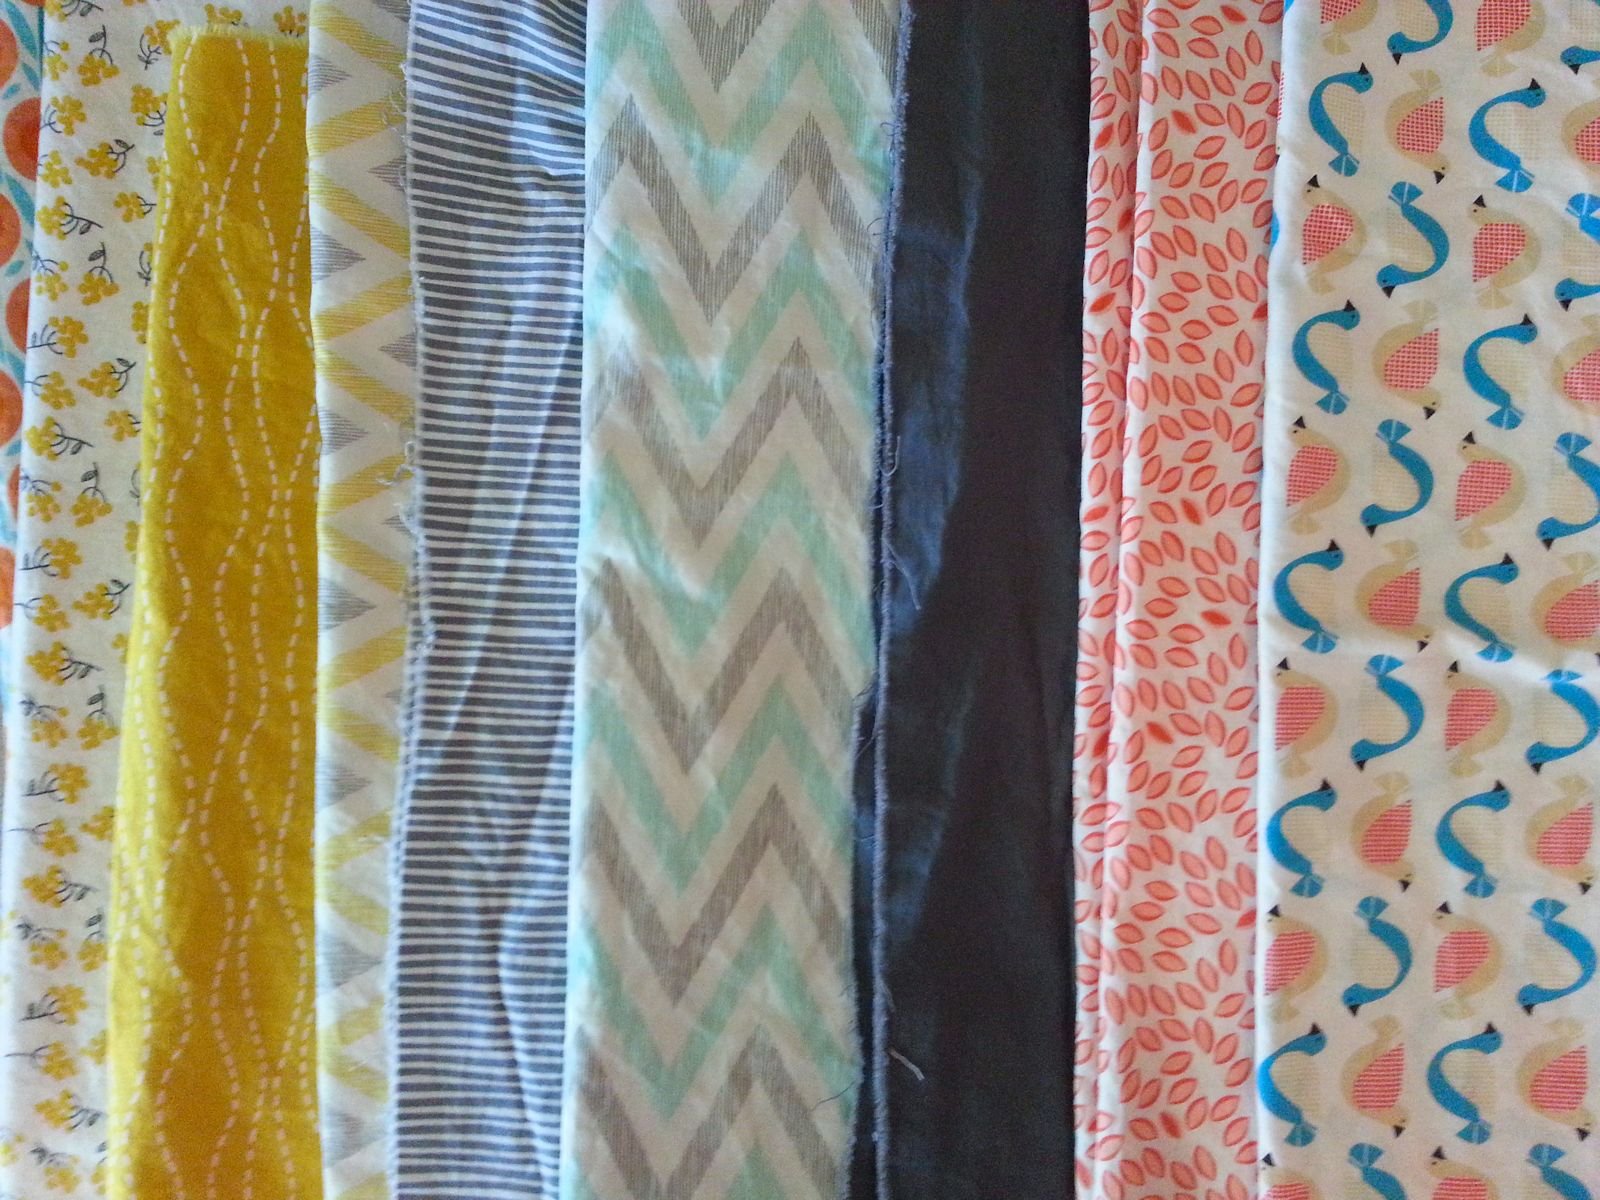
Determine Fabric Quantity
Lay the pattern on a hard surface to determine how much fabric you will need. If the fabric is directional, you might need more fabric. Otherwise, you can flip the pattern so that it uses minimum fabric. If you will be adding a cuff (Lesson 4), think about using contrast colors or prints. Your pattern piece for the back will be used twice; your pattern piece for the front will be used twice. Therefore, the fabric will be folded, lengthwise, and you will be cutting through both layers of fabric. Fabric usually is about 42” wide. Folded lengthwise, you have a surface that is about 21” wide. A front or back pattern piece usually takes up one full section of fabric. Therefore, if your pattern piece is 50” long, you would need 100” of fabric. You would need to purchase 2.8 yards (100 divided by 36 = 2.8). I would buy 3 yards or so (allow for shrinkage).
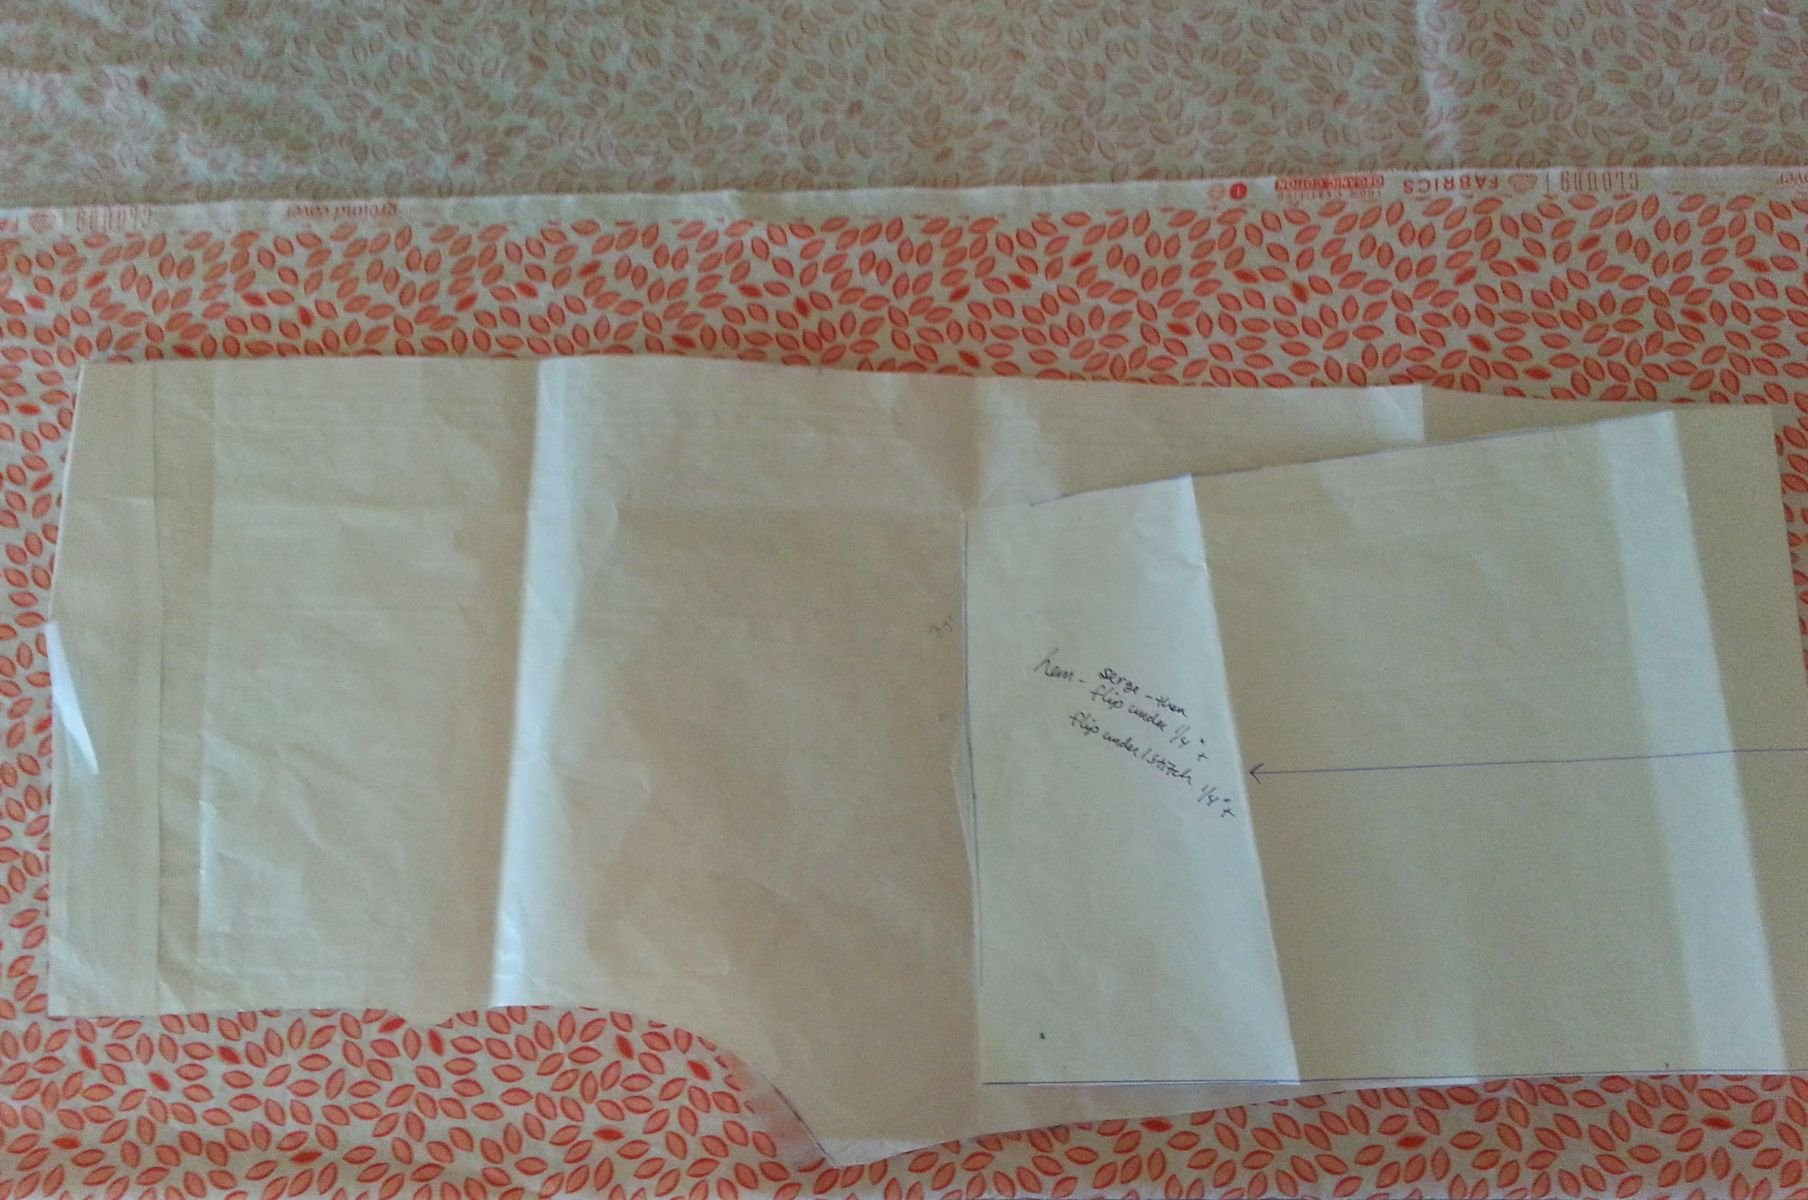
Refer to Pattern Layout below to see how I fit my pattern onto fabric.
In the image below (right) I was able to fit my pattern piece onto part of the fabric - I didn’t have to fold it all the way over. This means I will have a nice piece left over that could be used for cuffs on another pair of pants, or trim on a pillow case. Fold the fabric over only as far as needed; this saves fabric.
Prewash Fabric
Wash and dry fabric before using. Iron as needed. This pre-shrinks the fabric.
If you are making pajamas for children, be sure to follow safety guidelines regarding flammability.
Pattern Layout
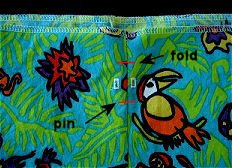
NOTE: The straight, double-ended arrow represents straight of grain. The straight of grain contains no stretch, and runs the length of the fabric (perpendicular to selvages). In our example, there is stretch across the width of the fabric, and no stretch along its length. This means that the arrow must be exactly parallel to the edge (selvage) of the fabric. Draw an arrow on your pattern so that it is exactly perpendicular to the bottom leg hem edge. This ensures that the pattern is places correctly on the fabric. Measure the distance from the end of each arrow to the edge of the fabric to be sure your pattern piece is straight. Laid out correctly, your finished product will have some stretch across the seat (even non-stretch fabric has some give), and less stretch vertically. This is very important.

Pattern Layout
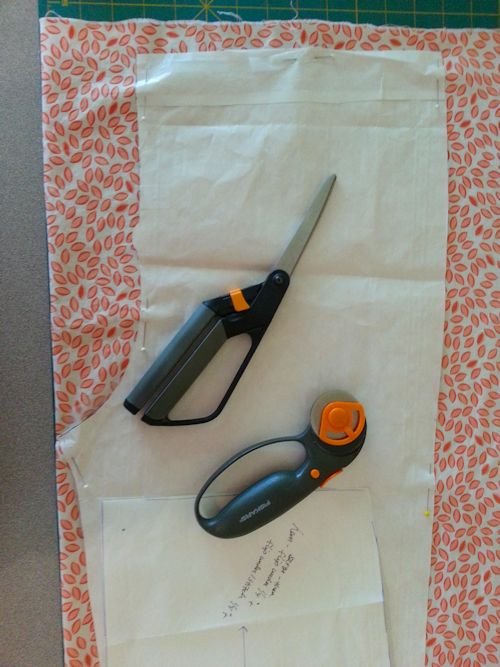
Cut Out Fabric Pieces
Pin the pattern to the fabric (or use weights). Using a rotary cutter or sewing shears, cut out the fabric pieces.
Sew Pieces Together
Stitch Center Front Seam
Pin the front pieces together at the front center seam, keeping them right sides together. Using a 1/4" seam allowance, stitch the front pieces together at the center seam. Repeat with the back pieces.
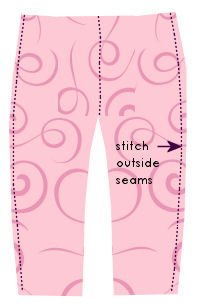
Stitch Outer Seams
Lay out your pajama back and pajama front. Pin the front to the back, right sides together, along the outer seam. Using a 1/4" seam allowance, stitch the front to the back at the outer seams.
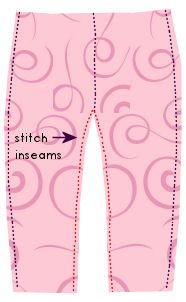
Stitch Inseam
Pin the front to the back, right sides together, along the inseams. Using a 1/4" seam allowance, stitch the front to the back at the inseams. There are two methods for this. One is to start stitching at the center and stitch down one leg, then stitch down the other leg. The second method is to start at the bottom of one pant leg, stitch up to the center and then on down the other pant leg. Either one works, but if you are a beginner it might be better to use the first method.
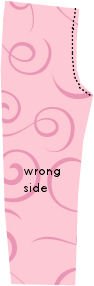
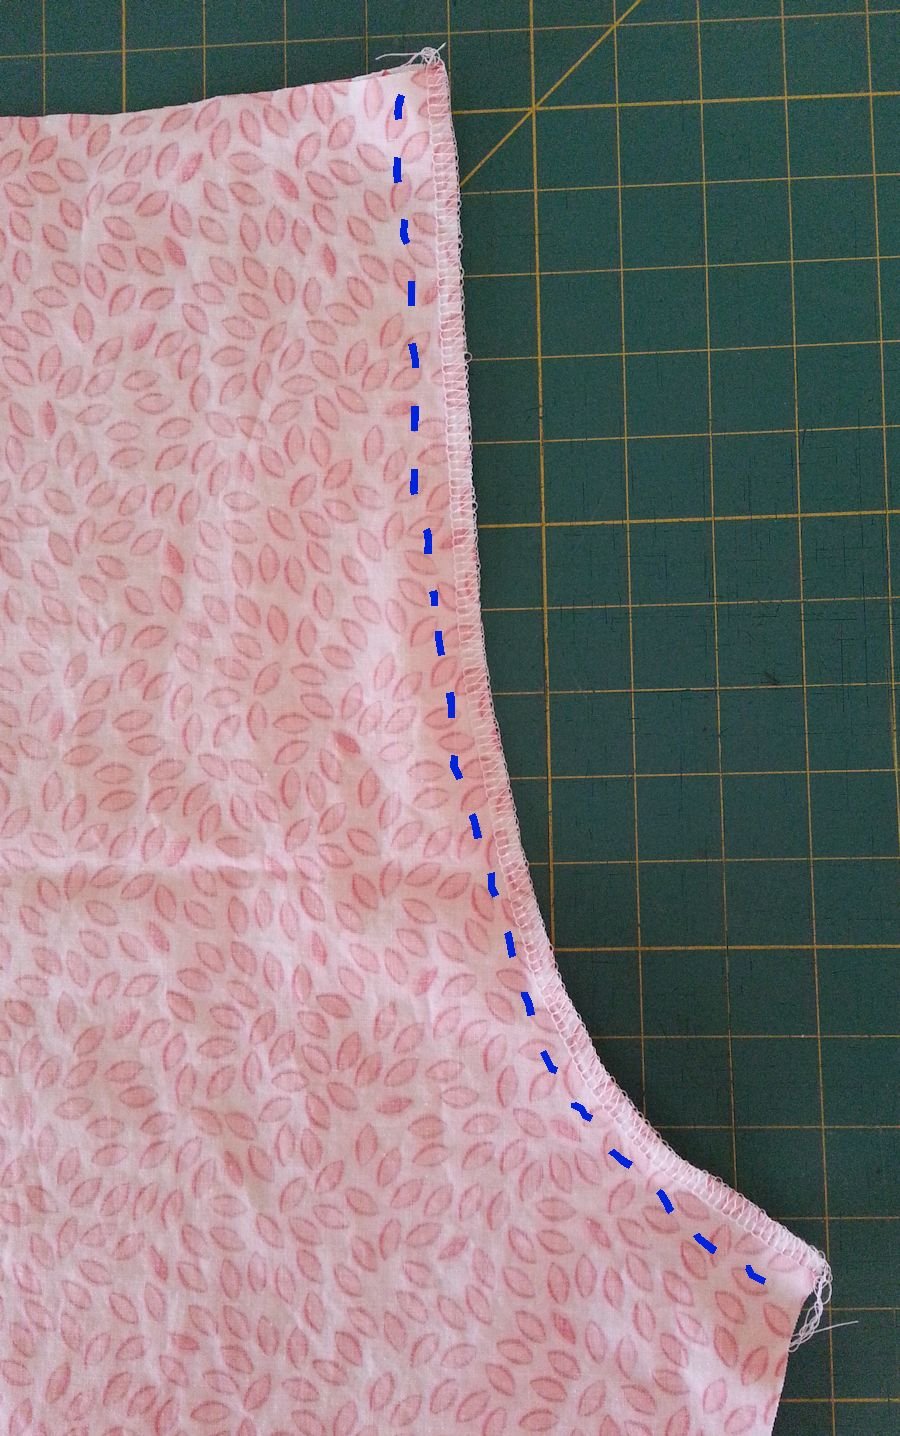
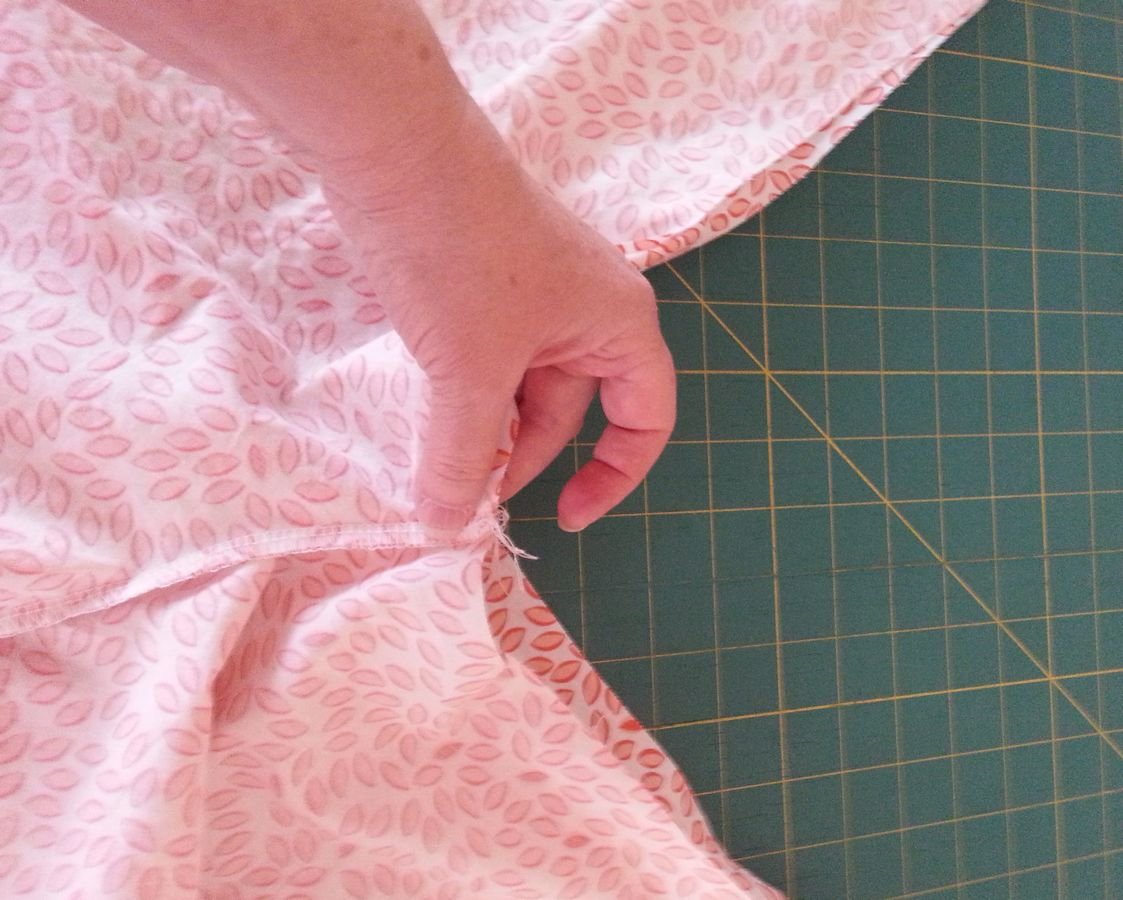
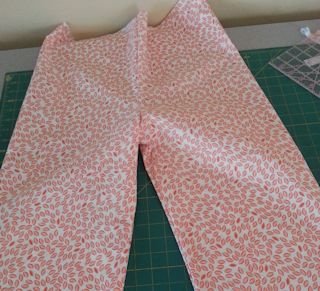
The first photo below shows the center front seam stitched (enhanced with blue). The second shows the front of the pants opened. The third shows the front and back with center seams lined up. Once the center seams of front and back are lined up, the inseam can be stitched.
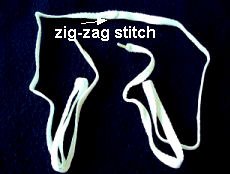
The front is now connected to the back at the inseam line, and the outer lines. The fourth photo shows the front and back stitched together.

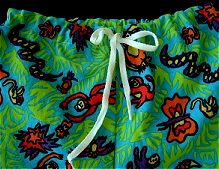
The image below shows the pants stitched, with cuff attached. Go to lesson 4 to learn how to attach a cuff that is nicely finished inside and out.
Hem Pant Legs
Skip this section if you are adding a cuff!
Serge or zig-zag around the bottom of each pant leg. Turn under each pant leg 1/4" and press. Turn under 1" again and press (or whatever measurement you allowed for your hem). Machine stitch around close to folded edge of hem. If you prefer, you can hand stitch the hem rather than machine stitch.
Now, it’s time to create a waistband. You can add elastic, OR you can create a buttonhole and feed through a drawstring that can be tied at the waist. You could also add elastic, and add the drawstring more for appearance.
ELASTIC WAISTBAND
Supplies: 3/4” elastic in a length that is approximately 3-4 inches shorter than the circumference of your waist.
Create Waistband
Serge or zig-zag stitch around the raw edge of the waist. Turn under 1/4" and press. Turn under 1" and press. On the BACK of the pants, place two pins approximately 1.5" apart. Stitch around the pants, near the folded edge of the hem, leaving the area between the pins open. Remove pins. You have now created the casing for the waist elastic.
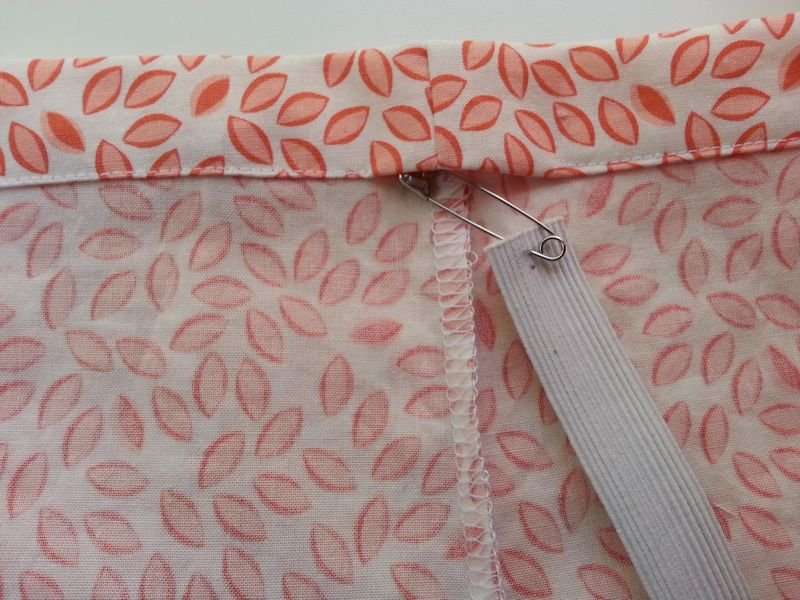
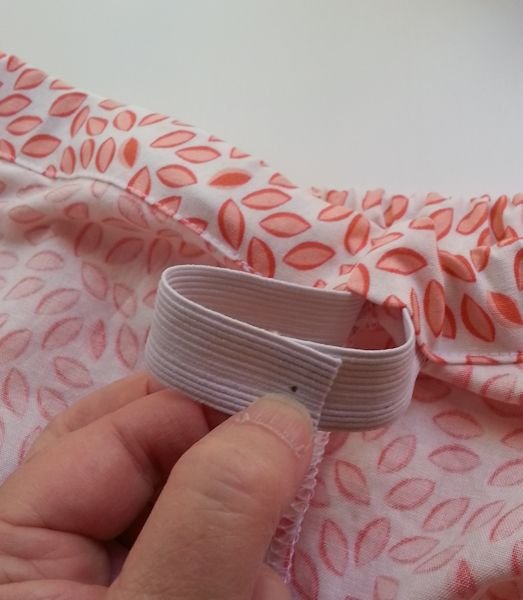
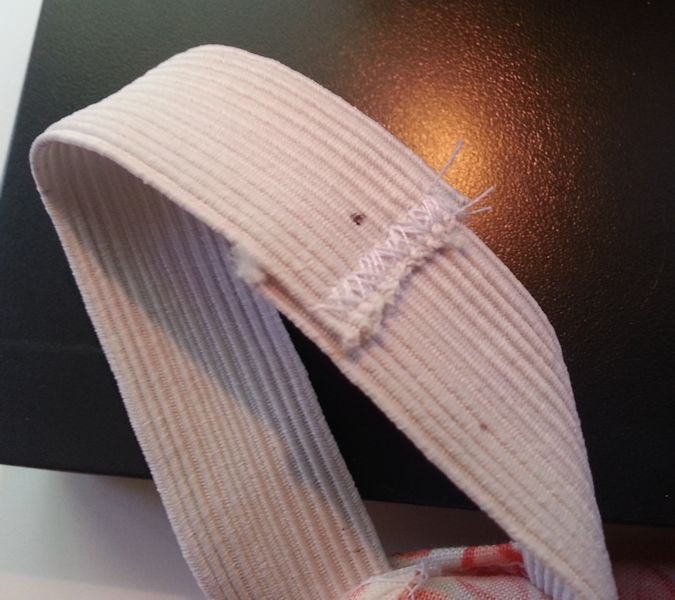
Feed Elastic Through Waistband
Cut 3/4" width elastic to a length of approximately 3” - 4" shorter than your waist measurement (depending on how snug you would like them to be). If the elastic is very stiff, cut it closer to your waist measurement. Make a small mark on each end of the elastic, on the same side. This way, if the elastic turns while you are pulling it through the casing, you will know. Run a safety pin through one end of the elastic. Use the safety pin to feed the elastic through the casing. Feeling under the fabric, push the safety pin with one hand and pull it with the other until the elastic is all the way around the casing. Be careful that the second end of the elastic is not pulled up into the casing.
DRAWSTRING WAIST
1. Start at the point where the pants are assembled and you are ready to finish the waist. NOTE: Trim the top of the waist area as needed on the front and back (see notes in first paragraph above). If you need 2" off the front and 1" off the back, cut evenly across the back to the side seams. Then, gradually increase the width you are cutting off from each side seam to a total of 2" at the front center seam.
2. Serge or hem under 1/4" around top of waist. Fold under the waist band 1.25" and iron all the way around. This will become your waistband. Place a pin on the center front, at the bottom of the waistband, going through only the top fabric (to mark the bottom of the waistband). Unfold. On right side of front of pants, make two buttonholes - one on each side of the center front seam, vertically centered between the top (ironed fold) and bottom (marked with pin) of the waist band. The buttonholes should be small, but large enough to pull your shoestring through.
3. Snip open your buttonholes.
4. Fold the hem back under and stitch it down, all the way around. CAUTION: if you will be adding elastic, leave a 1" opening in the back to feed the elastic through. See below for instructions on elastic.
NOTE: If Adding Elastic: follow the instructions below for elastic. You can omit the elastic when adding a drawstring, but I find my pj pants to be more comfortable having elastic. I add the drawstring as decoration.
5. If using shoelaces: cut one end off of each shoelace. Stitch shoelaces together at open ends. String the shoelace through the buttonholes, going in one and exiting the other. If using cord: cut cord to desired length and feed it through the buttonholes, going in one and exiting the other.
NOTE: You can use fabric rather than a shoelace or cord. Cut the a fabric piece about 1.25" x a length that is needed (approximately 2x the waist length). Press under the two short ends 1/4". press under the two long edges 1/4". Fold the piece in half lengthwise and press. Topstitch around the 3 open edges. Run the drawstring through the openings in the casing and then tie a knot in each end of the drawstring so it doesn't get pulled back through an opening.
It is easy to pull your drawstring through the casing if you attach a safety pin to one end. Push the safety pin through the hole and then push it through the casing by pushing it from the right and pulling it from the left. You can feel the safety pin through the fabric. Remove the safety pin once the drawstring is through the casing.
Go to our free sewing book - currently still on our CraftAndFabricLinks site - to learn basic sewing skills. We will be adding our free sewing book to this site eventually. Go to Sewing Lessons for more free sewing lessons.
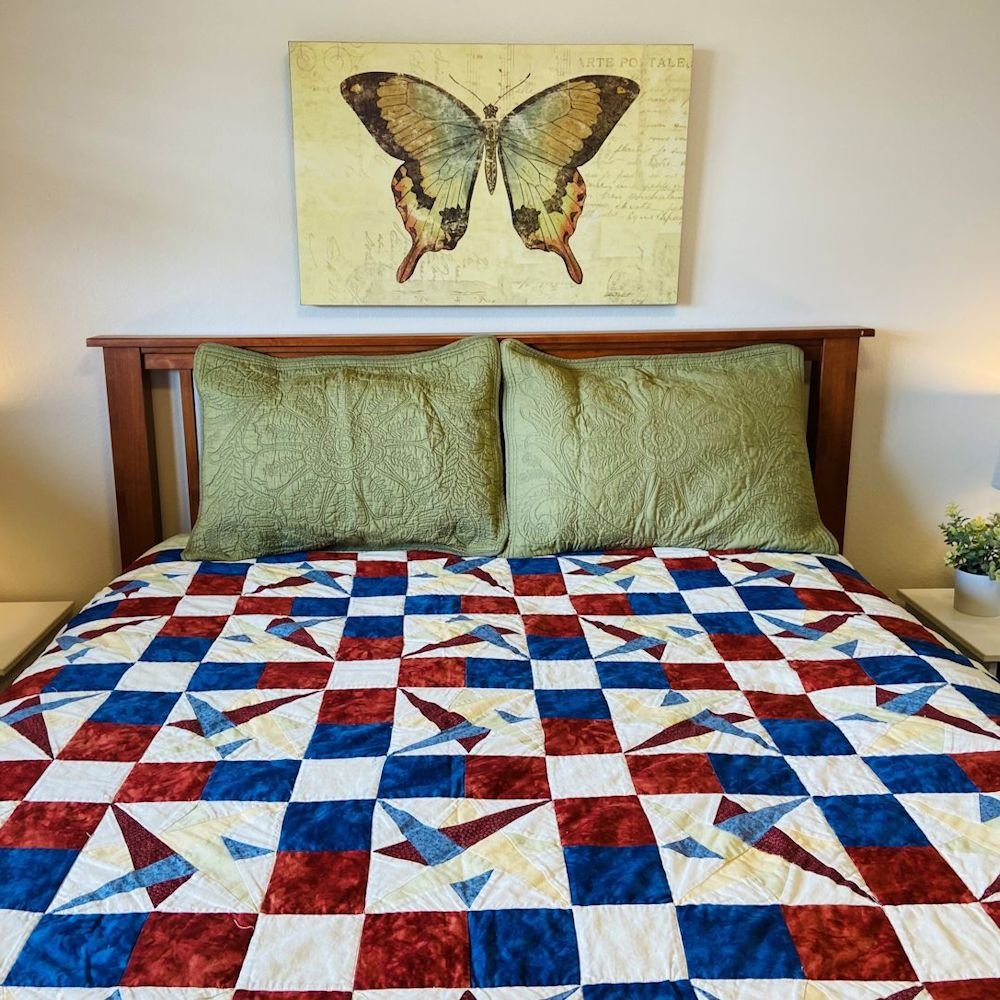
Quilt Patterns


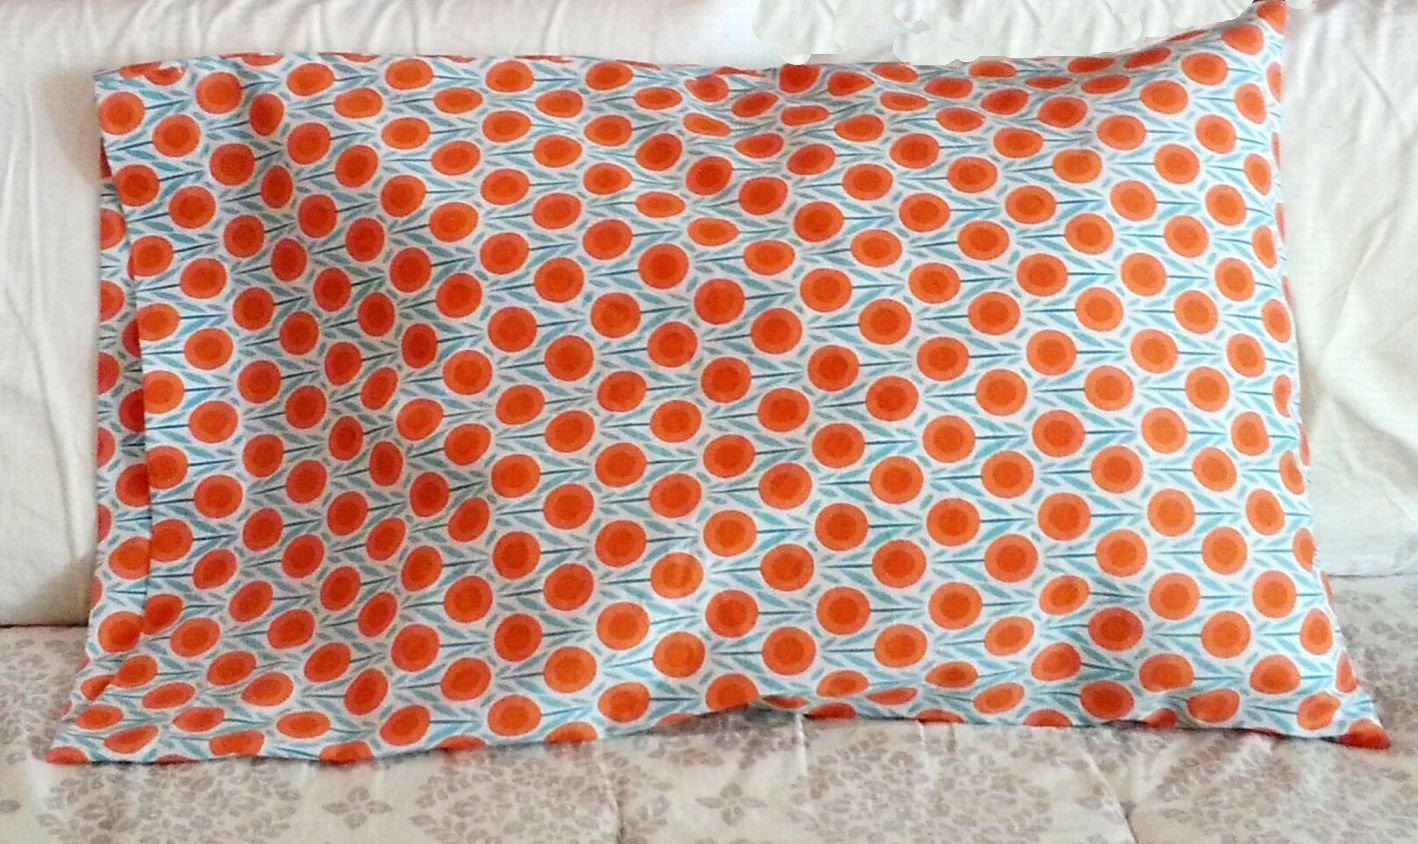
Pillow Patterns


Adorable doll quilt or quilt block. Prairie girl enjoying her garden along with her dog.