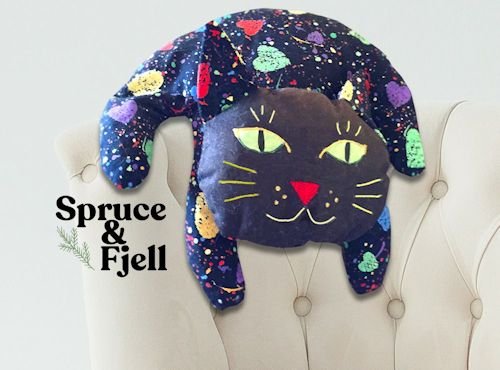
Christmas Cat

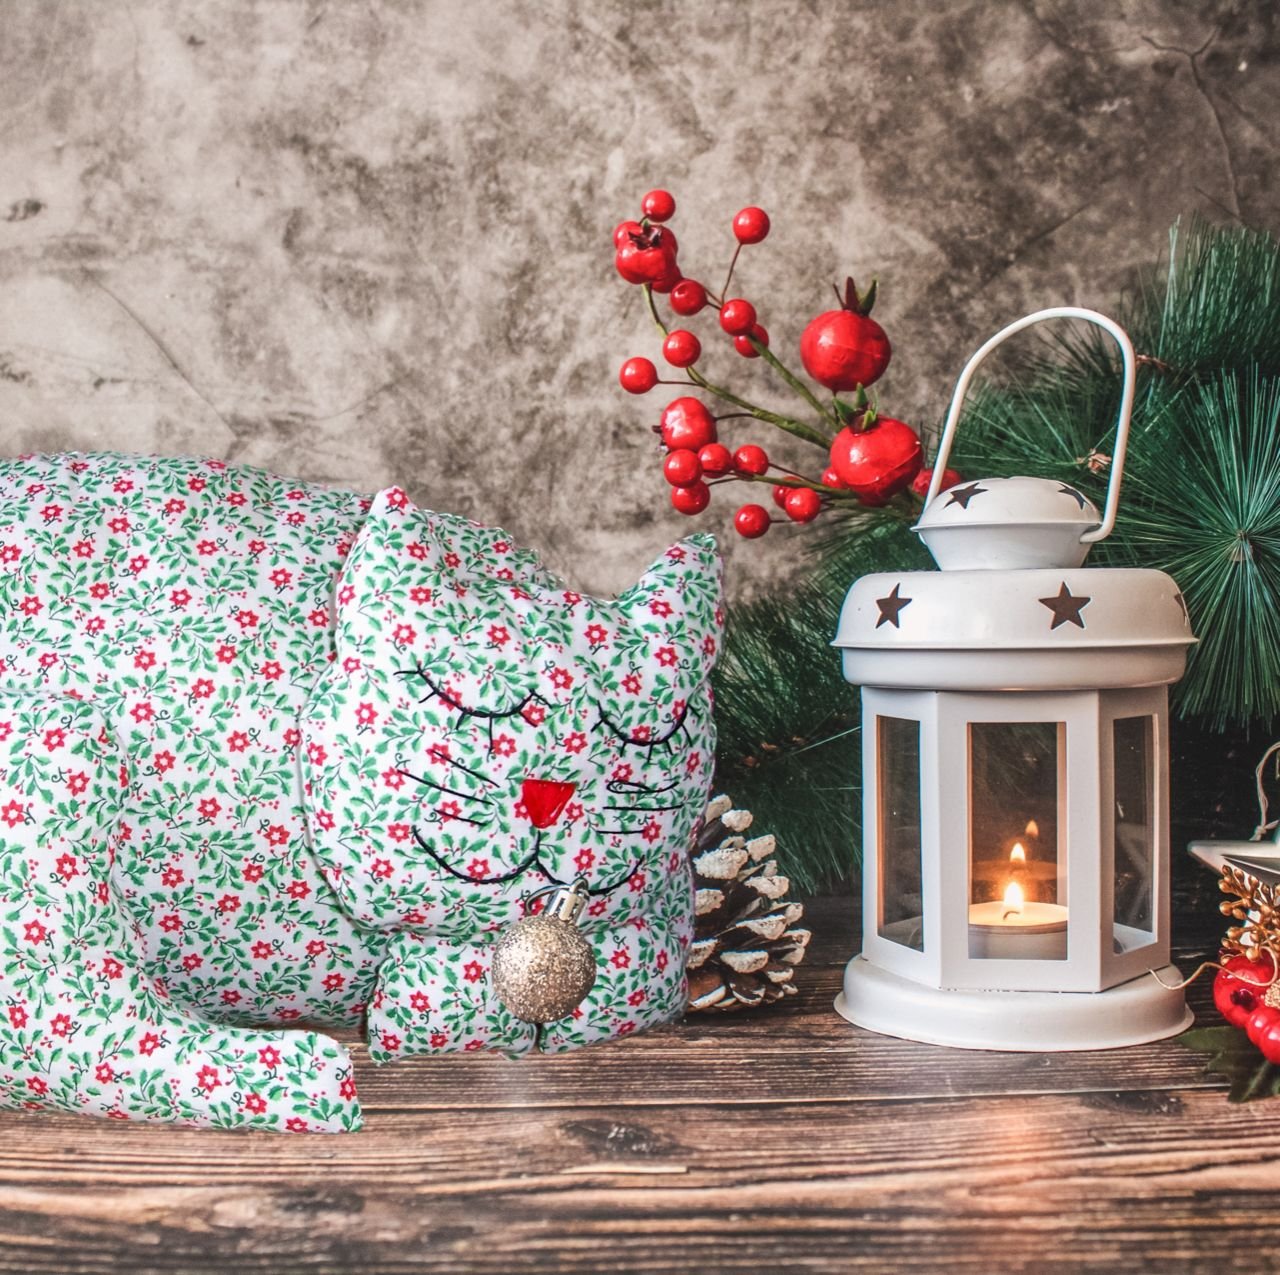
Cat Pillow - Christmas, holiday, baby or any occasion
Also see:
Articles & Tips
Easy Sewing Patterns
Pillow Patterns
Animal & Pet Patterns
Designer: Christina Sherrod
I originally made this pattern as a Christmas cat. I place it under my Christmas tree every year, and my "real cat" loves sleeping under the tree with the pillow. Use the fabric of your choice to make an any-occasion cat. The face can be embroidered or painted. The legs and head can be stitched or glued into place.

Disclosure: This site contains affiliate links. As an Amazon Associate, I earn from qualifying purchases. Clicking on links, and purchasing products, may result in the seller paying us compensation - at no extra cost to you. Affiliate links are in green.
Cat Size
The main body is approximately 14" long x 8" high. The tail extends beyond the body. Shrink or enlarge the pattern to fit your needs.
Supplies
3/4 yard of 45" width fabric (such as cotton calico, corduroy, satin, velvet etc.) for cat
ribbon (not shown, but you can attach a ribbon with bow around "neck")
embroidery floss OR fabric paint for cat's face (photo in step 3 shows my beanbag cat's painted face - the same can be done for this cat)
fabric glue (if using glue to attach pieces to body)
Sewing Supplies
thread
sewing scissors
quilting pins
large sewing ruler, rotary cutter and mat ( I use my sewing ruler for all sorts of building projects as well)
fabric marking pencils
seam ripper
Directions
All seams are 1/4"
1. Print The Pattern
Below are pages for the pattern pieces for this project. Each group will fit onto an 8/5" x 11" paper. Print each piece, then enlarge or shrink as needed. These are pdf files.
Pattern Piece 3: Front Paws & Tail
Pattern Piece 4: Main Body (print; use as guide to draw to correct size
2. Cut Fabric Pieces
Fold the fabric across the width. Follow the pattern lay-out shown in the drawing below. Cut out all fabric pieces. NOTE: the lay-out is not drawn to scale, but the pieces will fit as shown. You will have TWO of each piece.

Christmas Cat Fabric Layout
3. Embroider Or Paint The Face
One head piece will be used as the face. Use embroidery floss to embroider the face, or use fabric paints to paint a face - or a combination of the two.
The following photo shows a painted face that I created, using the same pattern for the head as I did for my Christmas cat. I cut out the eyes from fabric, then painted on the face using fabric markers. This photo is from my previous site, CraftAndFabricLinks.com. The photo at the top of the page shows an embroidered face. Either way works fine - your choice :-)
door stop, decor or toy
4. Stitch Together & Stuff The Body Pieces
Stitch the two head pieces together (face to back of head), right side together, leaving a small area open for turning and stuffing. Do the same with the hind leg and two front paws. It works well to leave the open area on the bottom side because it will show less. It's not always easy to rearrange stuffing after hand stitching the area closed.
Stitch the two tail pieces together, right sides together. Leave the end open that will attach to the body. That end will be used for stuffing the tail.
Sew together the body, right sides together, leaving open a small area on the bottom for stuffing, as well as the area where the tail will be inserted.
Turn all body parts right side out, pulling through the opening. Stuff, then hand stitch the opening closed. For the body, leave the area open where tail fits into the body. Tip: When stuffing the tail, leave the tail inside out except for the tip. Stuff that area. Slow turn the tail right side out as you stuff. After stuffing the tail, hand stitch the open end closed.
Insert the tail into the body opening, and hand stitch the tail into place. The tail should be placed inside the body about 1".
5. Put The Body Together & Finish
Hand stitch or glue cat's head into place.
Hand stitch or glue hind leg and front paws into place.
Tie a pretty ribbon or handsome bow around the neck of the cat.

I have had my Christmas cat pillow for several years. It would not be Christmas without my cat!

Christmast Cat Pillow
Holiday Sewing


Holiday Craft Projects


Crocheted basket with handles. Quick and easy with bulky yarn.