Reversible Easy Placemat

This pattern comes from our former site, CraftAndFabricLinks. Same owners - new site.
Disclosure: This site contains affiliate links. As an Amazon Associate, I earn from qualifying purchases. Clicking on links, and purchasing products, may result in the seller paying us compensation - at no extra cost to you. Affiliate links are in green.
Pre-quilted Fabric
Go to DIY Pre-quilted Fabric Lesson to learn how to make your own pre-quilted fabric.
Also see:
Articles & Tips
Easy Sewing Patterns
Craft Projects
Sewing Lessons
Super Simple - sewing is optional
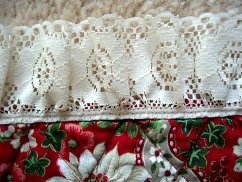
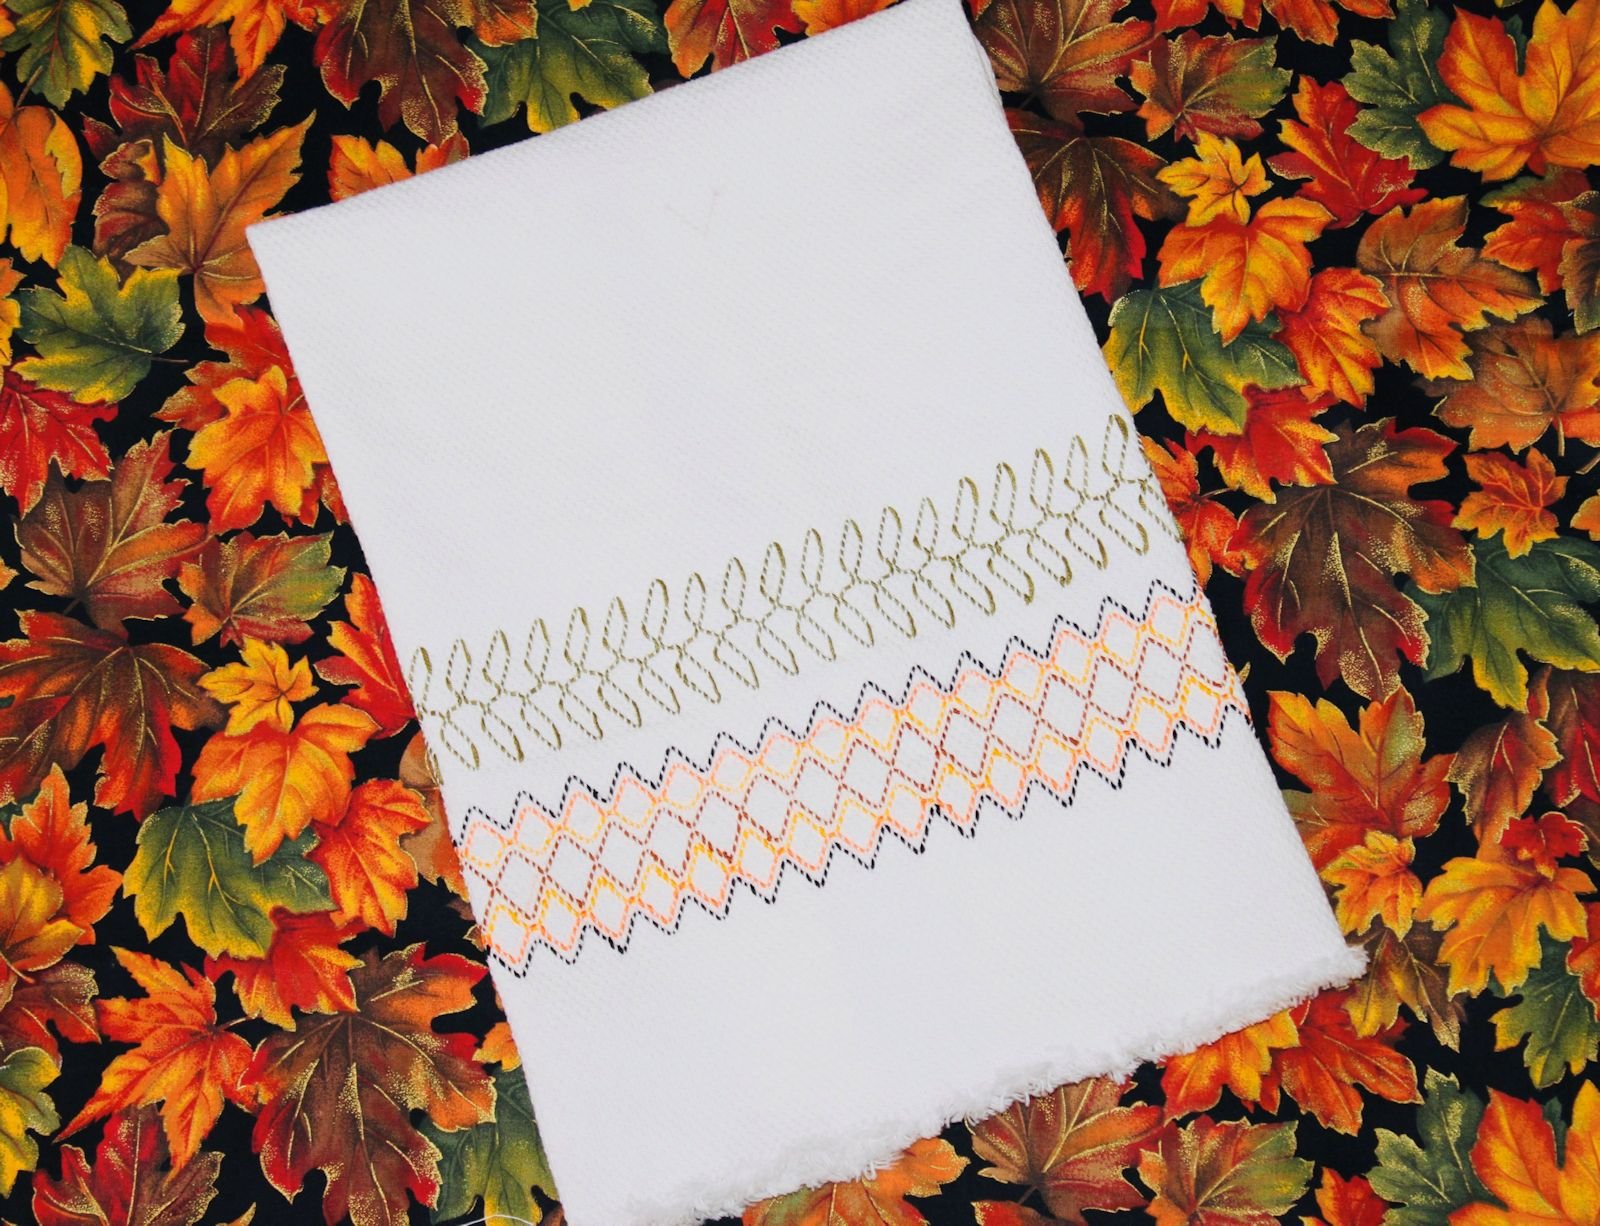
This is truly a quick and easy pattern. Trimmed in pretty lace (or your favorite trim). Made with double sided pre-quilted fabric, this placemat is reversible! Purchase ready-made pre-quilted fabric, or make your own.
Go to: DIY double sided pre-quilted fabric.
SIZE
The finished Placemat measures approximately 11" x 13" (without lace).
SUPPLIES - 6 Placemats
TIP: Pre-wash your fabric and lace. This way, your placemats won't shrink after they are made.
Lace - Trim
8.5 yards of lace (allow 50" - or about 1.5 yards - per placemat) - or trim of your choice
Pattern
Cut a pattern out of paper that measures 13.5" x 11.5"
Place a glass upside down in each corner and trim the corners to make them rounded. You can draw a rounded corner onto the pattern before cutting the fabric, or use the template to round the fabric after the rectangular piece has been cut. Either way works.
Fabric
3/4 yard of 42"-44" width double-sided pre-quilted Christmas fabric (this makes six 11" x 13" placemats). 3/4 yard is 27".
If you can’t find double sided pre-quilted fabric, you can easily make your own. Go to: DIY pre-quilted fabric
NOTE: You will need a fabric length of 24" and width of 41". If you purchase 3/4 yard of fabric that is at least 42" wide, this allows for some shrinkage.
General Sewing Supplies
thread to match lace (or trim)
sewing scissors
quilting pins
large sewing ruler
fabric marking pencils
seam ripper
rotary cutter and mat (optional but nice - I use one with my sewing projects)
DIRECTIONS
All seams are 1/4”
1. Cut Fabric Pieces
Follow the diagram for lay-out.
The pattern corners are square in this diagram; I cut rectangular fabric, then used the template to round the corners.

lay-out for placemats
2. Hem Placemat
Turn under a 1/4" hem all the way around the placemat. Stitch down the hem. This is the "wrong side". Don't worry - it will be finished in lace, so will become a second, finished side.
On the "wrong side" (hem facing you) pin the lace all around the edge of the placemat, covering the hem. Overlap the ends of the lace about 1". The overlapped ends should be just to the side of a corner (where they will be noticed less).
Stitch the lace into place. Your placemat is now "finished" on both sides.
So fast & easy!


Kitchen Projects


Home Improvement Projects


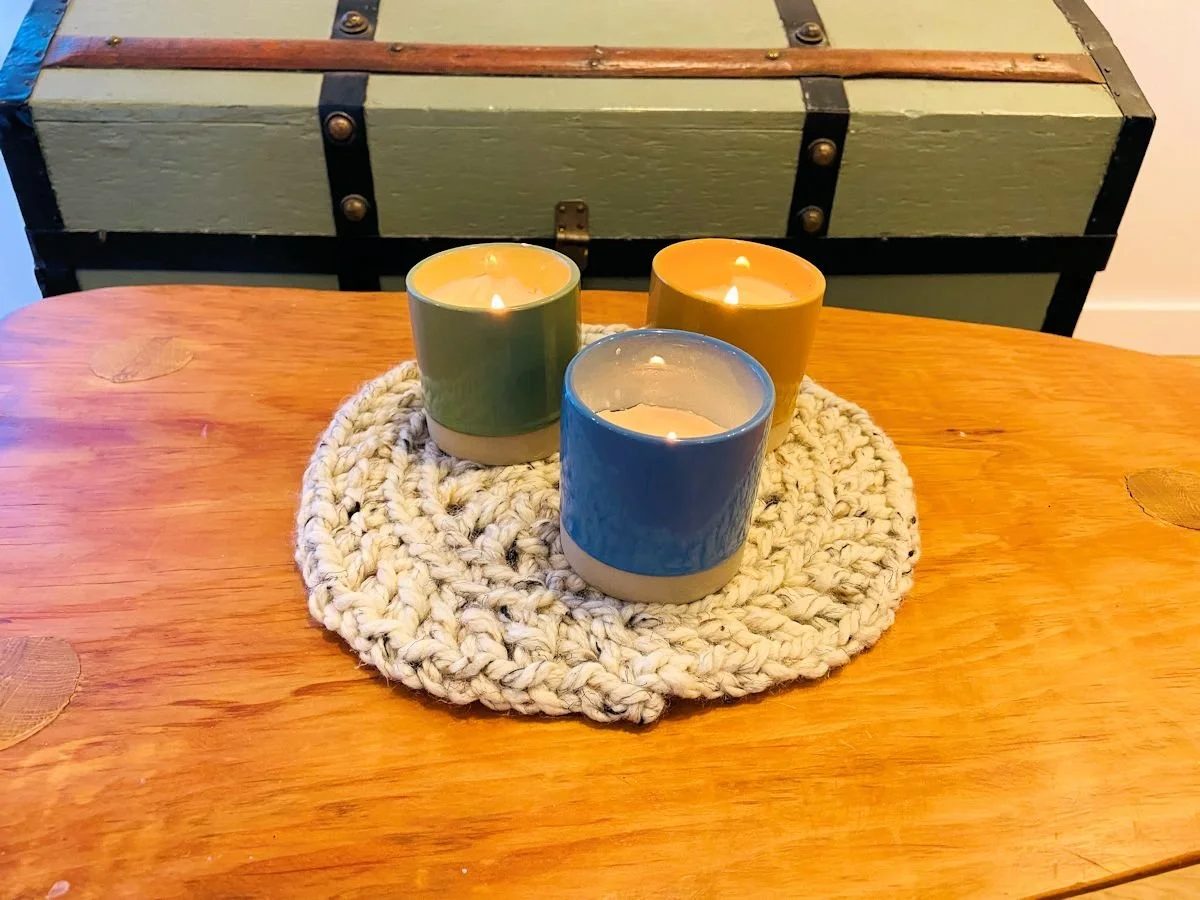
Table trivet - fast crochet with bulky yarn.