Install Floating Laminate Floor

Laminate Flooring
learn how to install a floating laminate floor
Disclosure: This site contains affiliate links. As an Amazon Associate, I earn from qualifying purchases. Clicking on links, and purchasing products, may result in the seller paying us compensation at no extra cost to you. Affiliate links are in green.
Also see:
Blog - stay current
Craft Projects
Yard & Exterior Projects
Remove Carpet or Linoleum
My favorite updates to a house are painting, and replacing floors. There is nothing like a freshly painted room - clean and bright - except getting rid of OLD, yucky flooring.
This project includes the prep stages in our most recent house (Northwest Cottage), and the laminate instructions from two previous houses.
Northwest Cottage Floor Prep
Our most recent house (our Northwest cottage - shown above with title) was truly vintage 70’s. I am quite sure that the original 70’s carpet and linoleum were still in the house. The next task, after painting all walls, was to tear out the old carpet and linoleum (including elevated subfloor in the kitchen and family room that was an AWFUL task). Then came the removal of sparkly ceilings.
Once ALL of that was done, we were ready for new floors. Finally! For this house, we hired a professional installer to lay luxury vinyl throughout the house. We had many other tasks to do, so left this job for a crew of workers. They were in and out in two days.
In The Meantime . . .
After tearing out the old floor, we still had a lot of work to do before the house would be ready for new floor installation. The time between tearing out the old floors and ceiling, and finishing other major tasks was several months. I couldn’t stand living with plywood floors. I actually painted them to create a more “normal” look. I could pretend, anyway. This was actually very helpful, in that it kept dust down. I learned this trick from my father.
I also enjoyed playing around with floor choices. The online flooring stores provide the ability to upload a room photo to see what a particular floor might look like. That kept me motivated during all of the tasks we had to complete before the actual floor went in.

painted sub floor
Why DIY?
It was a lot of work tearing out the old carpet ourselves, but that was the only way we could be sure ALL of the mess was cleaned up properly. Plus, we saved massive amounts of money. We have done this in all houses we have overhauled.

yucky mess under old carpet
Cement Subfloor
Our previous houses had both cement subfloor and wood subfloor (second story). We only had carpet to remove - no laminate. The clean-up work was the same except that cracks in cement must be patched before new flooring can go in. Only small cracks can be filled; over a certain size you will need a professional to check out the floor.
The following photo shows the green rolls of padding, flooring, and cement base floor.

WOOD LAMINATE
For this project, I am covering two of our previous houses, where we laid wood laminate.
SUPPLIES
Floor Supplies

enough wood laminate to cover your floor
pad for under wood laminate (unless your flooring comes with pad - you will need one with moisture barrier if this is for ground floor)
transition kit (this comes in 6 foot pieces and is used where the new floor joins with another room’s floor)
shop vacuum
good quality dust mask
screw driver
hammer
small table saw or circular saw
miter saw for baseboards
saber saw (for cutting notches in flooring if needed)
heavy duty pull bar (used for hitting wood laminate floor pieces into place snugly - see photo)
Wall Patching Supplies - if needed
putty knife
dry wall joint compound
dry wall patches (I used self adhesive patches)
Safety Notice
Remember to follow all directions and safety precautions listed on product labels. Work in a well ventilated area. Use a dust mask and eye protection for all cleaning and sanding. Use gloves as needed.
DIRECTIONS
1. Remove old flooring. Go to: Remove Flooring for more instructions on removing carpet, linoleum, and subfloor.
Use the shop vacuum to thoroughly clean dust and debris from the floor.

2. Following directions on cleaning product label, wash walls, window sills, and any other surface to be sure the room is clean and ready for the new floor. This is not absolutely necessary, but if there is debris on the window sill that falls onto the floor, it will end up under the wood laminate floor. It is important that your floor be clear of debris before the wood laminate is laid.
3. Decide on the direction your floor is to be laid. We chose to have the floor run the length of the room (rather than across the width) for the room shown in this project. When we had the vinyl floor laid in the Northwest house, we had it run the length of the house. It ran from room to room, with no breaks, so all rooms were the same direction.
4. Use a stud finder to locate studs (for attaching baseboards later). Mark studs with painter’s tape (blue tape pieces are shown in the following photo). Roll out the wood laminate pad from one wall to another - this will cover a few rows of wood flooring. See photo.

5. Mix up the wood planks if you did not get the laminate from one dye lot. This way, you will not end up with a stripe down your floor where one dye lot changes to another. If the planks are slightly different colors, they look best when intermixed around the floor area. The following photo shows the start of the first row.

6. Work in sections. Lay an area of padding, then lay the wood planks end to end. Use a small piece of scrap wood and hammer to nudge the ends together securely. Lay the wood piece against the end of the last piece laid, then carefully hit the wood piece with a hammer. This makes the lines between plank ends less visible, plus holds the flooring more securely. The following photo shows an end piece of the second row being hammered into place. For rows two and on, hit the wood plank into place from both sides (long side edge and end edge). See second photo below.


The image below shows green padding, and spacers along the wall (different house and project). You need to allow for expansion, so the wall spacers are helpful. These are not always used - follow the directions for your flooring.

End Of Row
For a staggered pattern, the piece that was cut off the last piece laid of a row became the first piece laid down on the next row. That was our design preference, and there was less waste with this design.
Last Row - Transition
7. Lay the last row so that it comes very close to the edge of the flooring that adjoins the room (in our case it was carpet outside the room). We laid the flooring up next to the edge of the carpet at the door’s threshold. Use a threshold kit to join the two different flooring types. A metal piece installed into the sub floor holds the decorative threshold piece (the covering that looks like wood that will cover this metal piece). The following photo shows the metal piece installed.

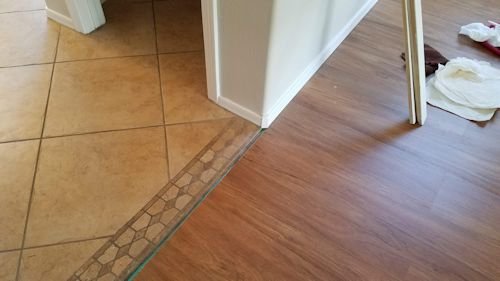
The same is done for transition from laminate to tile. The following image shows space left for the transition pieces.
Special Cuts

8. Use a saber saw to cut any special notches, such as around doors and wall corners. The gaps will be covered by wall baseboard; be sure the notches do not extend past the area where they will be covered by baseboard.
Tips
Remember that perfection is not needed at ends and sides near walls because baseboards will cover small gaps.
Don’t panic if you make a mistake. Purchase extra and always measure twice! If you have laid a piece and later realize that it doesn’t join as snugly as you’d like (such as a specially cut piece in a corner), use wood filler - also called wood putty - to patch the area. We had one open piece in a corner, behind the door, that was too large to be covered by molding. The gap was not seen until the floor was finished. It was too late to replace the board without causing a lot of work. We cut a tiny piece of wood laminate to fill the gap. There was a tiny crack that showed where the pieces were joined. That was filled with wood filler. No one will ever notice a tiny spot like this. Wood filler comes in many colors.
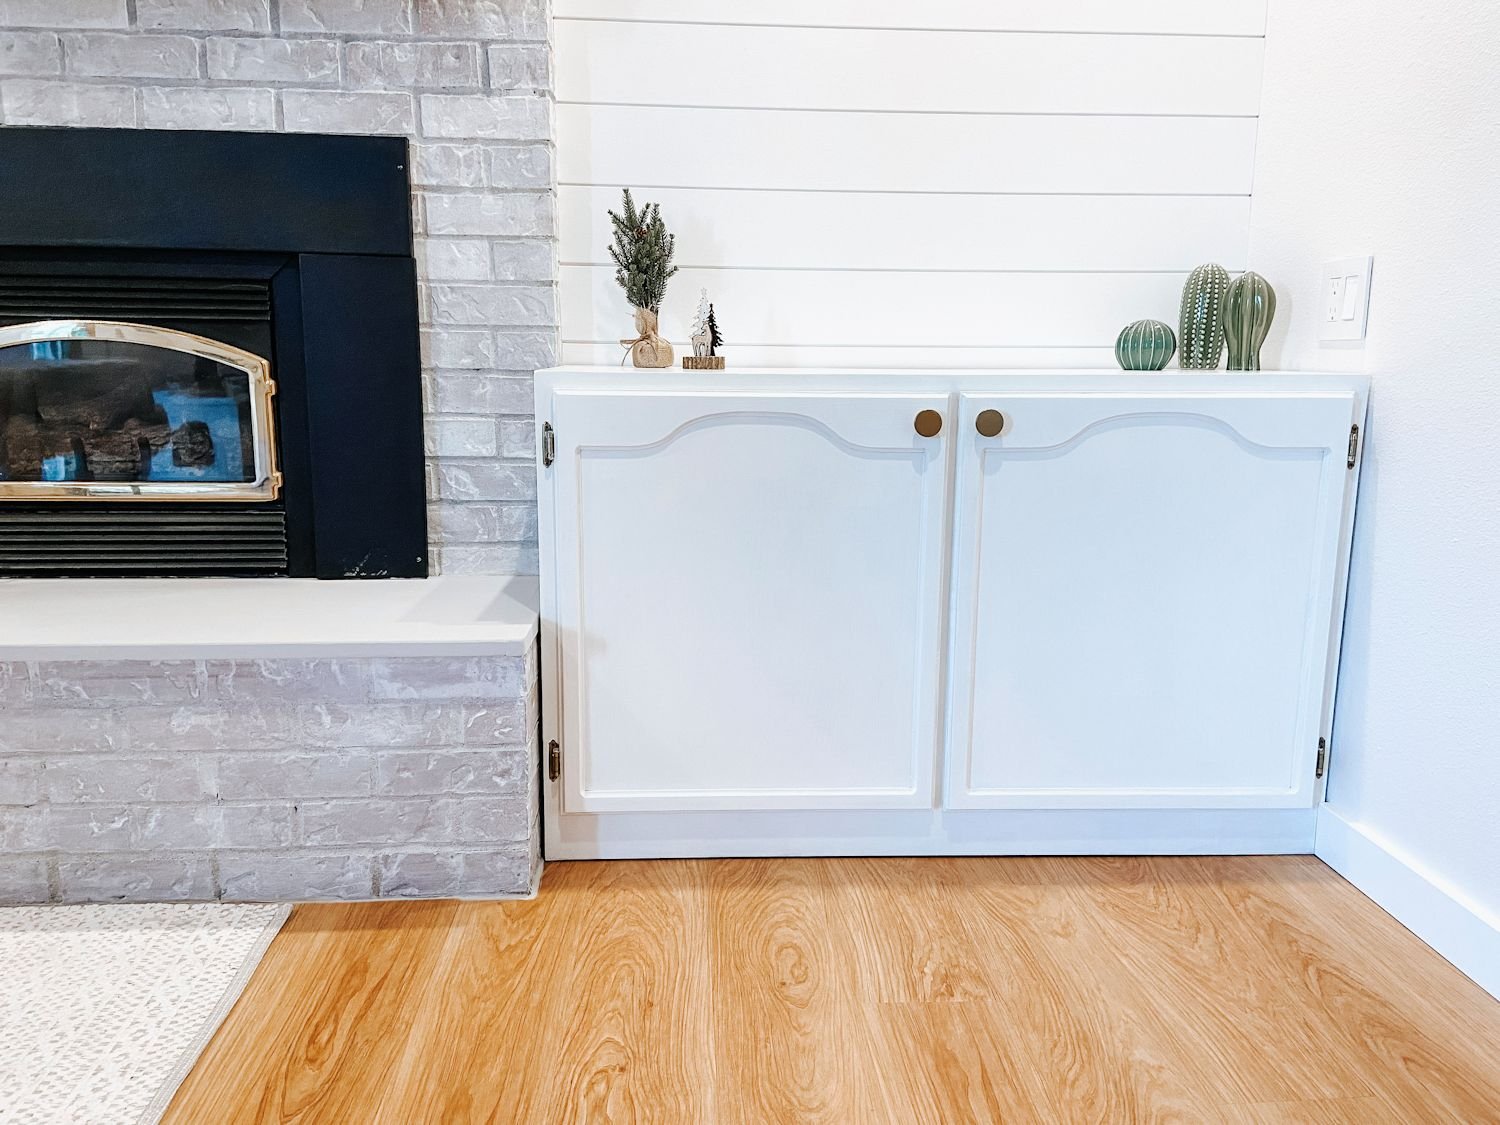
The following image shows that the gaps along the wall (for expansion) are covered by baseboards.

Baseboards
For the above projects, we were able to keep our baseboards. They were removed for the floor installation, then sanded and cleaned as necessary, and repainted. Good as new!
For our Northwest house, we installed all new baseboards. That will be featured in another article.

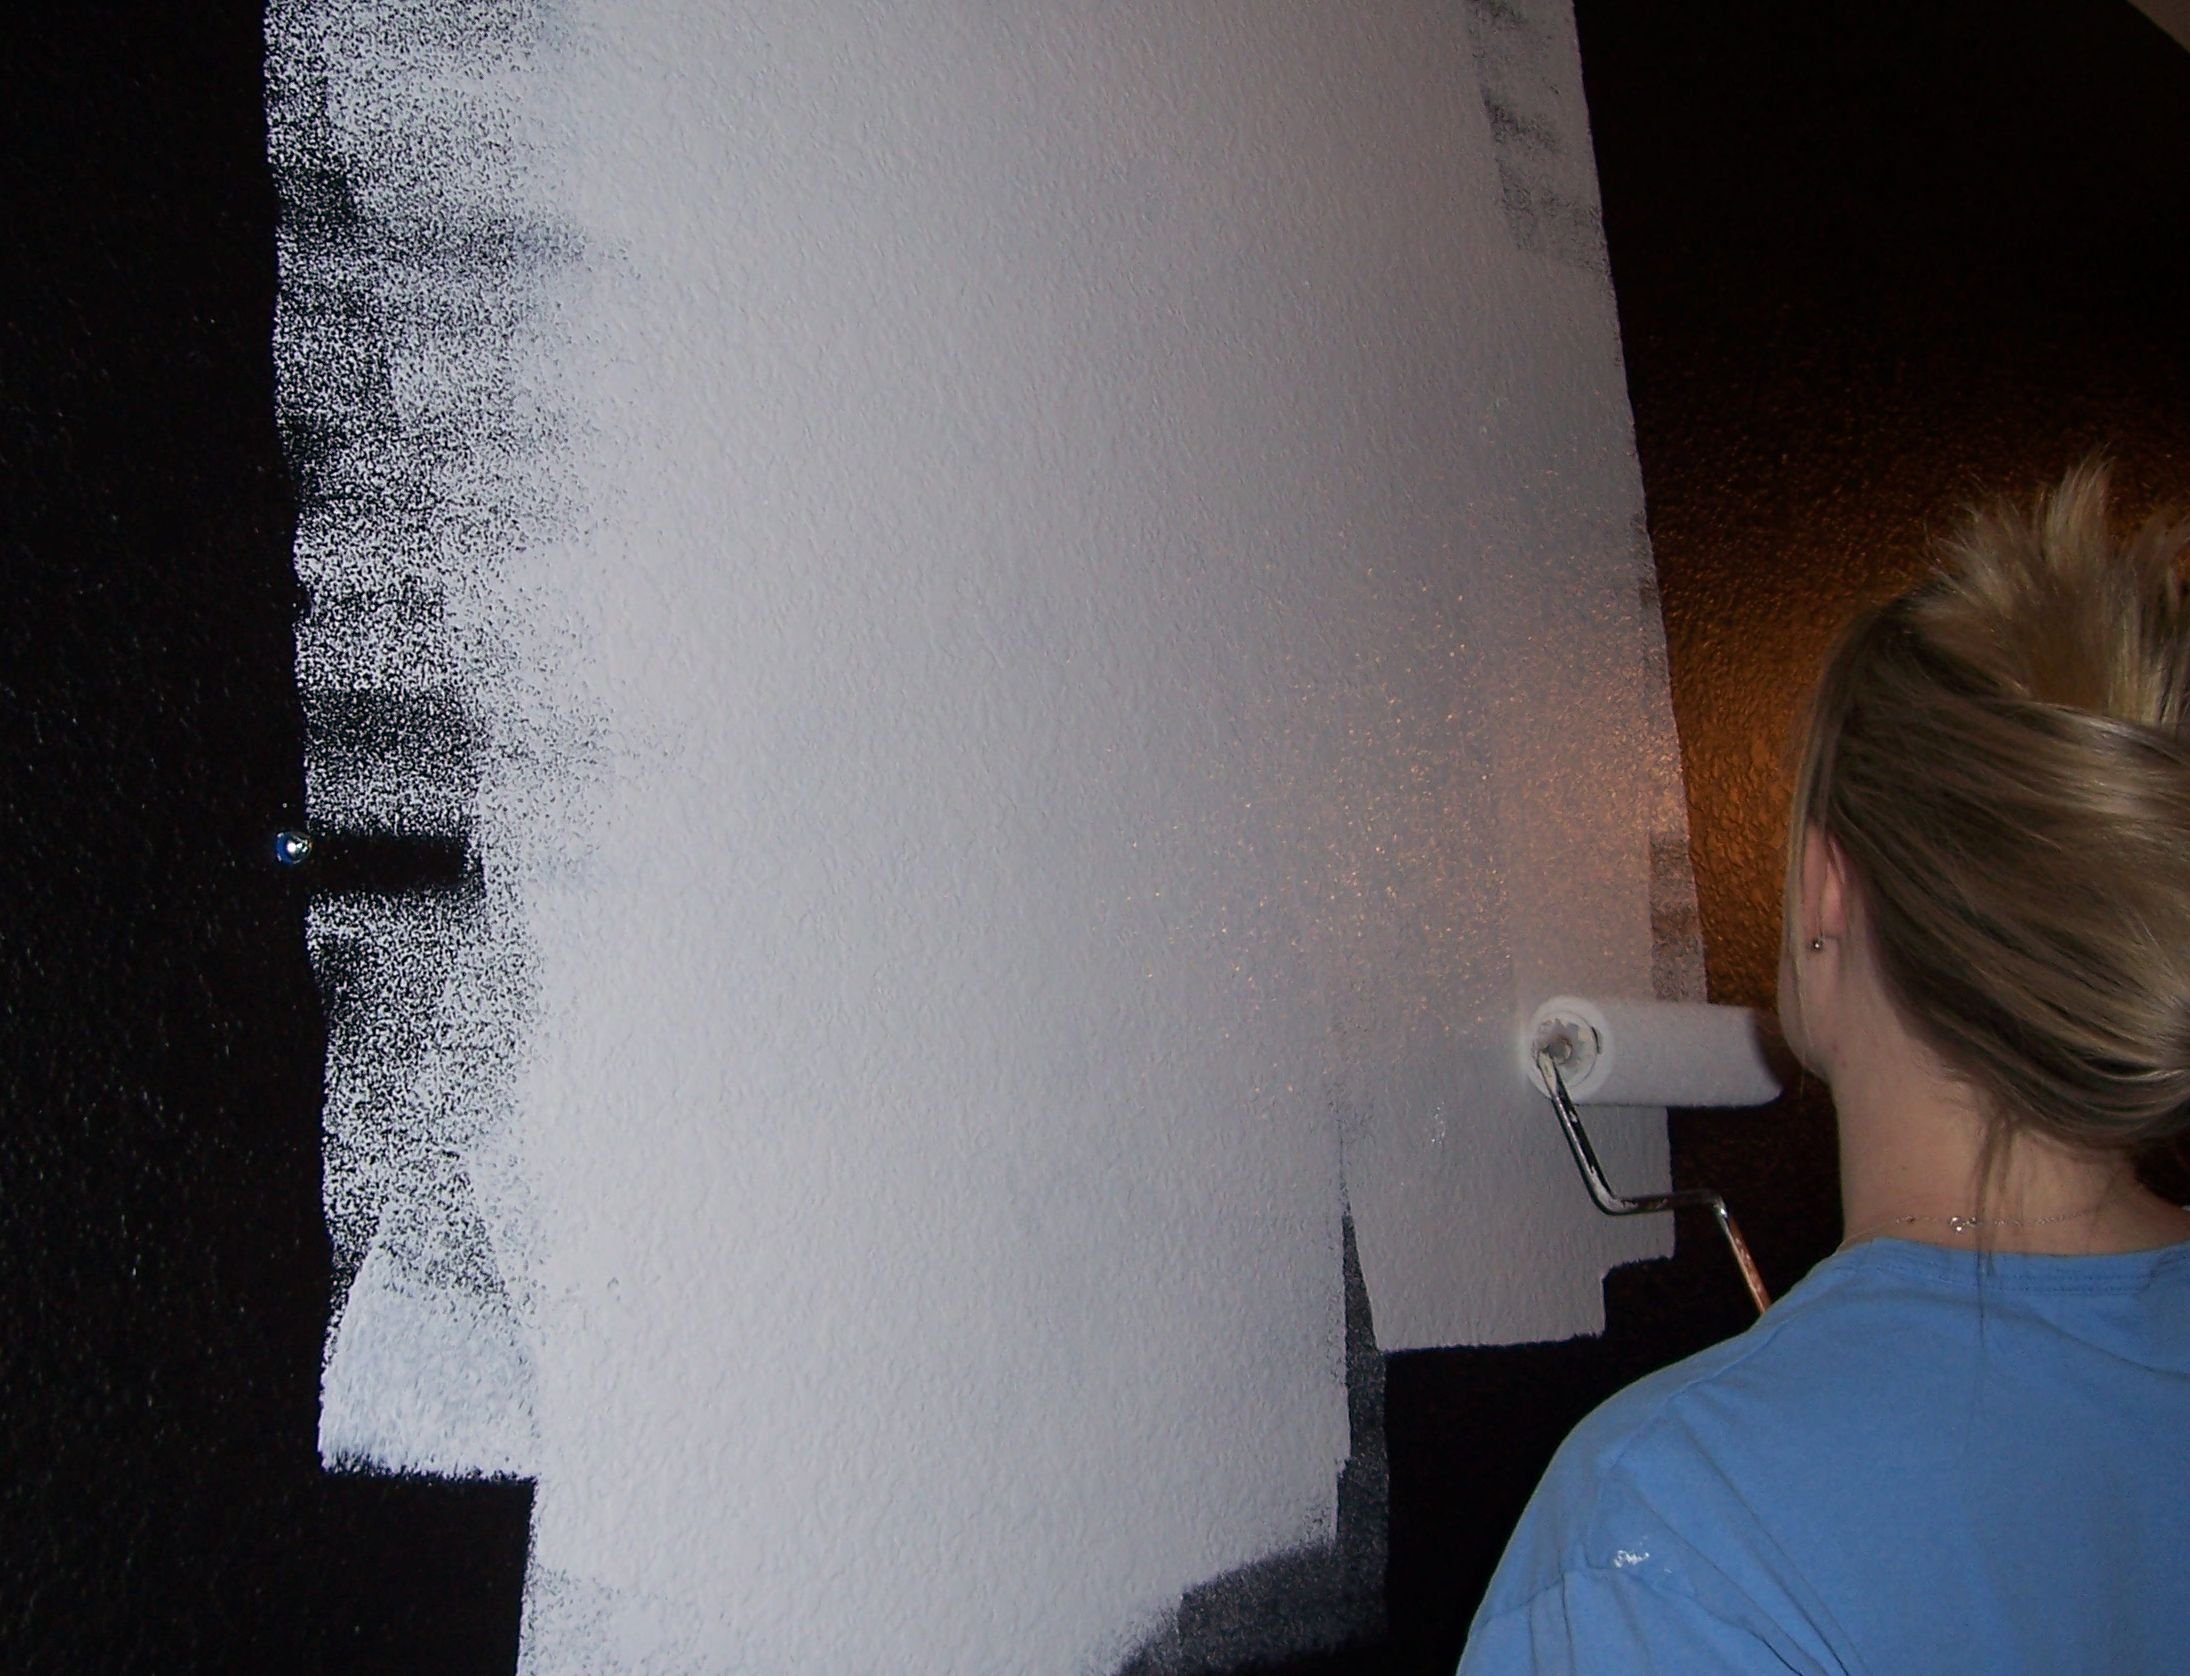
The house came with rust and dark gold walls with gold carpet. We changed it to light and bright walls and clean flooring.


Remodel Projects


Install wood laminate or vinyl flooring. Easy to install and maintain.