Paint Over Black Paint
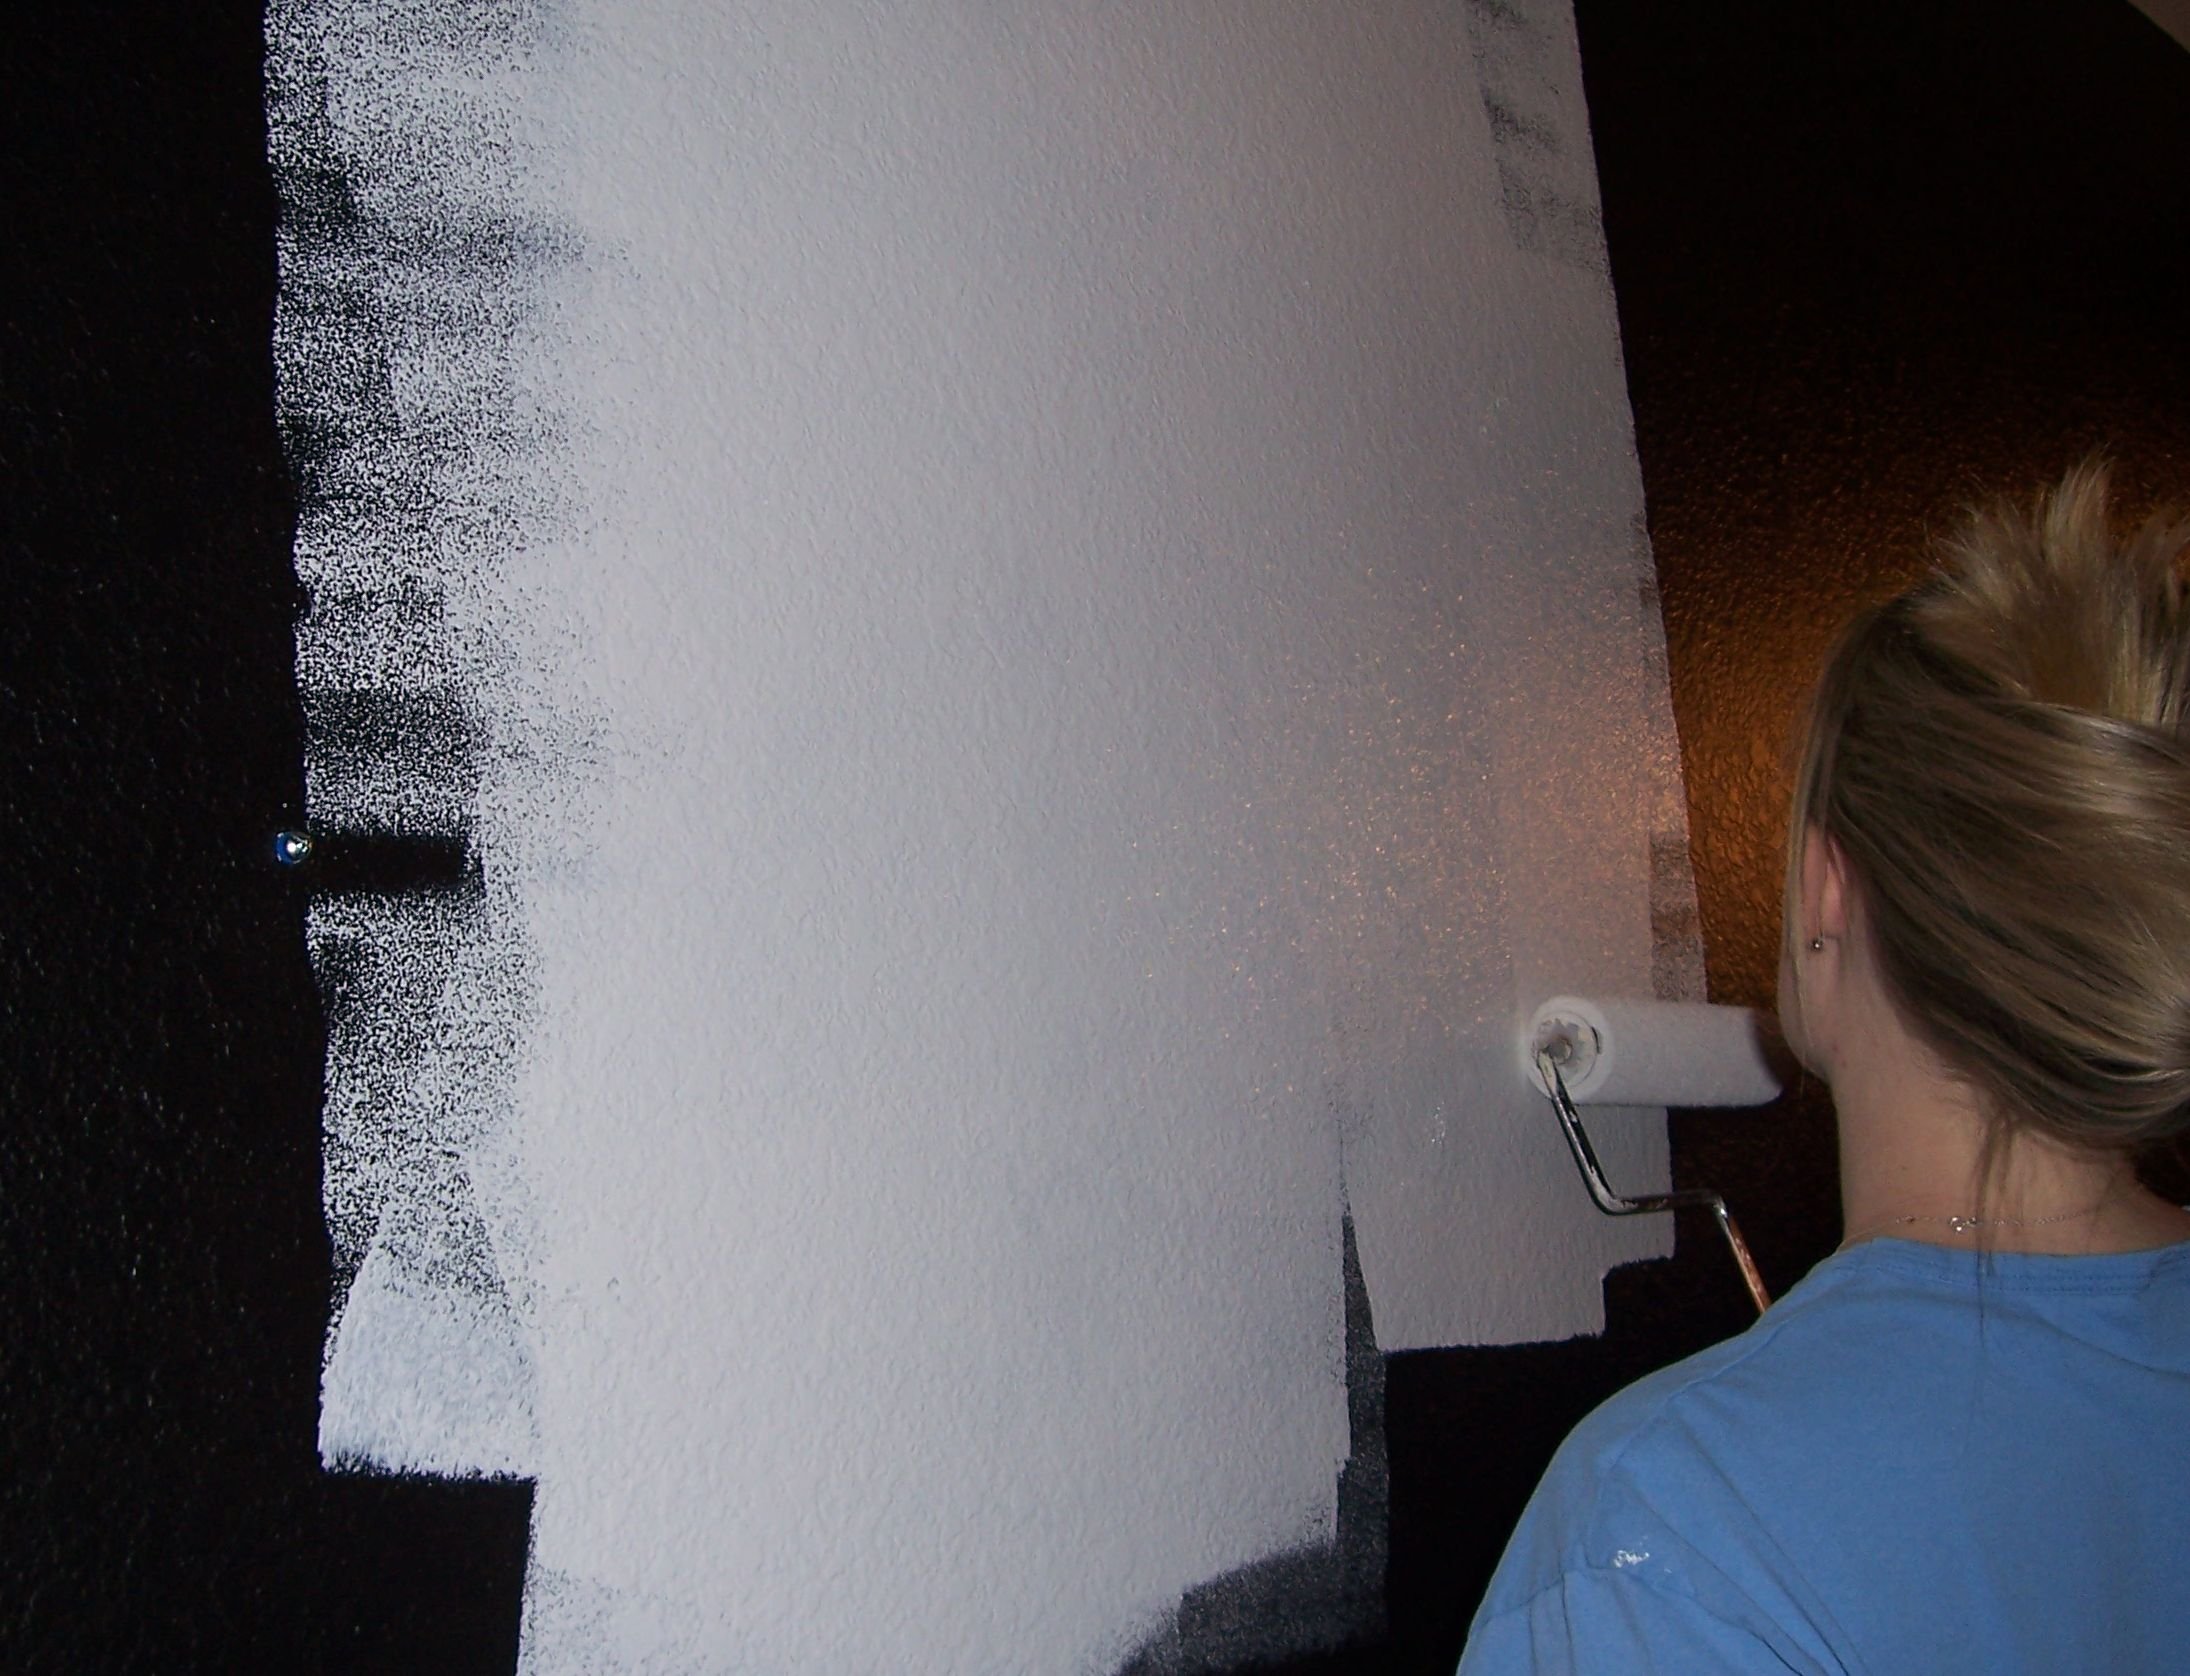
So, you have a room that has been painted black (or another dark color)? No problem! It can be repainted. No need to fear black wall paint.
Disclosure: This site contains affiliate links. As an Amazon Associate, I earn from qualifying purchases. Clicking on links, and purchasing products, may result in the seller paying us compensation at no extra cost to you. Affiliate links are in green.
Easy!
It is actually quite easy to paint over black paint (or any dark color). Just follow the steps below to turn your black room into a room that is light and bright.
So, why was it black in the first place?
People asked me, "Are you nuts? You are allowing your child to paint the room BLACK?" Yes, I was. I always provided my children the freedom to express themselves through their own choices of decor for their bedrooms, and I knew my daughter would come up with something nice. She actually created a room that was cheerful, even though black. She used white and red trim for bright contrast, and we designed color coordinated pillows. See the image below.
To see the alphabet pillow sewing pattern, go to: Alphabet Pillow Pattern

However, the time came when we wanted to update to brighter colors.
SUPPLIES
Paint
1 gallon* of good quality, flat, white paint (quality white paint covers well)
1 gallon* finish paint - color of your choice
* NOTE: paint quantity depends on room size - we used 1.5 gallons for 2 coats for a 15 ft. x 11 ft. room. I used satin finish for the room's finish color. You might also need trim paint and ceiling paint. I use satin paint, but you may prefer semi-gloss for trim. The higher the gloss, the more durable the paint (and it becomes more washable). I never go with gloss because it is difficult to work with, and I don’t like the shine. This is just my personal preference. The paint seller can show you the various finishes, and explain the differences. Be sure that the paint store employee puts your paint in the shaker before giving it to you. The paint must be well mixed before using.
Painting Supplies
Paint stir stick (even if well mixed when purchased, you will need to stir the paint each day before using)
Various brushes in sizes of your choice
Roller brush for walls
TSP or other good wall cleaner
shop vacuum
good quality dust mask
screw driver
painter's tape
paint cloths (old towels will do - these are used to protect areas from paint splatter and drips)
baby wipes (works well for quick clean-up)
paint tray and disposable tray liners
kitchen garbage bag (works great for storing your paint tray during breaks)
zip lock bags (keeps your brushes moist during breaks)
Wall Patching Supplies (if needed)
Putty knife
Dry wall joint compound
Dry wall patches (I use self adhesive patches)
Fine sand paper

Keep those baby wipes!
The photo shows joint compound for wall patching, baby wipes for cleanup (very handy for all DIY), and white paint.
SAFETY NOTICE
REMEMBER TO FOLLOW ALL DIRECTIONS AND SAFETY PRECAUTIONS listed on product labels. Work in a well ventilated area. Use a dust mask and eye protection for all cleaning and sanding. Use gloves when using cleaners such as TSP.
DIRECTIONS
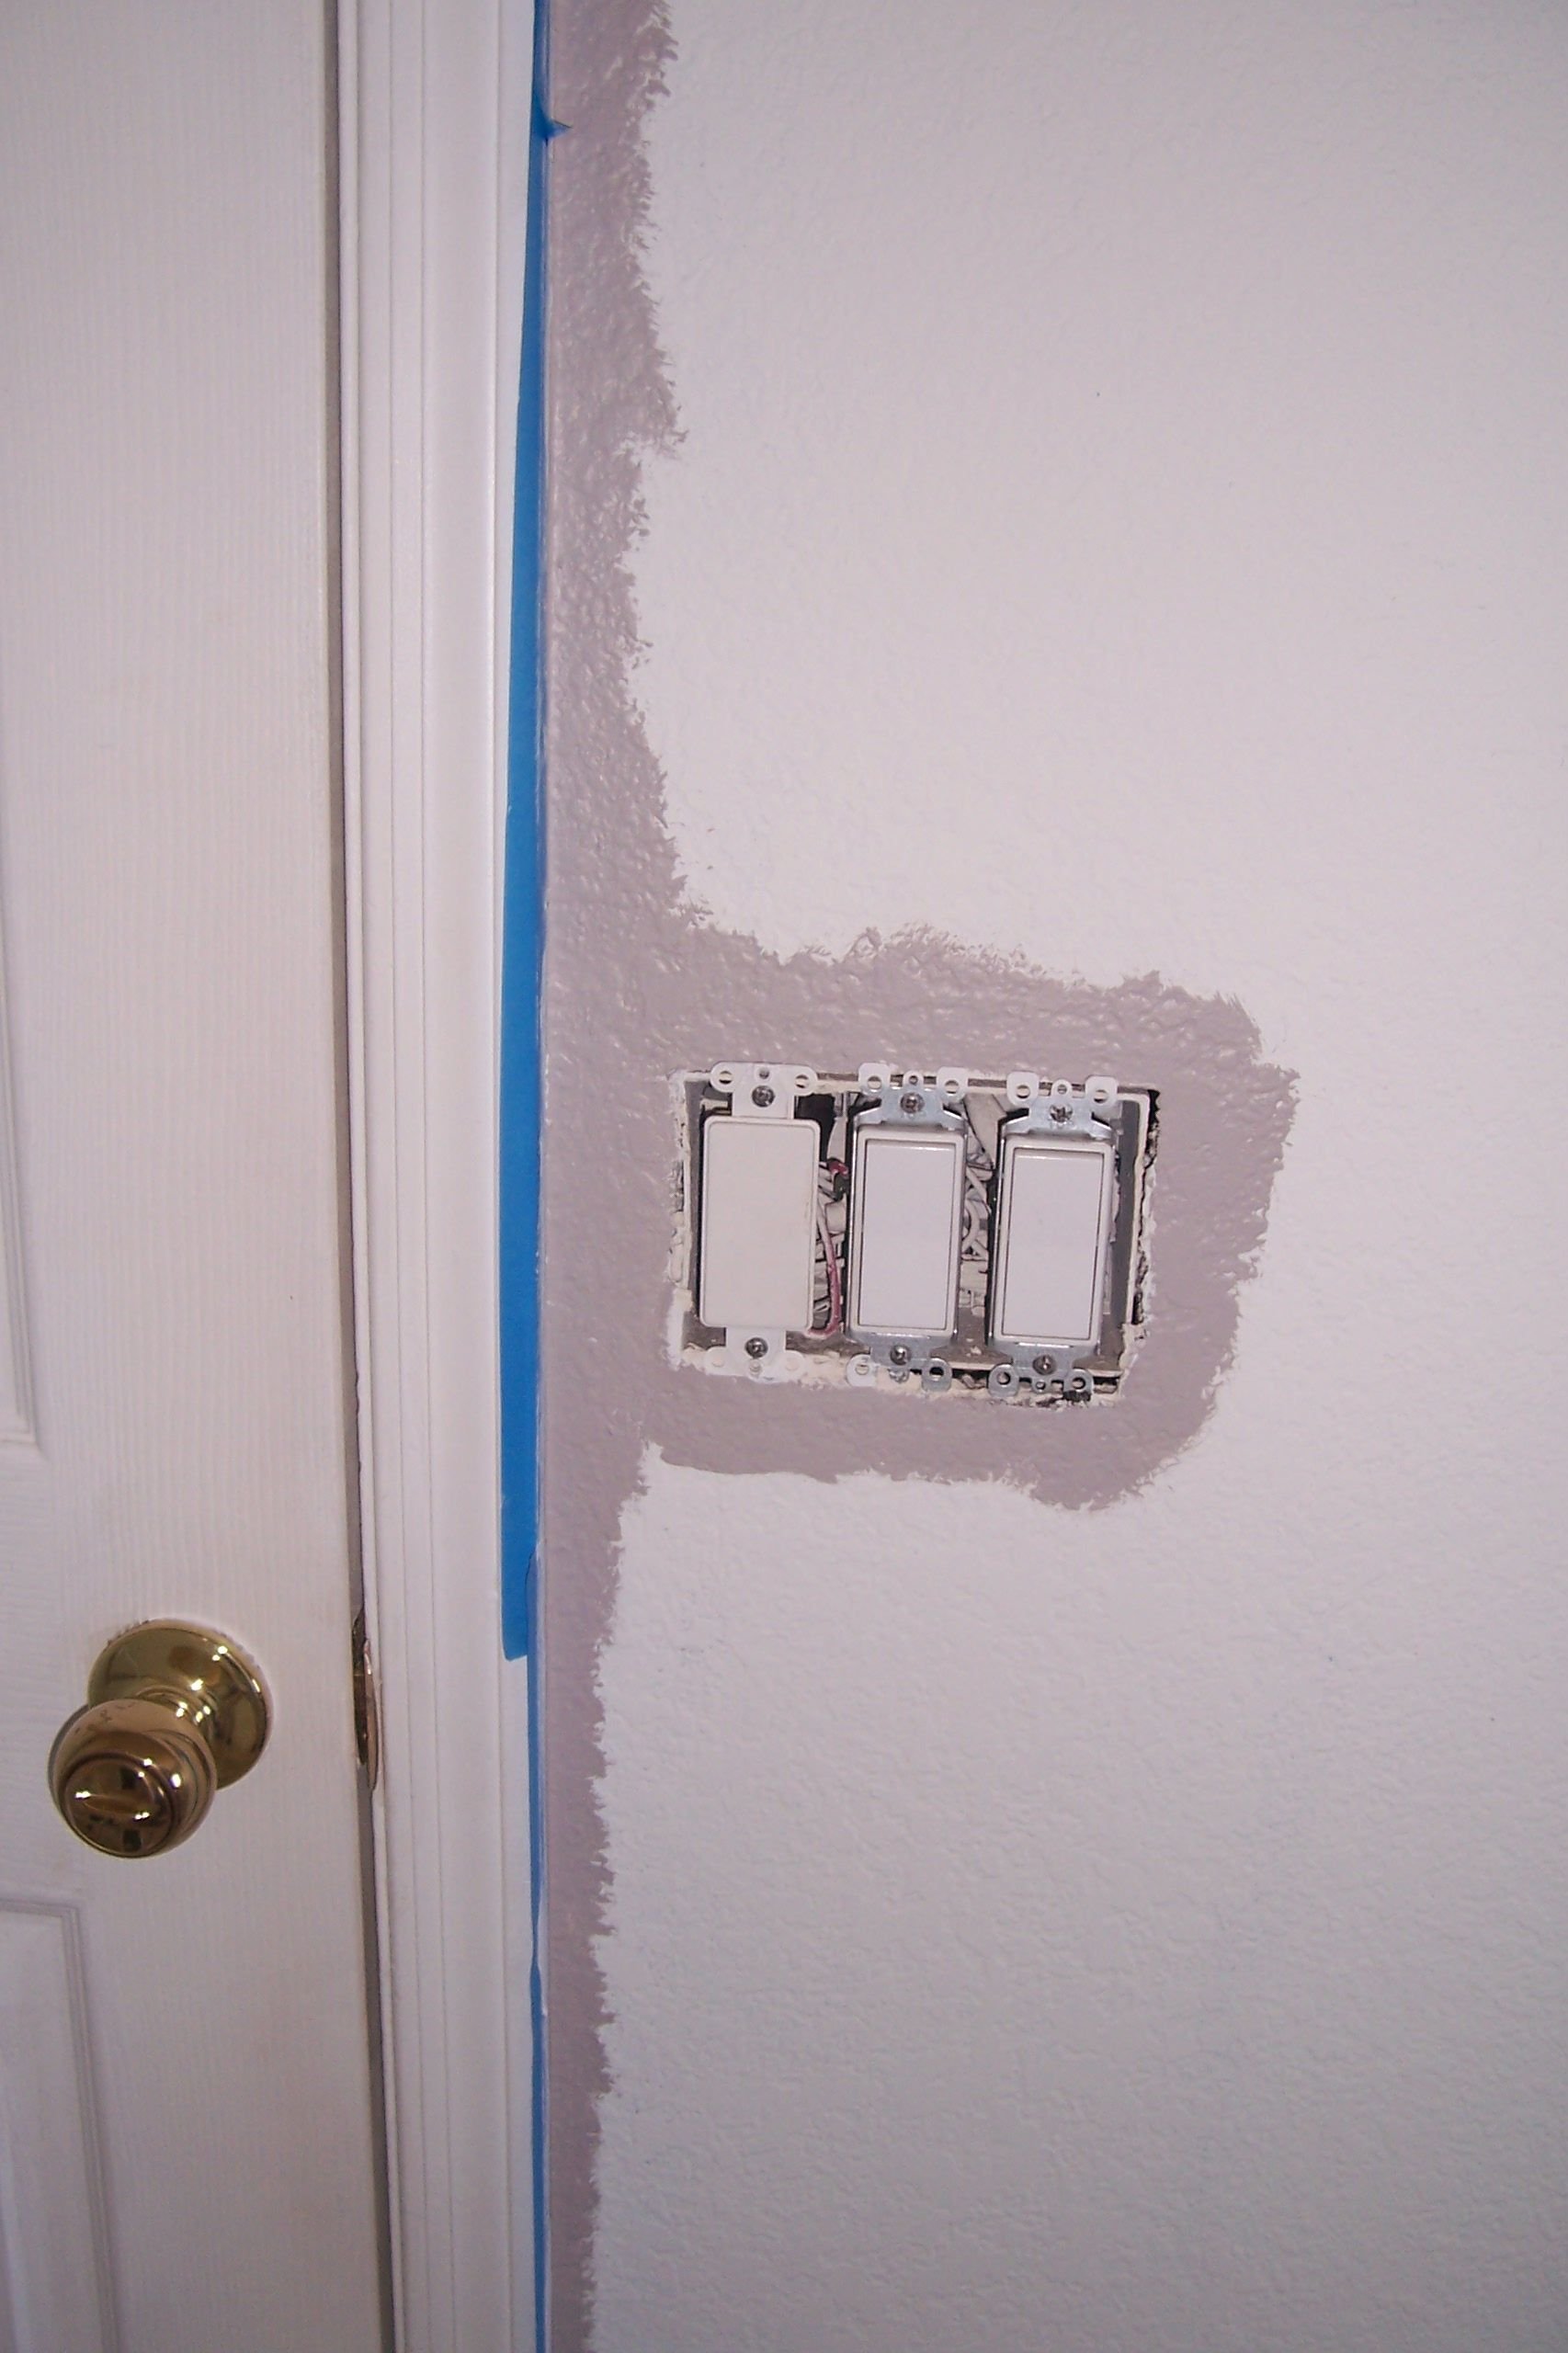
1. Remove outlet and light switch covers. Remove air vent covers. Remove all wall decorations such as photos and other attached items. Remove baseboards if you will be installing new flooring.
2. Following directions on the cleaning product label, wash walls, baseboards (if still installed), window sills and any other surface to be painted.
3. Look for areas that need sanding or patching. Since we were going to lay a floor after painting, we removed the baseboards. In the process, we accidentally created "mouse door" near the floor. No problem - a wall patch was used to repair the wall. I used a self adhesive type patch. I laid it against the wall. It stuck while I applied drywall joint compound. After the compound dried I lightly sanded. The area can be painted when thoroughly dry. I actually did this after the first coat of white had been applied. Use a primer or flat white paint to cover the patch area after it has been sanded and cleaned.

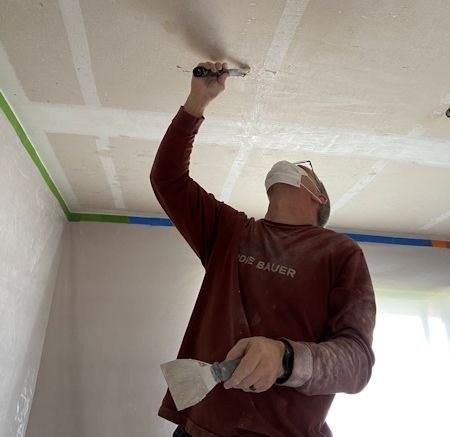
Patch the ceiling where needed as well. For one of our projects, we removed an old sparkled ceiling, patched and sanded, added new texture, and then painted.
4. Tape off items, such as door knobs and door framing, that will not be painted.
5. TSP is a cleaner - not a deglosser. If you are covering glossy paint, you will need to lightly sand and re-clean the walls before painting. The black paint had a satin finish (very slight gloss) and I found that painting over it with the flat paint worked fine. This saved me the sanding step. Remember: glossy paint will NOT stick to glossy paint. Even flat paint will not stick over paint that is very glossy. If your walls have very much of a glossy finish, sand (then clean) them before applying the flat white paint.
6. Apply first coat of flat white paint. I like to use a brush to paint corners and other small areas that a roller cannot get to. I do this before using the roller. Others like to use the roller first. You will need a brush or other type of corner painting tool. Use a fine brush near the ceiling (or tape off the edges of the ceiling).
7. When thoroughly dry, apply second coat of paint. Our first coat did not do the job. The covering was neither complete nor uniform. The second coat completely covered the wall with a uniform white. In a few areas, we applied a third coat of flat white paint.
8. Apply the first coat of the color paint. I chose "London Coach" interior satin (Valspar brand at Lowe's). I started by painting areas along door frames, outlets, fixtures etc., using a small brush (1.5" - 2" works well). After that I rolled the walls. I also painted the closet. I debated color choice for the closet; I didn't want the closet to be too dark. I finally settled on using the same color as the room walls, and adding lights to the closet.
A note about painter's tape: tape should be removed while paint is still wet. However, this creates extra work. You need several coats of paint, and each one must dry before applying the next coat. This would mean re-applying tape between each coat. Instead, I remove the tape after all coats are finished. The problem with my method, however, is that the paint can peel at the point where the tape is pulled off. I often have to go back and touch up edges. I prefer that to re-taping. The correct method is to remove tape while the paint is still wet; you will have to choose your own method.
For the ceiling, we chose a lighter version of our wall color. We taped off the top of the walls, so ceiling paint would not get on the walls. We removed the wall tape before the ceiling paint was dry so we could get clean lines.
When painting a ceiling (or floors that are finished and need protection from spills) always cover the floor entirely. I prefer painter’s canvas. Others like paper.

The black bedroom had white (actually just off white) woodwork. We kept that, so just a bit of touch up was needed. Keeping the same trim color saved LOTS of work.
The old carpet had to go. We decided on a laminate wood floor.
Go to: Install Laminate Floor to see that project.
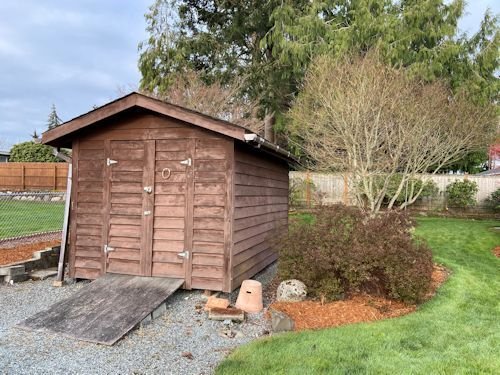
We also covered dark paint on an old shed. It turned out beautifully. The dark stained siding was repaired and painted with a nice “Cottage White”, and a new shed ramp with decking top was installed.
Go to: Repair & Paint Shed and Shed Ramp With Decking Top

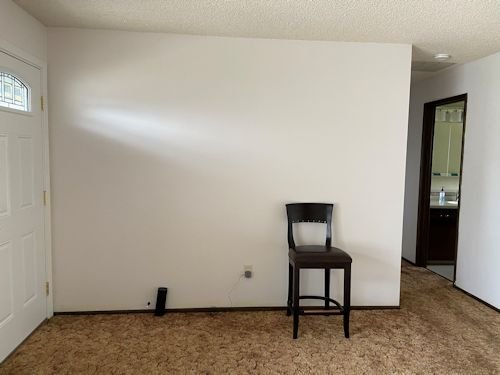
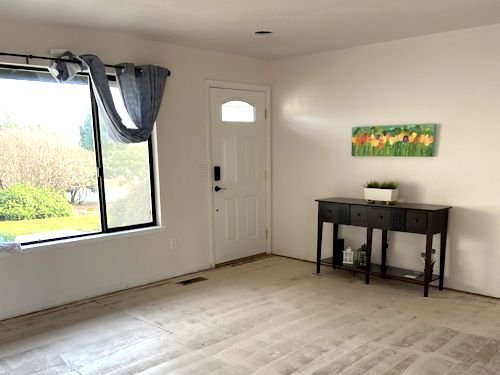
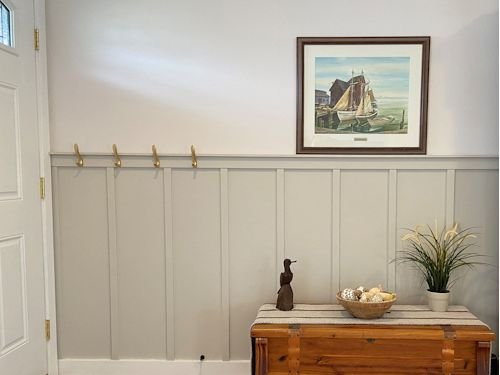
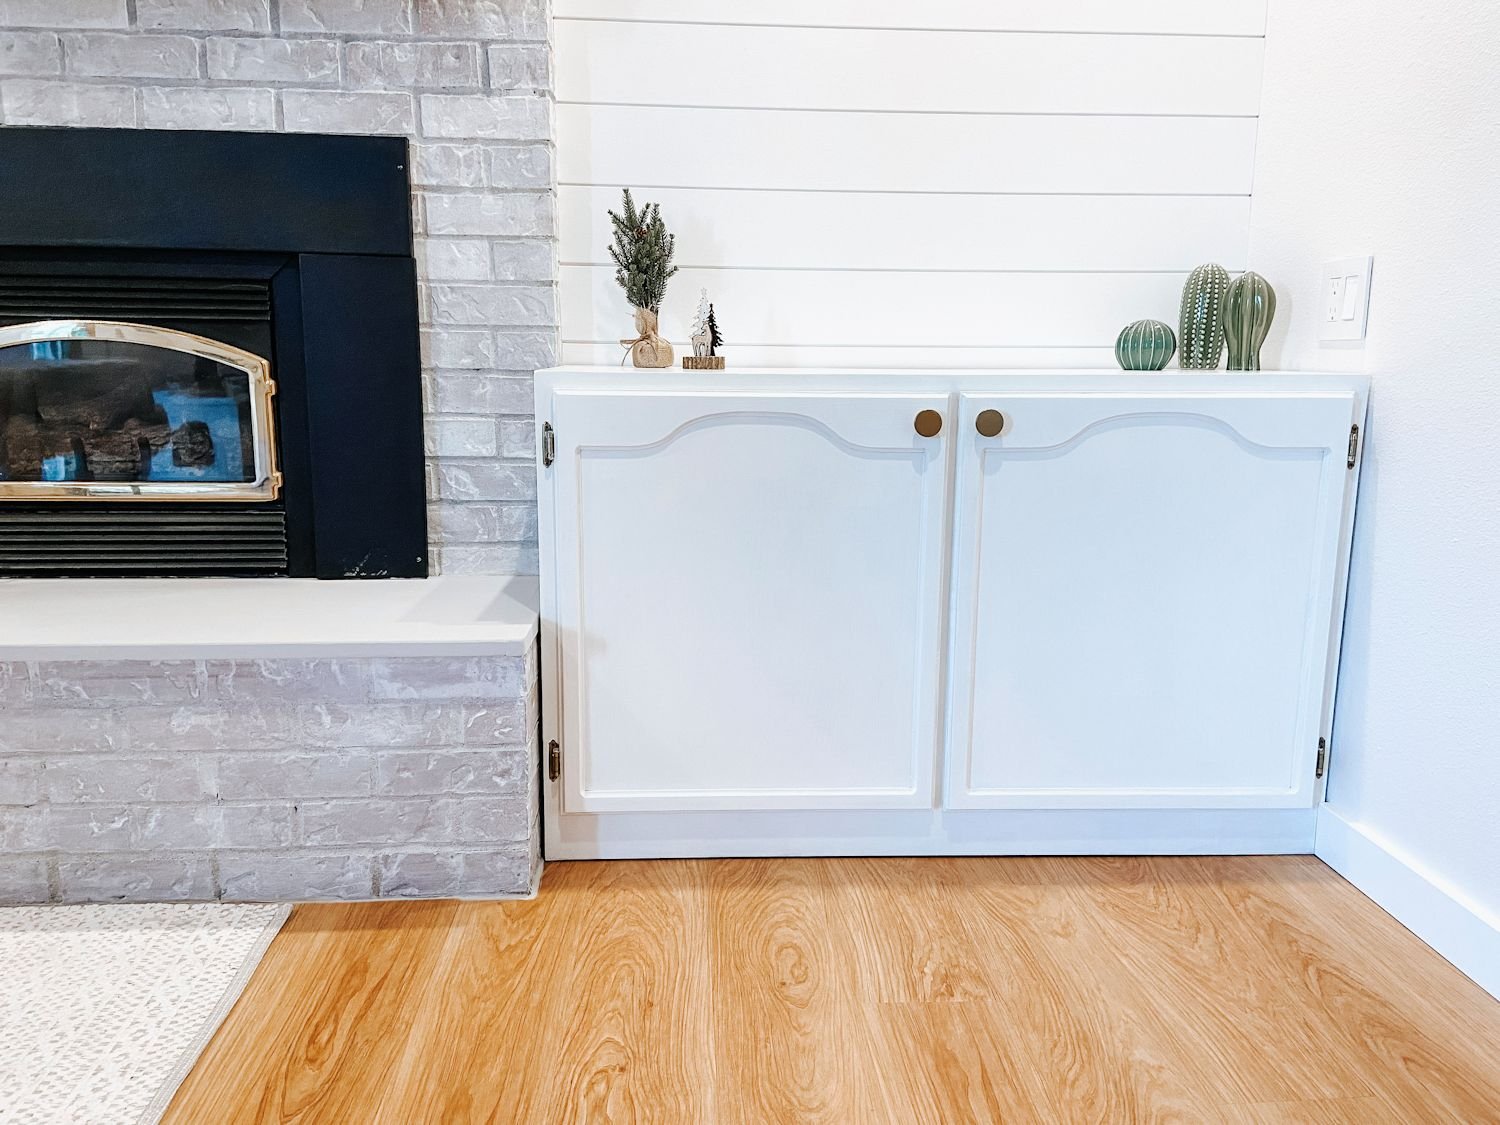
The following three photos are from another project. We didn’t have to cover dark paint, but I am including it because walls were patched, painted, and trimmed out nicely. The first photo is “Before.” The walls were painted first. They were scuffed and dirty, and needed repair in places. That gave a clean and bright feel to the place. Next, the old carpet and linoleum were removed, the sparkly ceiling was removed (and the subfloor painted while we waited on new flooring to arrive), new flooring was installed, and then wall trim was added. There was no company closet, so we installed hooks near the door. Also, all doors and molding in the house was replaced. From vintage 70’s to modern, clean, cozy, and bright.
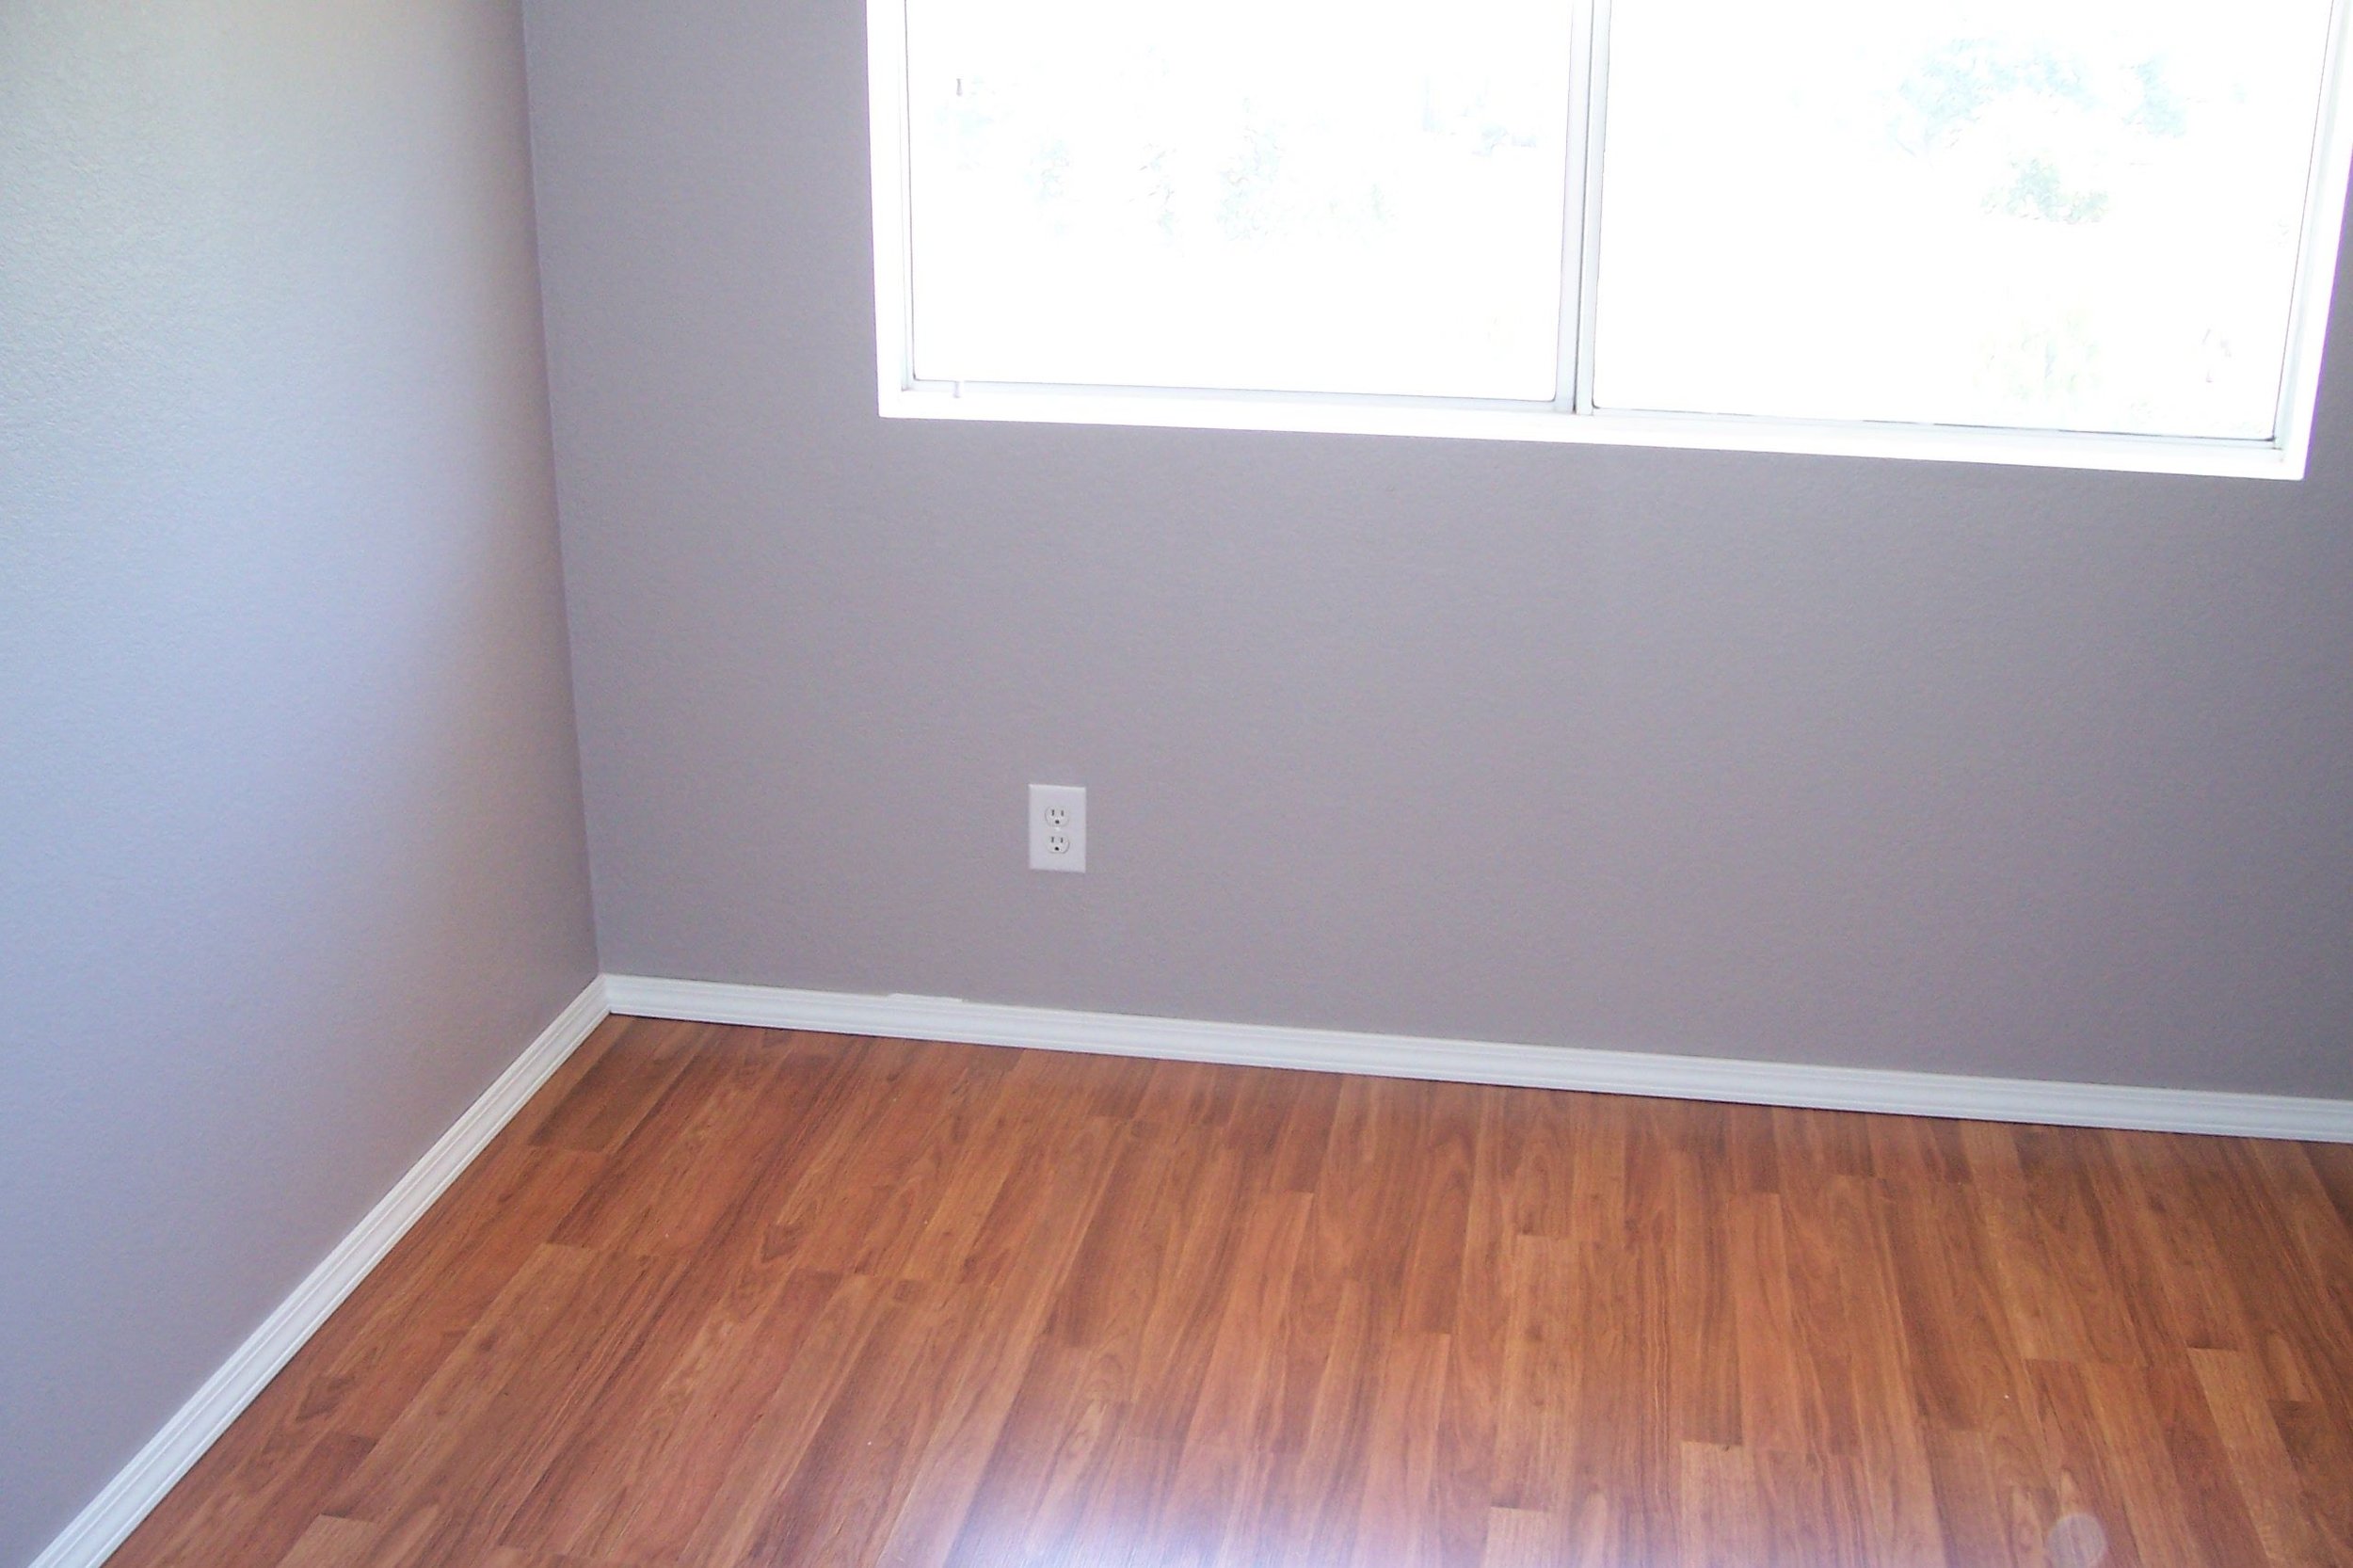
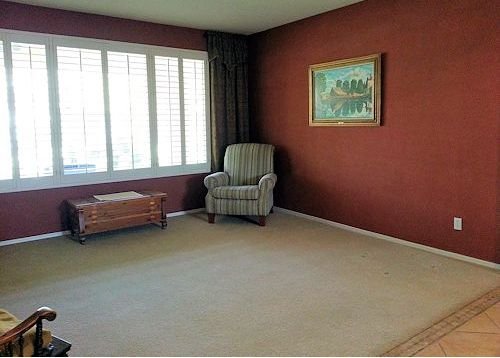
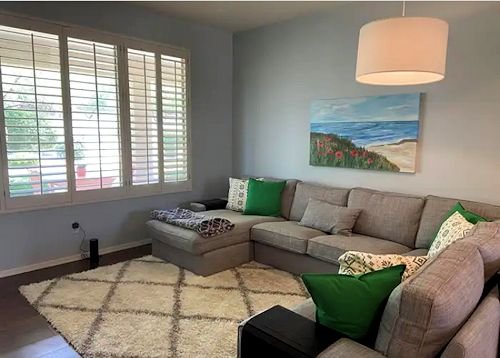
One more example. The room was painted a matte finished dark rust color. We painted over with white, replaced the old carpet with wood laminate, and painted the walls a cool blue (this was in the hot Phoenix desert). You can see that it really is easy to cover dark paint.
More Painting Projects


See all of our FREE home improvement DIY projects.
Rejuvenate your rusty old chain link fence by adding fresh paint. Learn the tricks to creating a beautiful like-new fence.