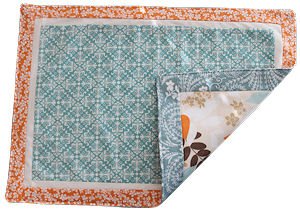
Reversible Placemat
Also see:
Follow Our Adventures
Easy Sewing Patterns
Home Improvement
Disclosure: This site contains affiliate links. As an Amazon Associate, I earn from qualifying purchases. Clicking on links, and purchasing products, may result in the seller paying us compensation - at no extra cost to you. Affiliate links are in green.
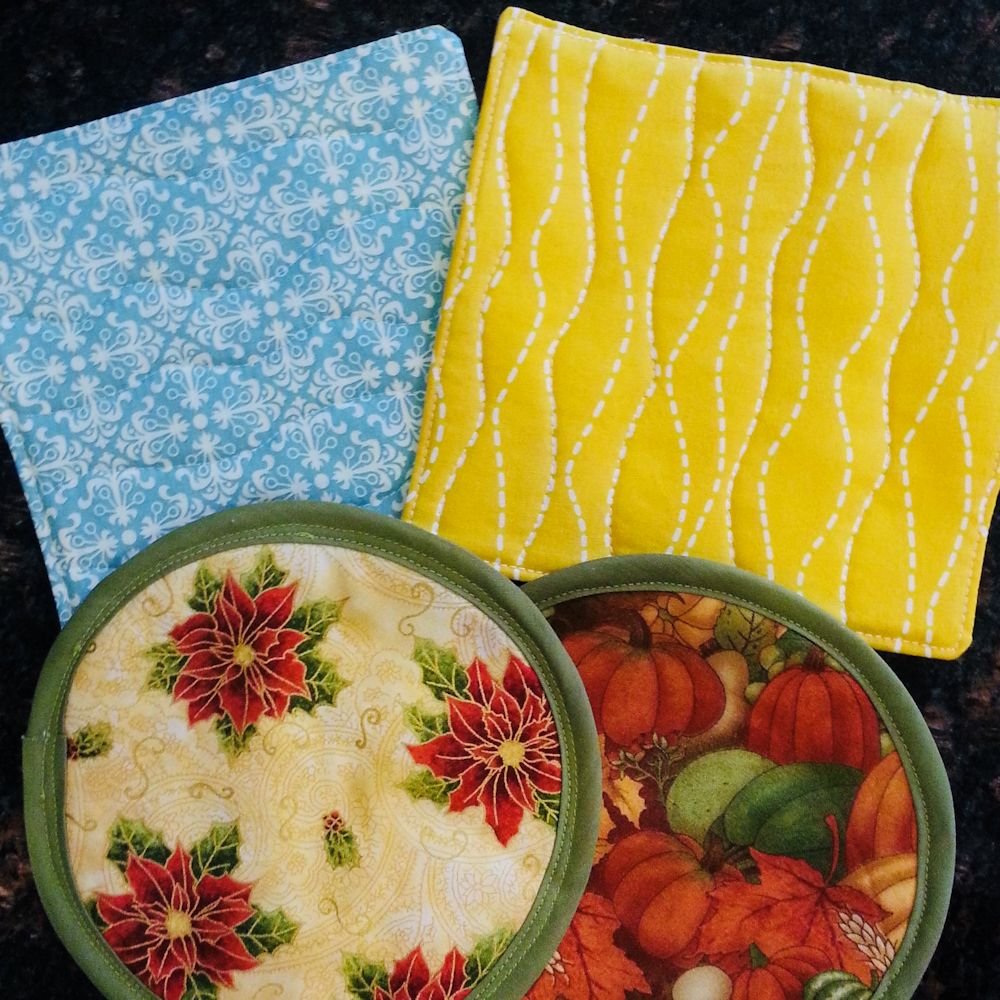
Reversible Placemats - Two Styles
Make both sides the same style, or make the back out of just one piece. Elegant on one side and casual on the other, or mix up holidays and other occasions to create holiday placemats, seasonal placemats, or special occasion or every day. Economical and easy. All it takes to create 2 placemats is 1 fat quarter of fabric #1 for the main fabric of one side, and one fat quarter of fabric #2 for the main fabric of the reversible side. Mix and match strips for the borders. All patterns, images and text © Christina Sherrod of CraftAndFabricLinks.com and SpruceAndFjell.com unless otherwise noted.
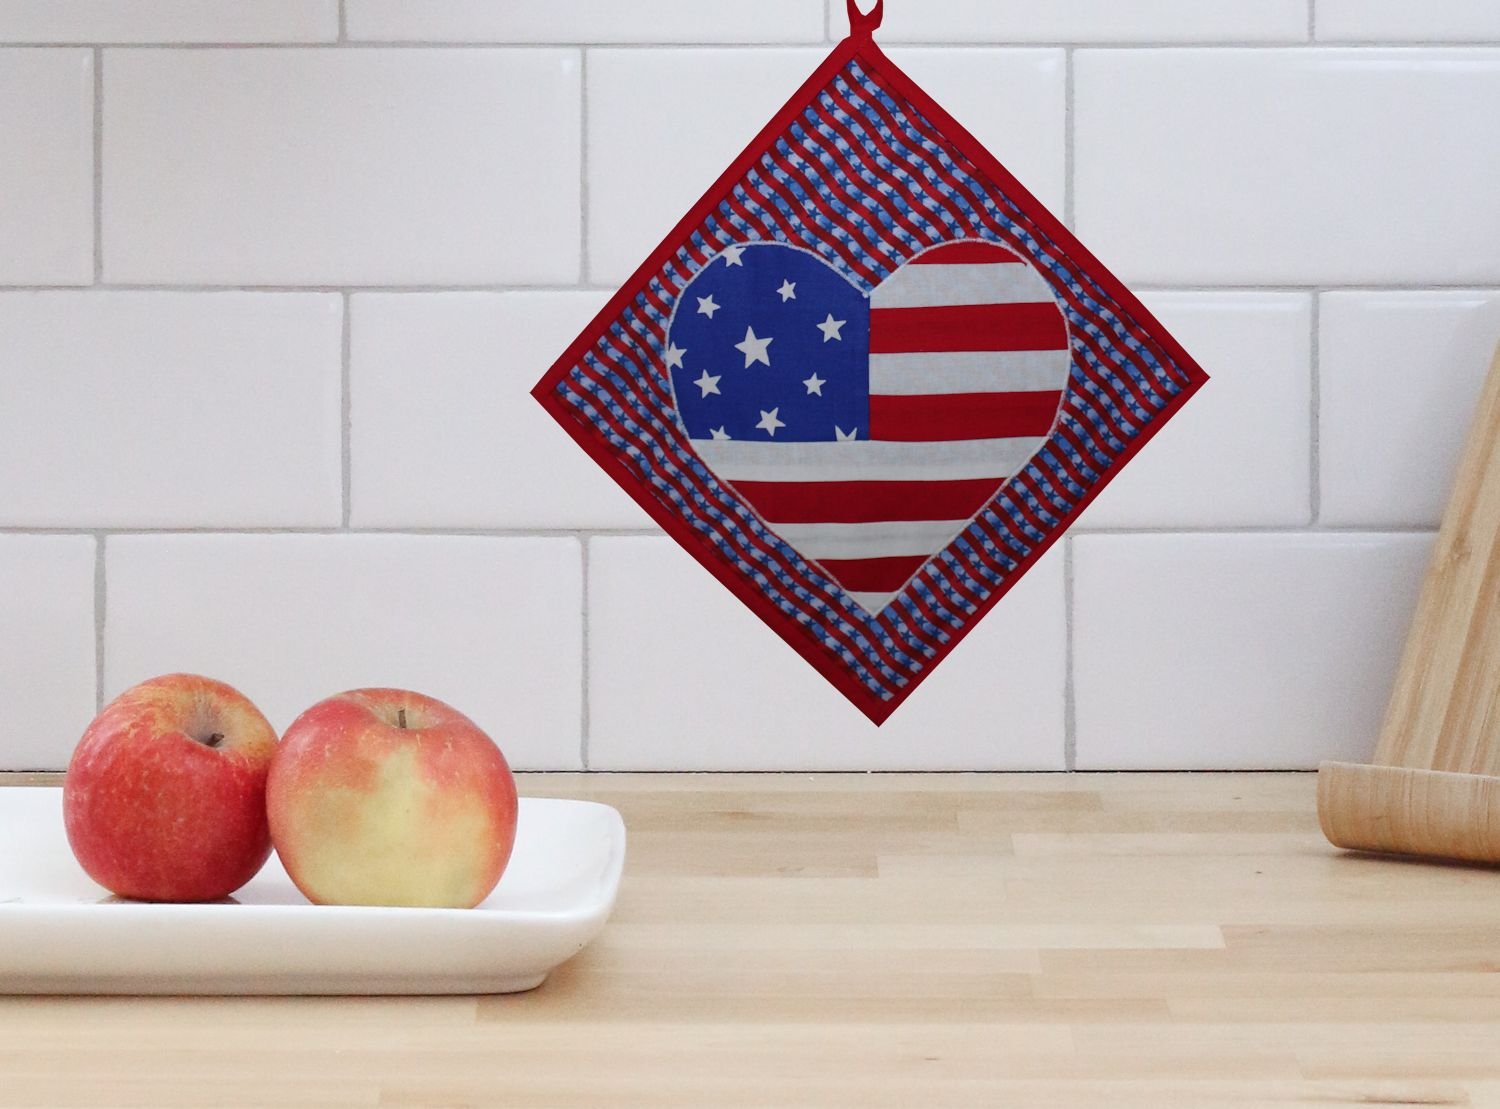
These instructions can be used to create hot pads or trivets. Just remember which side of your finished piece will be against the hot surface, and layer the insulation and fabric accordingly.
I also used 1/2 yard of fusible fleece. It takes just a bit more to add the table runner. Besides being quick to make, this project is very economical.
NOTE: Fusible fleece adds a nice padding. It noes NOT provide insulation. If you need insulation against heat or cold, use cotton batting and Insul-Bright.
Click photos for larger view.


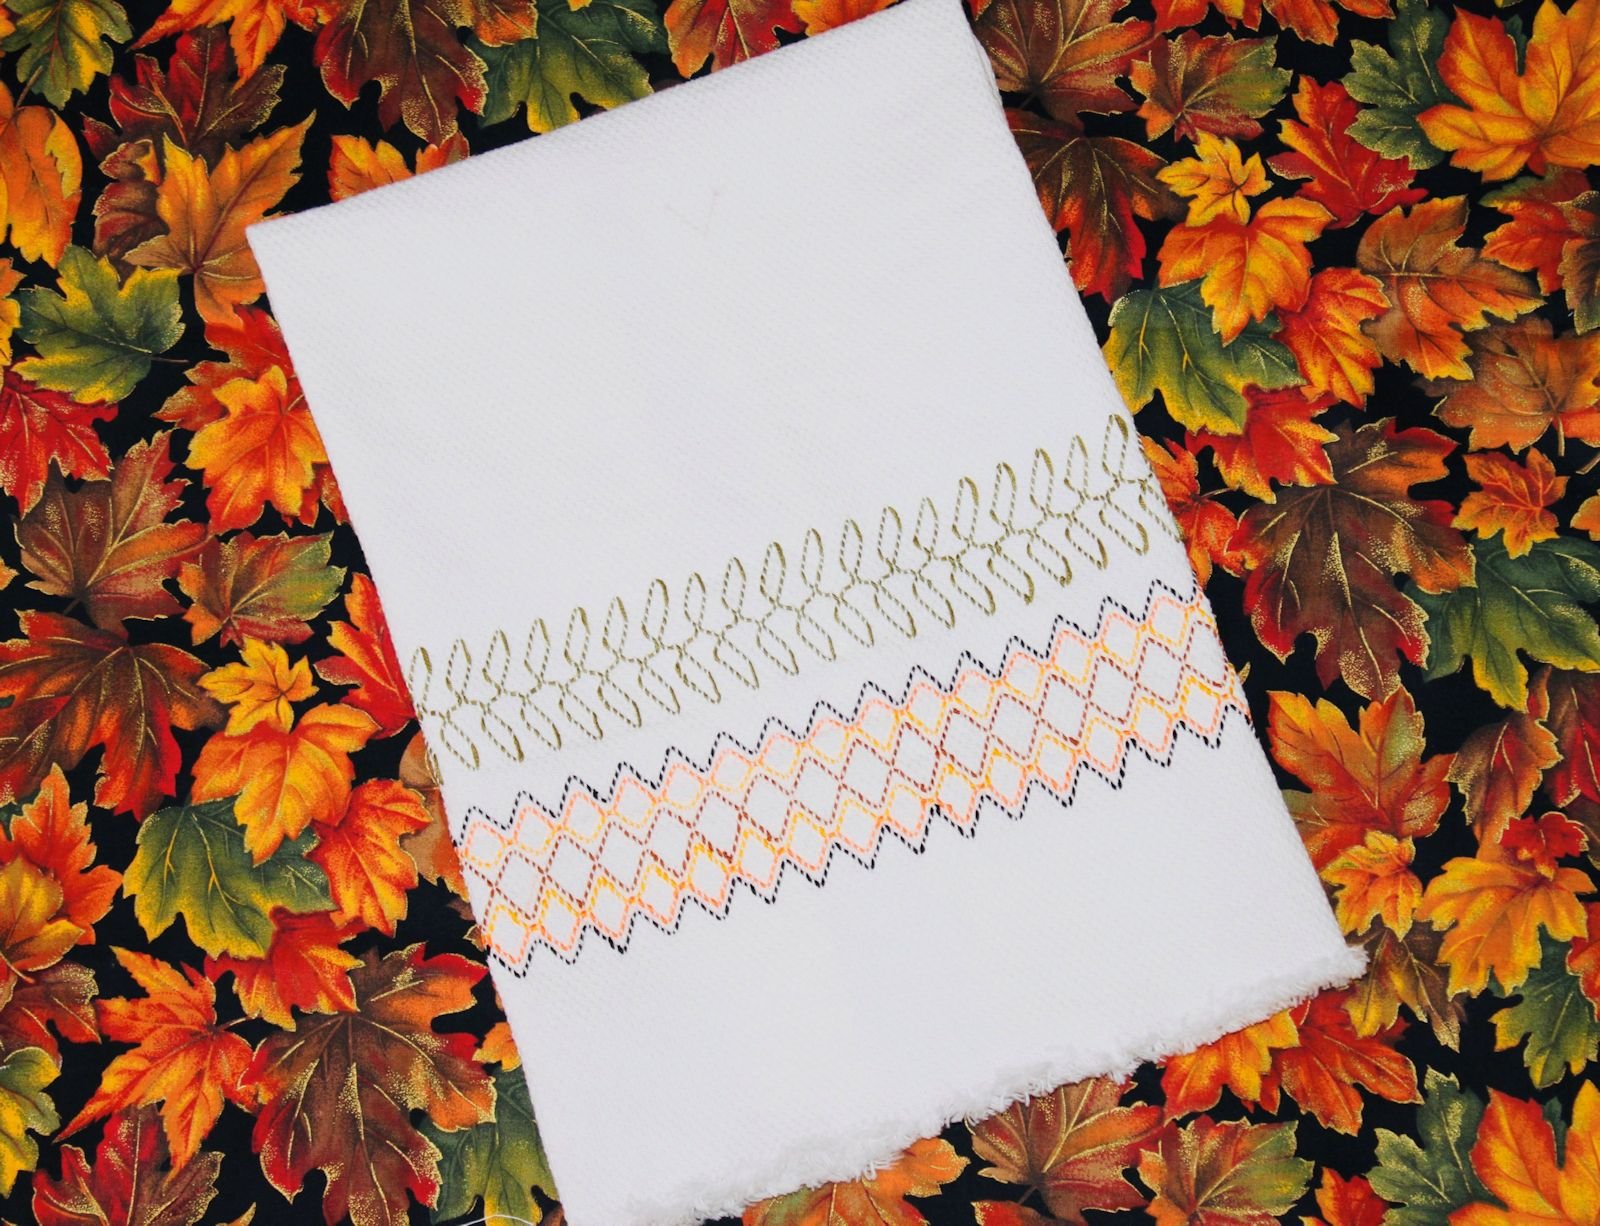
Soft Padding
This project uses Fusible Fleece. This provides nice padding. I often use fusible fleece for this type of project.
SUPPLIES
Tip: I provide exact lengths of strips. It is safer to cut the strips a bit longer than needed and then trim as necessary.
FINISHED SIDE A: one center section measuring 10" x 15", and one border measuring 1.5"
FINISHED SIDE B: one center section measuring 10" x 15", and one border measuring 1/2" and one border measuring 1"
Side A Main Piece: 1 fat quarter (I used large floral)
Side A 1.5" Border: 4 strips measuring 2" x 10.5", and 4 strips measuring 2" x 18.5" (I used dark aqua print: 1 fat quarter is more than enough)
Side B Main Piece: 1 fat quarter (I used light aqua print)
Side B 1/2" Border: 4 strips measuring 1" x 11.5", and 4 strips measuring 1" x 15.5" (I used cream print: 1 fat quarter is more than enough)
Side B 1" Border: 4 strips measuring 16.5" x 1.5", and 4 strips measuring 13.5" x 1.5" (I used orange print: 1 fat quarter is more than enough)
1/2 yard fusible fleece (fusible fleece needs to be 40" wide)
Sewing Supplies: pins, sewing ruler, scissors, thread to match background
INSTRUCTIONS
NOTE: USE 1/4” SEAMS
1. Side A: Cut 2 top pieces, each measuring 10.5" wide by 15.5" tall.
2. Side A: Cut strips for Side A: 4 strips measuring 2" x 10.5", and 4 strips measuring 2" x 18.5"
3. Repeat for Side B (refer to section above for measurements for strips)
TIP: I use a large 6” width sewing ruler with a rotary cutter and mat to cut fabric that requires straight line cutting.

4. Stitch the two side borders to Side A main piece.

5. Stitch the top and bottom border to Side A main piece. press all seams.
6. Stitch the top and bottom borders to Side B main piece.
7. Stitch the two side borders to Side B main piece. Press all seams.


8. Following the directions provided with the fusible fleece, press the fusible fleece to the wrong side of Side A. Refer to the first image below.
9. Lay Side A right side up. Lay Side B over Side A wrong side up. Pin layers together.
10. Stitch around perimeter using a 1/4" seam allowance. Leave a four or five inch opening for turning right side out. See diagram at right.


11. Trim corners (cut corners off, diagonally, close to stitching).
12. Topstitch around entire outside edge, 1/8" from edge. See diagram at right.
NOTE: It's difficult to get perfectly square corners. They will probably be at least a tiny bit rounded. If you make a sharp corner with your topstitching, your rounded corners will show more. Therefore, I stitch up to within a stitch of the corner, then turn the corner slightly and make one or two stitches diagonally to the corner, then turn slightly and stitch on down the next side. Be sure your needle is DOWN when you come to a corner. This allows you to turn your mat without pulling the needle away from the mat. Some machines allow you to designate a needle down position when stopping (a very nice feature).


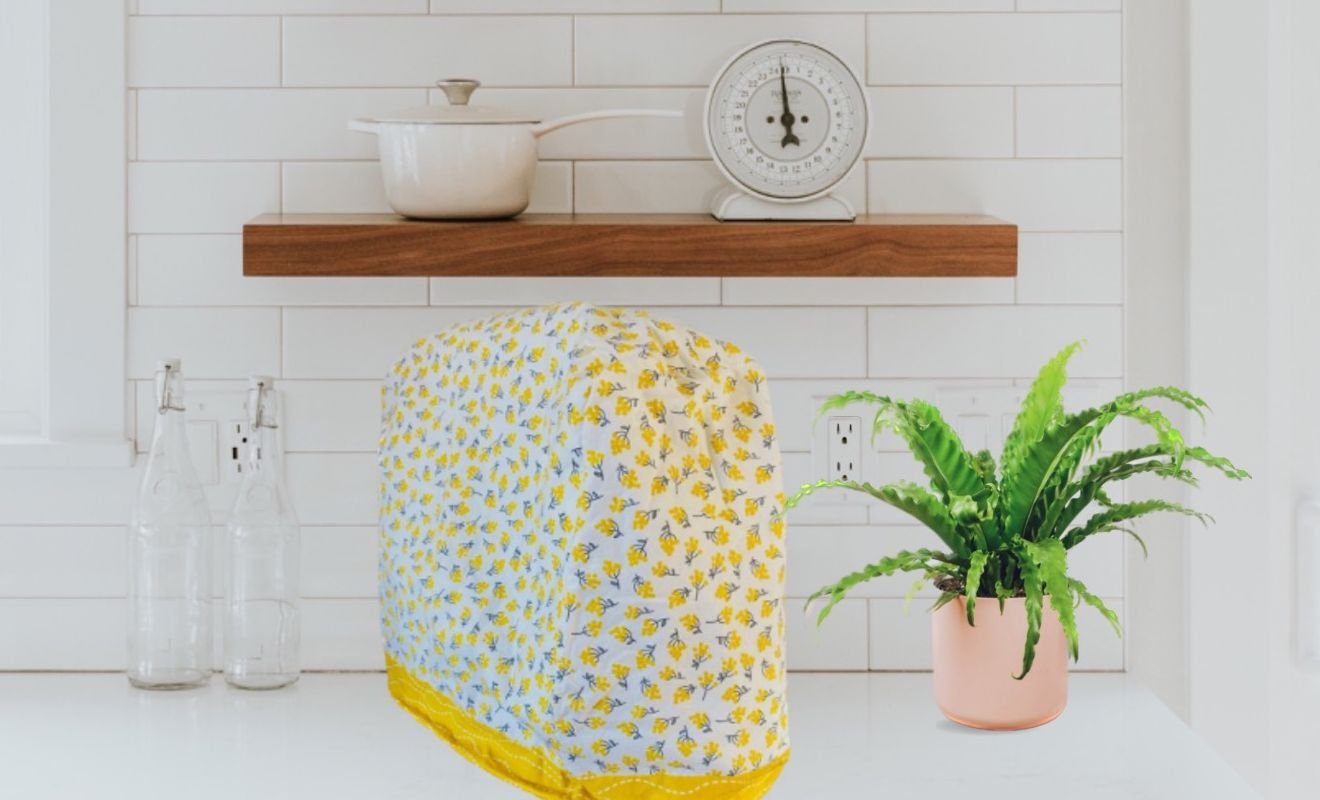
Kitchen Sewing


Remodel Projects


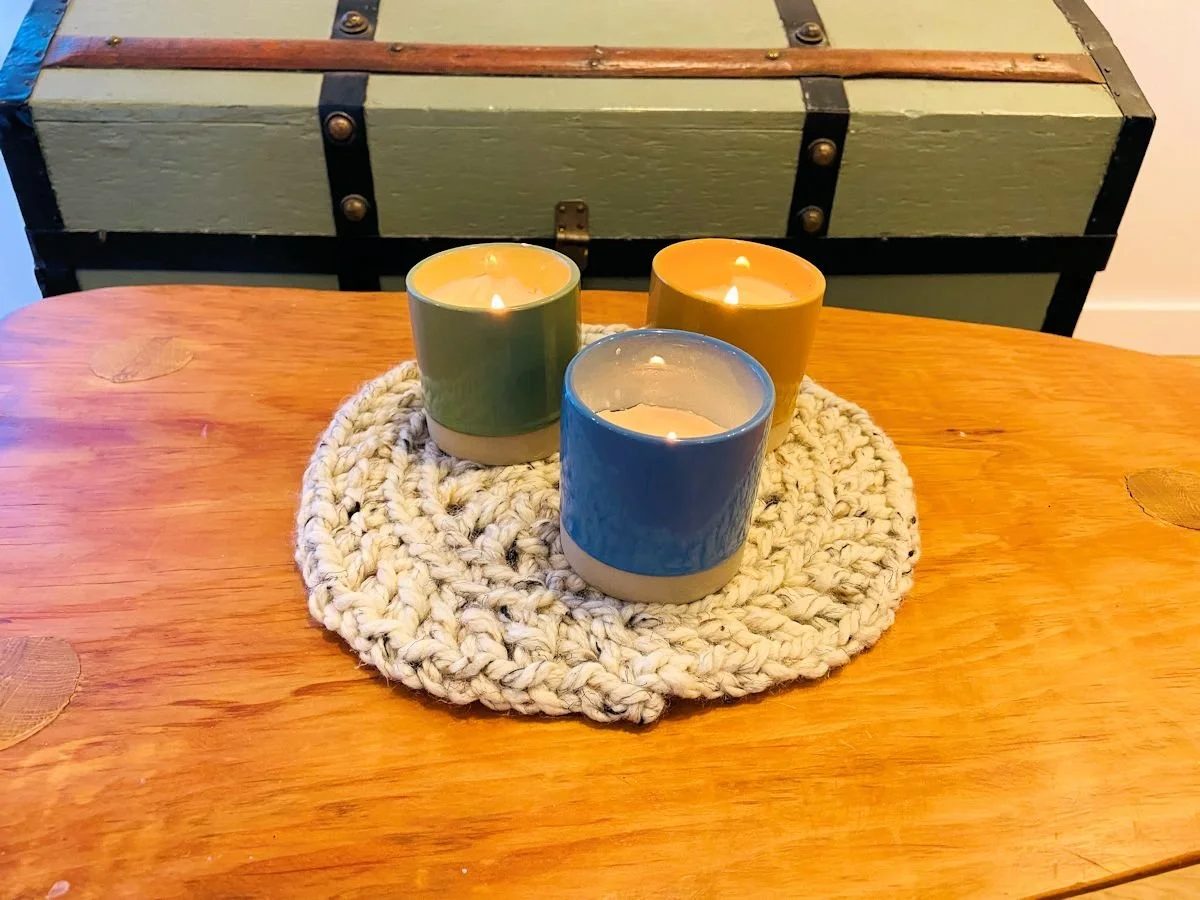
Table trivet - fast crochet with bulky yarn.