Oven Mitt
Disclosure: This site contains affiliate links. As an Amazon Associate, I earn from qualifying purchases. Clicking on links, and purchasing products, may result in the seller paying us compensation - at no extra cost to you. Affiliate links are in green.
Custom Fit / Insulated / Long Arm
Insul-bright provides insulation - longer arm for more protection
Also see:
Follow Our Adventures
Sewing Lessons
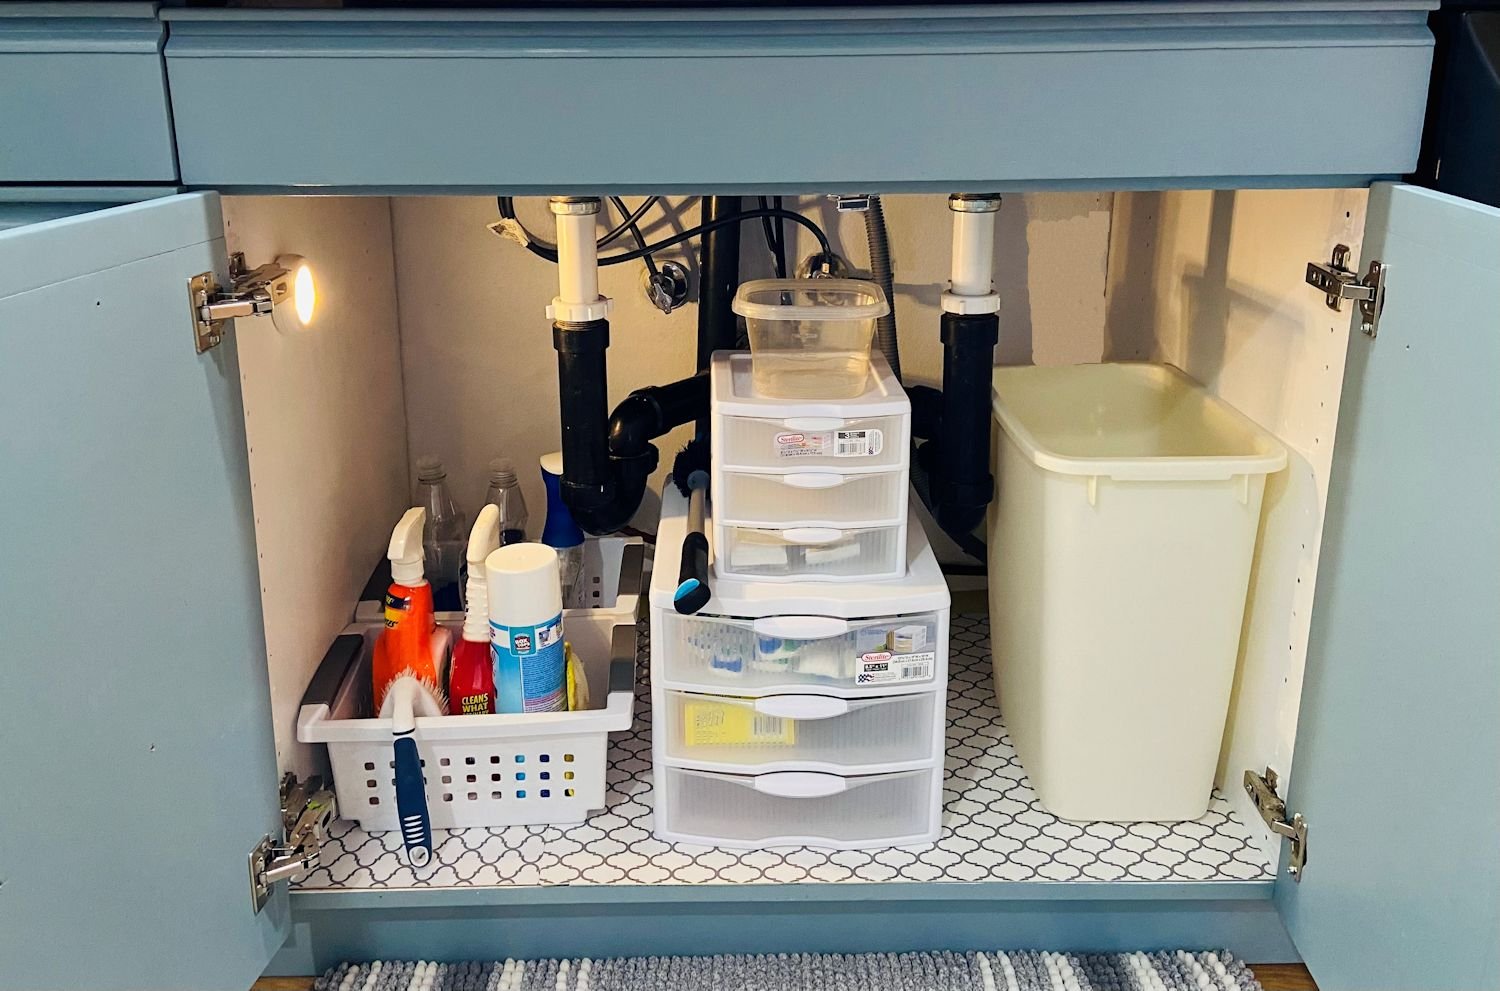
Makeovers For Organizing
Kitchen Patterns
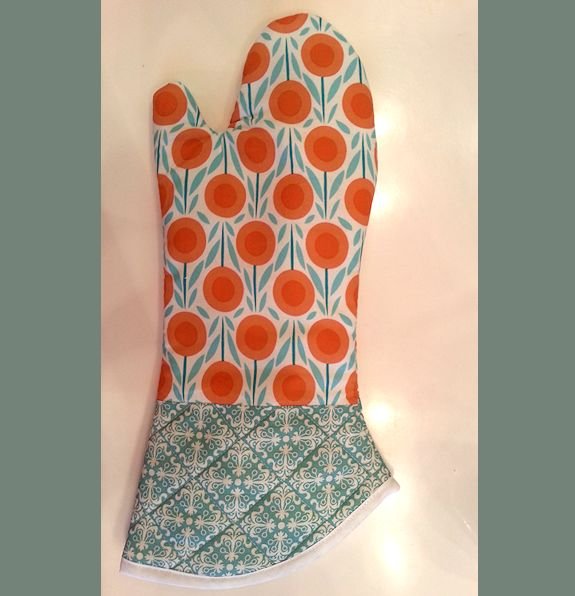
Insulated Oven Mitt
This project uses Insul-Bright. It is a fabulous insulation material that keeps heat or cold out. It also keeps hot things hot or cold things cold. I use this material when making oven mitts. Visit my Amazon store page to purchase insul-bright, heat resistant cloth, and other items I use in my projects.
Mitt Size
Mitts come in various sizes. I would say that my mitt is size small / medium. The OUTSIDE of the mitt measures 4" across the finger area. My finger area measures 3" across. The mitt fits my hand perfectly (stuffing and padding makes it more snug inside). The full length of the mitt is 16" at its longest part. I made this mitt longer than most because I feel more secure sticking my arm into an oven when it is more fully covered with a long-arm mitt. Many mitts are too short - just my opinion.
Measure your fingers across the base of the fingers. If it measures more than 3" you might need to enlarge the pattern a bit. You can print our pattern and enlarge it on a copy machine.
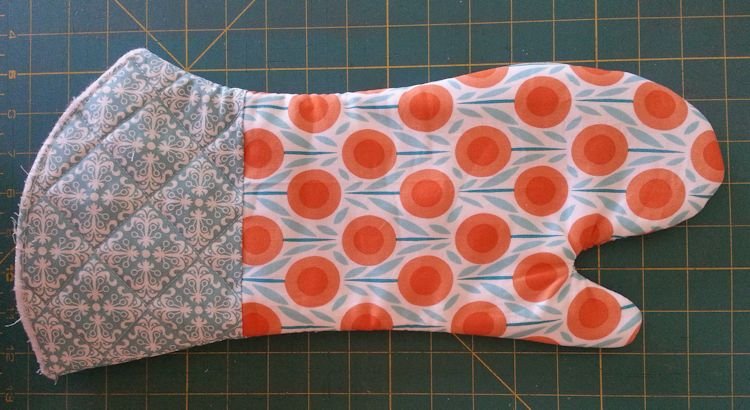
The finished mitt is approximately 8" across by 16" long.
Supplies
Fabric
I will refer to the fabric used in this project. Substitute for your fabric. NOTE: One fat quarter is sufficient for lining or outer fabric if there is no shrinkage.
Outer Fabric: 1/2 yard (or two 9" x 17" pieces)
Lining Fabric: 1/2 yard (or two 9" x 17" pieces)
Other
Cotton Batting **: 1/2 yard (or two 9" x 17" pieces)
** Use cotton batting (rather than polyester) for projects that will come into contact with heat.
Insul-Bright Insulation: two 9" x 17" piece.
large sewing ruler (optional but nice to have)
scissors or rotary cutter / cutting mat
pins
Pattern Pieces
The pattern was too large to fit onto one piece of paper, so I creaed it in three pieces. Print all three pages, then join them together on the dotted lines.
Check the size against your hand to ensure that the pattern is large enough and/or long enough for you.
Our patterns download as pdf files. Save the pdf file to your computer. Print from your computer. If you print directly from the browser, the pattern might not print to the correct size (I had this problem with Chrome).
NOTE: CHECK PATTERN TO BE SURE IT IS THE SIZE YOU NEED! These are pdf files.
Sewing Supplies
thread
sewing scissors
quilting pins
large sewing ruler
fabric marking pencils
seam ripper
rotary cutter and mat (optional but nice)
PRE-WASH, DRY, & PRESS ALL FABRIC BEFORE USING
DIRECTIONS
NOTE: All seams 1/4"
1. Prepare Pattern
Cut out all three pattern pieces (A, B & C). Join them at the dotted lines; tape the pieces together.
UPDATE NOVEMBER 2023 - thanks to a visitor’s question
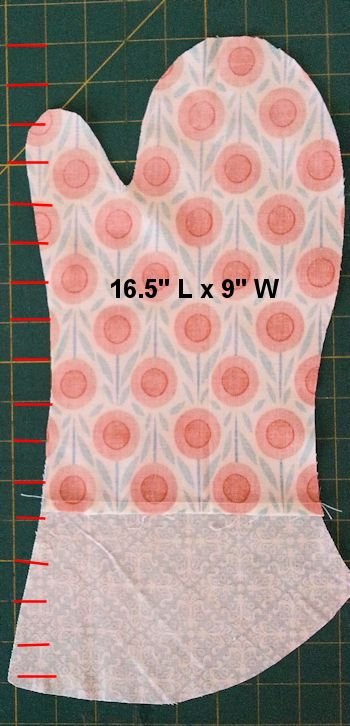
When pattern pieces are taped together, your pattern piece should measure 16.5” long by 9” wide (or very close to that). When the pieces are stitched together, that is what the size should be.
2. Cut Fabric, Batting & Insul-bright
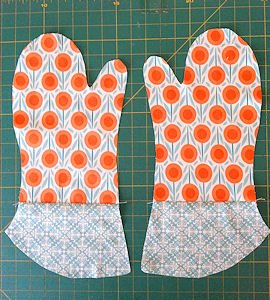
Cut two OPPOSITE pieces from outer fabric. Flip the pattern piece over to cut the second piece, or cut through two layers that were created by folding the fabric.
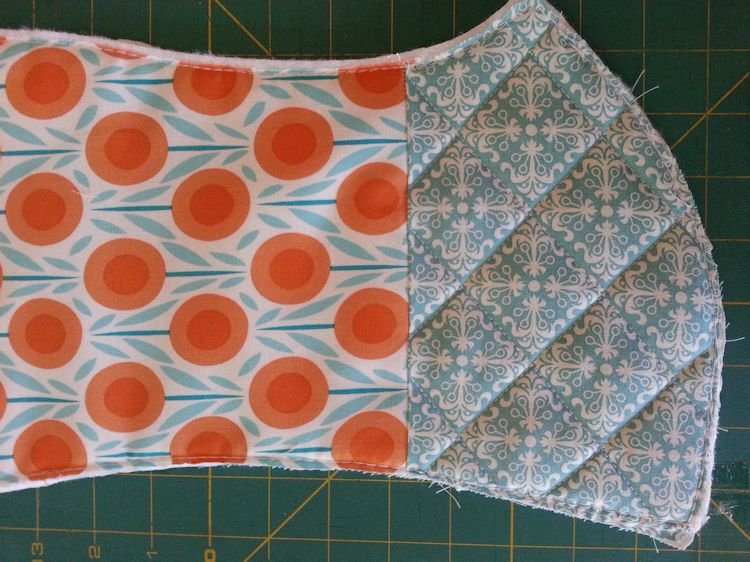
NOTE: I pieced two contrast fabrics to create my outer shell fabric pieces. I thought this added interesting detail.

METHOD 1
Cut two OPPOSITE pieces from lining fabric. NOTE: Cut the lining fabric 1/4" LARGER than the pattern. ADD 1/4" all the way around the pattern.

Cut two OPPOSITE pieces from insulation. NOTE: Cut the insulation 1/4" LARGER than the pattern all the way around. NOTE: you need two opposite pieces because the shiny side must be toward the heat source. In other words, there is a right and wrong side to the insulation.
Cut two pieces from batting. NOTE: Cut the batting 1/4" LARGER than the pattern all the way around.
NOTE: It is very helpful to cut the batting, insulation and lining larger than your outer fabric. The reason is that, if things slip a bit while sewing, you have enough area to cover the right side. After all layers are stitched together, the extra will be trimmed away.
METHOD 2

Leave the batting, lining and insulation the original size of 9" x 17". Do NOT cut them into the shape of a mitt.
This second method is the easiest method, especially if you are a beginner in sewing.
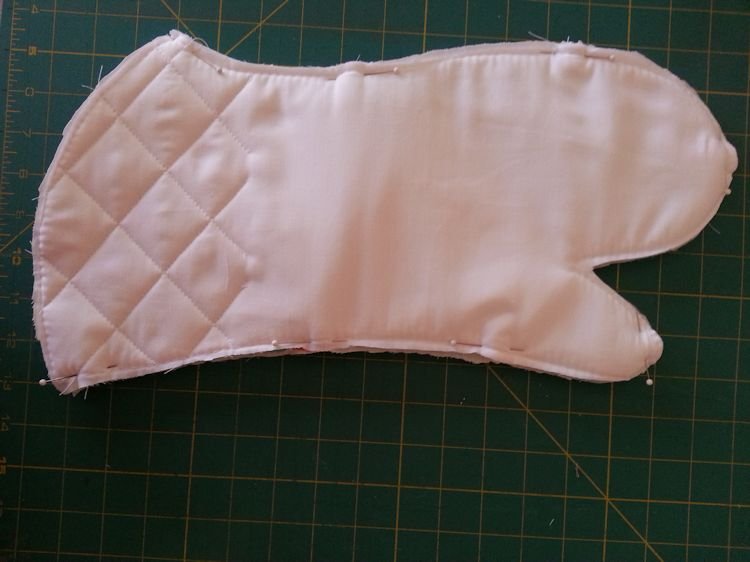
I used a combination of both methods so you could see the two. I cut the batting and insulation a bit larger than the actual pattern, layered the mitt and basted the three layers together. Then I stitched the entire piece of lining fabric to the mitt, following the previous basting line. Then I trimmed away all excess fabric. Refer to the following photos.

3. Create Two Opposite Mitt Pieces
Create two opposite sides for mitt.
Method 1

If you chose method 1 in step 2, do the following:
For each side, layer in the following order: lining fabric on the botton (wrong side up), then cotton batting, then insulation (shiny side up), then outer shell fabric right side up. Pin layers together. Baste through all layers, close to the edge. The outer shell fabric piece is smaller than the other layers, so stitch from that side. After all layers have been stitched together, trim off excess fabric. Zig-zag edges, just outside stitch line. If you prefer, zig-zag first; then trim excess fabric.
Method 2
If you chose method 2 in step 2, do the following:
For each side, layer in the following order: lining fabric on the botton (wrong side up), then cotton batting, then insulation (shiny side up), then outer shell fabric right side up. Pin layers together. Baste through all layers, close to the edge. The outer shell fabric piece is the only piece that has been cut to the shape of a mitt. After all layers are basted together, trim off excess fabric. Zig-zag edges, just outside stitch line. If you prefer, zig-zag first; then trim excess fabric.
4. Quilt Mitt Pieces
If you wish to quilt the mitt pieces, now is the time to do so. My blue print fabric had a design that was easy to follow when stitching straight lines. If you need to use a quilting bar to create quilting lines, refer to my free lesson.
Go to: DIY Pre-quilted Fabric
5. Stitch Pieces Together
Place the two finished mitt sides together, outer fabrics together, and stitch around the outside edge (using a straight stitch). Stitch just inside your zig-zag stitch. There is a lot of thickness to stitch through, so use a longer stitch (I used 3.5). Be sure to stitch through all layers of each side. Leave the arm opening area unstitched. Stitch back and forth a couple of times at the base of the thumb/first finger so that area is nicely reinforced. Turn the mitt right side out. You might have to pull and tug a bit to get the thumb all the way out. Use a turning tool, or long blunt object.
6. Add Binding Add binding (bias tape) around the unfinished arm opening. If you want a hanging loop, cut a couple of inches extra on the length of binding. Make one twist to create a circle and hand or machine stitch the end of the binding to the mitt.
For more information on creating and adding binding go to: Quilt Lessons: binding

Projects For Getting Organized


Follow Our Adventures!


Organize your yard and pool toys! Easy PVC yard and pool toy caddy.