|
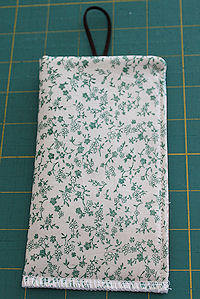 9. Fold in half, lengthwise (fold the left side under so that the legthwise fold is on the left). Stitch down the right side, very close to the edge (1/8"). Start the stitch line approximately 1/4" from the top and continue down all the way to the bottom edge. Stitch across the bottom, 1/4" from the edge (stitch inside the zig-zag or serge line so it doesn't show when the finished cell phone case is turned right side out).
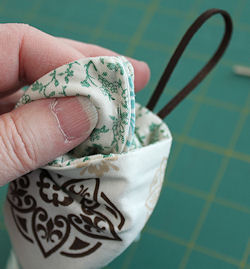 10. Turn the cell phone case right side out. Use a turning tool or blunt end of a crochet hook or similar object to help push the corners out. The photo on the right show a partially turned case; The lining side is not fully pushed down to the inside.
| 
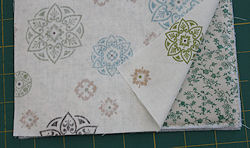
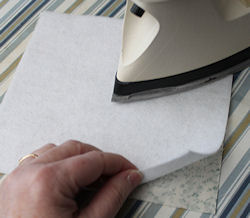 1. Following the directions on your fusible fleece, fuse the fleece to the wrong side of the lining.
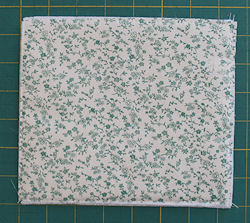 2. Zig-zag around the perimeter of your fused piece to ensure a strong hold.
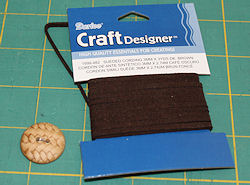 3. Cut a 5" piece of elastic or cord (for closure loop)
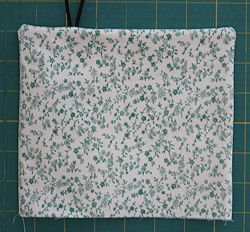
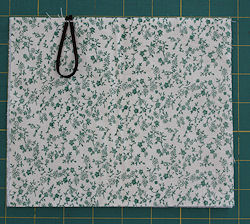 4. Create a loop out of the closure strip of elastic or cord. Stitch it into place as shown on the right (I stitched so that the cord started 2" from the left edge). The ends of the closure should align with the top edge of the lining piece (or extend just a bit beyond the lining's edge). Stitch back and forth a few times to ensure a strong hold.
 5. Place your lining piece right side up. Place the outer fabric right side down over the fused piece.
Stitch across top and down both sides, using a 1/4" seam allowance. Leave the bottom edge open.
5. Place your lining piece right side up. Place the outer fabric right side down over the fused piece.
Stitch across top and down both sides, using a 1/4" seam allowance. Leave the bottom edge open.
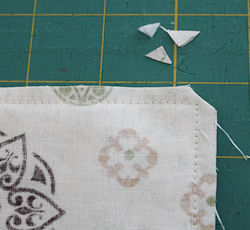 6. Trim the two upper corners on the diagonal. This will make turning the piece right side out easier.
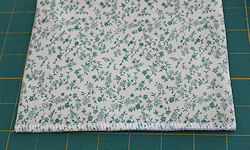
 7. Turn the piece right side out (bottom edge has been left open for turning). I use the blunt end of a crochet hook to help push out the corners. You can also use a turning tool.
 8. Serge or zig-zag stitch across the bottom, open edge. The stitching should not be wider than 1/4". This will finish off the seam allowance.
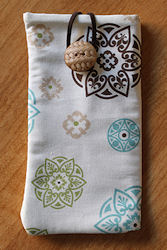
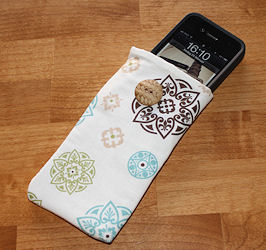
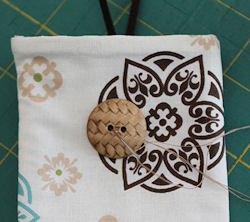 11. Stitch the button to the front of the cell phone case.