|
|
|
|
| HOME SEW CRAFTS DECOR SHOP |
|
PLEATED APRON Page 4
Optional Embroidery |
| lessons holiday patterns sewing patterns |

|
-> home decor -> Kitchen
|
Page 4: Waistband And Pocket
|
9. WaistbandThe waistband can also be embroidered. If you are not going to embroider the waistband, go to the "Stitch Waistband" section. |
|
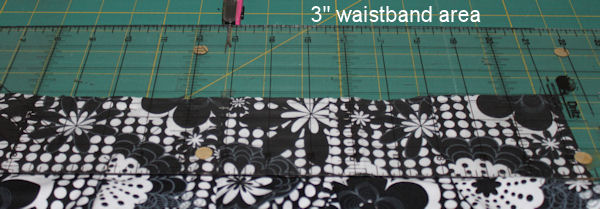
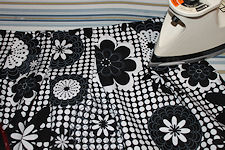
Mark The Embroidery Area Of Waist Area |
|
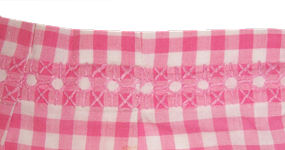
The photo on the right shows a finished apron (after waistband has been turned to back). From the bottom of the embroidery to the top edge is 1.5". |
 Draw another line 3/4" above the first line. This marks the top of the embroidery area. Do any desired embroidery at this time, staying between the lines.
|
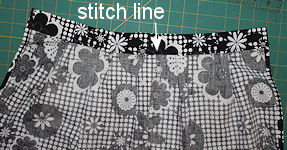
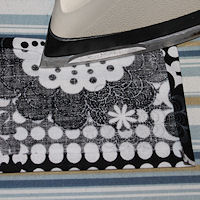
Stitch Waistband Place the apron right side up. Fold the top apron edge over to the back 1.5". Stitch along base of waistband; do NOT stitch ends closed. Press the apron on the back side and again on the front side. The backside of the embroidery is hidding inside the waistband. |
|
|
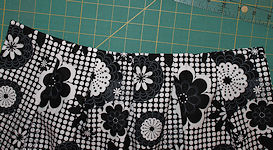
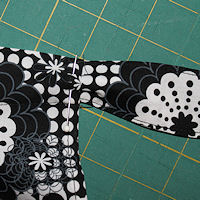
10. TiesCut tie pieces 3.5" x 22" (or longer if needed). Press under 1/4" along two long sides and one short end. Fold the tie wrong sides together lengthwise. Stitch around all four sides, close to the edge. Insert the end with the raw edge into the opening of the waistband. The tie will be slightly wider than the opening. Use your fingers to "gather" the tie end so it fits into the opening. Stitch across the waistband end, securing tie into waistband. Repeat with the second tie. |
|
|
11. PocketCut a pocket piece according to the measurements on page one. Turn under the the bottom edge and the two side edges 1/4". Turn under 1/4" again. Press all edges. Hem under the top edge. Place the pocket onto the apron and stitch into place, stitching the two sides and across the bottom. Visitor's Photo
|
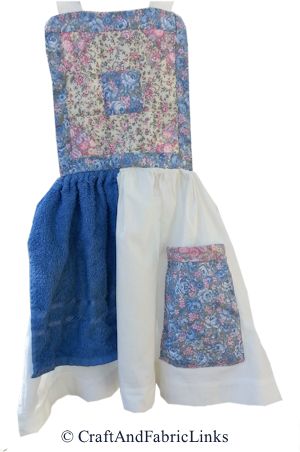
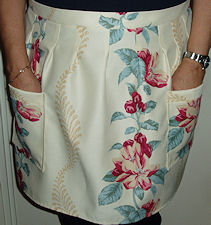 The following photo was sent to us by Suzanna Socha. She used our instructions to create a pleated, floral apron with 2 pockets. Very beautifully done!
|
Page 4 of 4
|
Related Project
My famous quilt block apron with attached towel. I present it in size small adult, and child. Adjust size for your needs. 2 quilt block patterns provided, but you can use any block of the correct size. Roomy pocket optional. |
 Quilt Block Bib Apron
Quick Reference |
Learn To Paint!free video tutorialsVisit my youtube channel. Free videos with step by step instructions. Paint beautiful paintings for your home. |

Please ShareI rely on advertising to keep my site free. Please share with friends. |
Privacy Policy & Terms Of UseBy using our website, you expressly consent to our Privacy Policy and Terms & Conditions. All Patterns, images and instructions are copyright protected. |