Alter Pant Leg - sewing lesson
Shortening the length of the leg of pants is easy, once you know the rules. I will show you how!
Step by step, fully illustrated instructions.
Also see: Pajama Pant Series to learn how to create your own pants pattern.
Disclosure: This site contains affiliate links. As an Amazon Associate, I earn from qualifying purchases. Clicking on links, and purchasing products, may result in the seller paying us compensation - at no extra cost to you. Affiliate links are in green.
Also see:
Notes From The Workroom & Trail
10 Easy Sewing Projects
Craft Projects
Clothing Patterns
Learn The Basics
To learn the basics for construction of a pair of pants, I recommend that you review my Pajama Pant Series .
The Hem Of Pants
When a person is standing, facing you, the hem of each leg on their pair of pants is cut straight across from inseam (inside of leg) to the outer leg. The hem is at an equal distance from the floor all the way around. When tailored, the hem is usuallly cut at an angle from front to back, so that the pant leg is longer in back than it is in front. When tailored in such a way, the pant leg lies nicely over the shoe in front - without creases, and almost skims the floor in the back.
I'm not going to be that fancy with these directions. Cutting straight will work for our pants - unless you prefer the tailored look. In that case, follow these directions, but pin the pant leg a bit lower in the back than in the front (put on the pants and have a helper pin the pant leg for you). You will not be able to cut straight across from inseam to outer leg in that case. Instead, you would at an angle from front to back.
Whether you cut straight, or use the tailored approach (longer in back), you will still need to try on the pants, pin them into place, then measure both pant legs to be sure they are both marked for hemming in precisely the same place (both legs have inseams of the same length).
Measurements
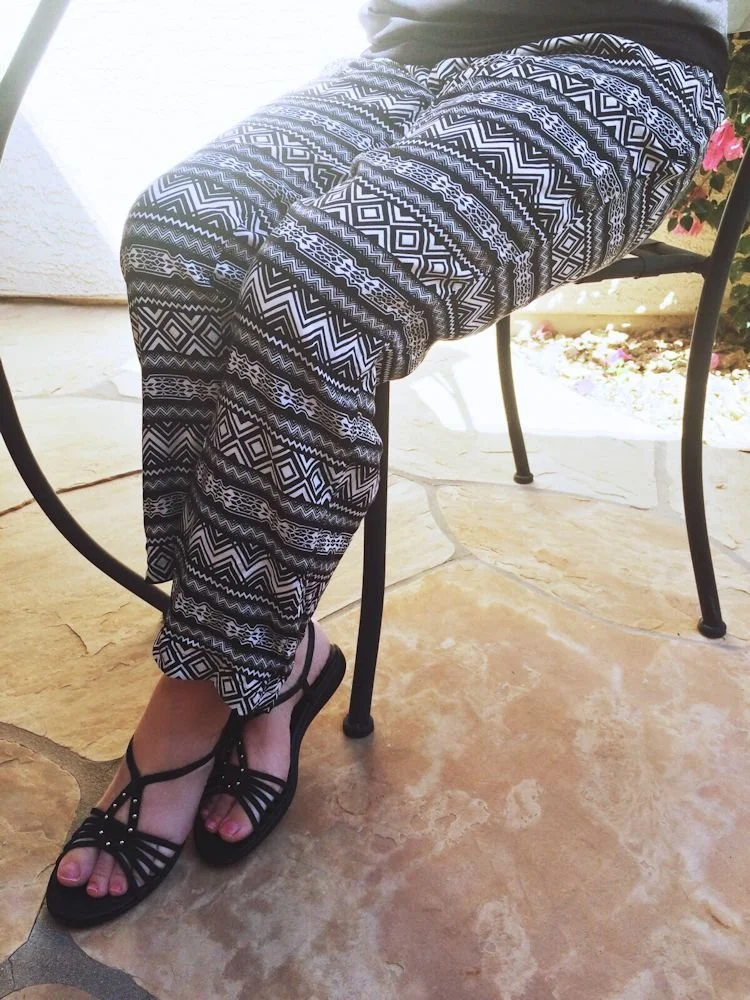
Try on your pants. Ask an assistant to turn your pant legs under and pin them at the correct length. I pinned mine at the inseam, then evenly all they way around to be sure I liked the length. They crease a bit over my shoe and are long enough in back to not look too short from the back. Remember that, for this lesson, front and back are the same length. This is NOT a tailored pant leg (back longer than front).
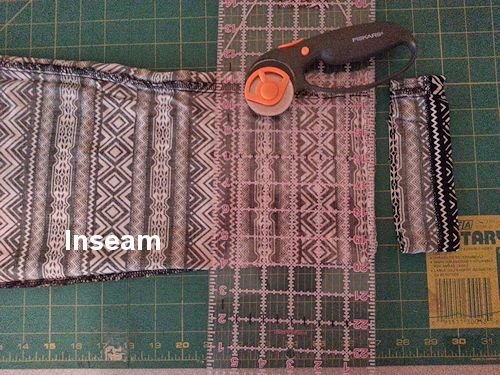
Once you are sure you are happy with the length, mark the bottom of the hem (at the inseam) with a pin. Take all other pins out. Place the pair of pants on a table, and measure the inseam (the length from the crotch to your pin). I used a large sewing ruler and cutting mat for my project. I measured my inseam to be 27". The inseam of both pant legs must be equal, so my pin was placed at 27" on both leg inseams. Yes, I am VERY petite. That's why I have so much experience shortening pants. It's also why I prefer to make my own pajama pants and other comfy pants myself.
Lay one pant leg on the table so that the straight of grain is straight along a horizontal line (I used my large cutting mat). In other words, line up the pant leg so that the existing hem is straight, vertically. For my pants, the inseam ran almost straight, horizontally. Place a pin where the new hemline will be (your inseam length). Place a pin 1.25" from the line where the hem will be. I am using a 1" hem. My inseam needs to be 27" when finished. Therefore, I will cut my pant leg to a length of 28.25". This allows for turning under 1/4", then hemming under another 1". Adjust your measurements to suit your desired inseam and hem. In other words, cut 1.25" longer than your desired inseam length if you wish to have a 1" hem. Be sure the inseam is straight. The hem must be cut straight, and perpendicular to the straight of grain, or your pants will not hang straight.
Cut Off Excess Pant Leg
Once you are sure of your measurements, cut a straight line that is perpendicular to the straight of grain (my inseam lies almost horizontally out to about 30", so I will cut it off, straight up vertically, at 28.25"). I use my large sewing ruler, with a rotary cutter, to ensure a straight cut. My pants have a horizontal stripe, so I must be extra careful to keep the entire leg perfectly straight.
Repeat with the second pant leg.
Serge Or Zig-Zag Edge
Serge or zig-zag around the edge of each pant leg. Press under 1/4".

Press Under Hem
Press under another 1" to create the hem. Pin into place all the way around. Repeat for second pant leg.

Stitch The Hem

Machine Stitch: Stitch around the pant leg, using a topstitch (slightly longer length stitch than a regular stitch length). Stitch close to the edge of the hem. The stitch line will show on the outside of the pant legs.
Hand Stitch: If you prefer an invisible stitch, use a machine invisible hem stitch or hand stitch into place. When finished, both of my pant leg inseams measured exactly 27", and I had a 1" hem.
Benefits Of Sewing
Being able to shorten pants, create your own pattern, add a cuff, widen or narrow the leg, are all benefits of sewing. There is nothing like a custom fit.
My Pajama Pant Series teaches the basics of pant constructions. These are basic pants - no zippers, pleats, pockets, etc. Use the pattern to make comfy day pants, or pajamas. I have created both. Once you have your “perfect pattern” you can create an entire wardrobe.
More Clothing Projects


Articles & Tips


Super easy scarf crochet pattern, using only double crochet. Back loop holds layers together.